Disc Brake Conversion, Part 3 - Into The Unknown - 06/24/2006
The power disc conversion saga continues. Since Dana couldn't ever get that brake pedal assembly from the '69 Catalina out in Arizona, I decided to screw it and make what I had work. It couldn't be that hard. If only I knew. But first the master cylinder rebuild had to be finished...
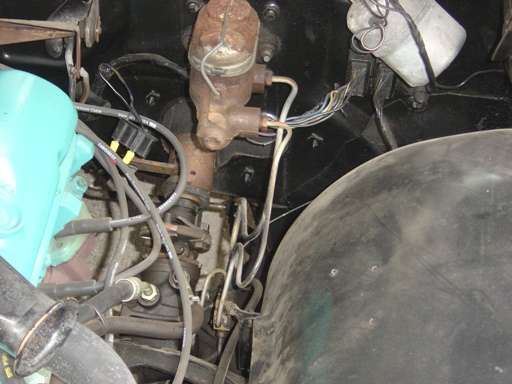
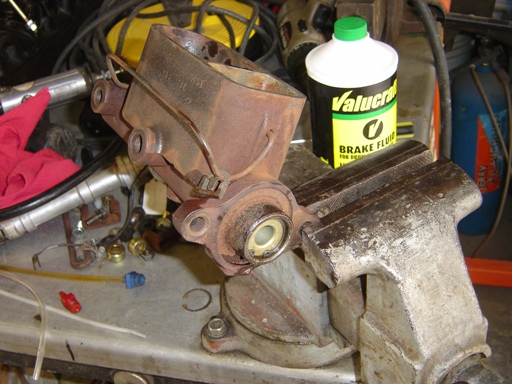
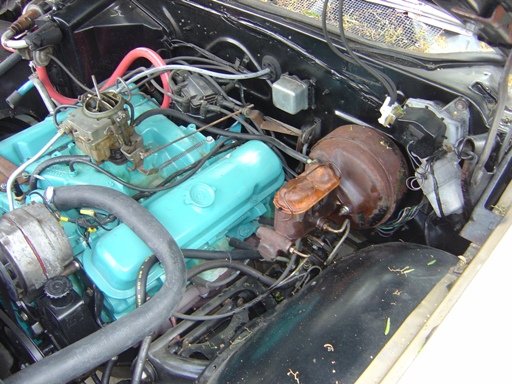
The old master cylinder. This is going to be removed very soon. Say goodbye! The proportioning valve will be changed and it's nice to see how easy it is to get to!

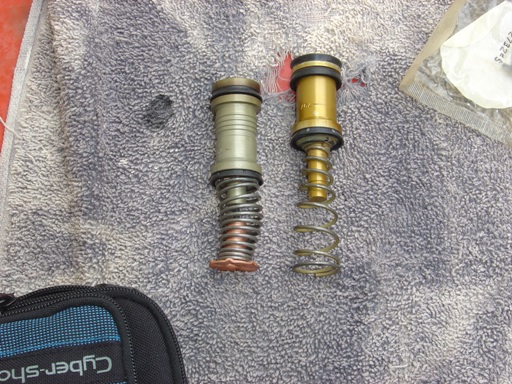
New piston the left, old on the right. This is the rear-most piston that interfaces with the booster.
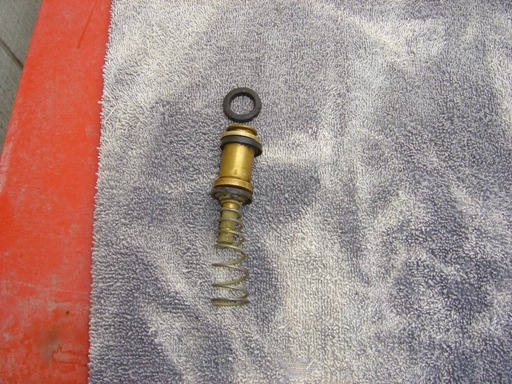
Old piston with one bad rubber seal removed. This is the first bore piston and goes in first (naturally).
Gotta make sure that the two rubber seals are opposite of each other to prevent fluid from crossing into the other reservoir and thus reducing braking power (pressurizing each other rather than the brake lines). The rubber seals in the kit were not perfect and one ripped trying to get installed. Good thing one of the existing one from the piston was still in good shape and could be reused.
Pistons are ready to install (make sure to lube up with brake fluid as I was reminded).
And the pistons are installed! C-clamp pliars make this job cake.
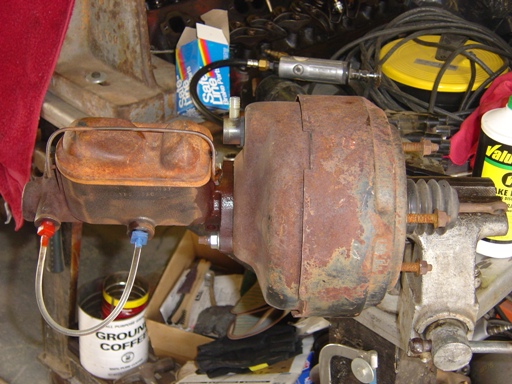
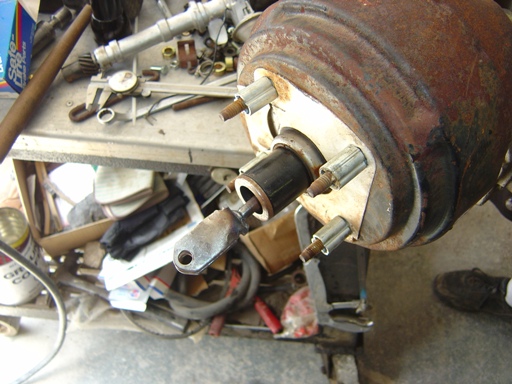
Bench bleeding of the master is finished and now we're ready to test the booster.
"Bench" testing the booster. It REALLY works and holds vacuum beautifully for being 40 years old. The car took a shot of brake fluid to the nose when we pushed the lever in.
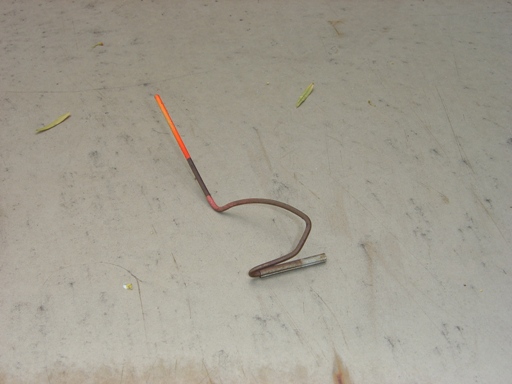
Anyone who can tell me what this is wins respect.
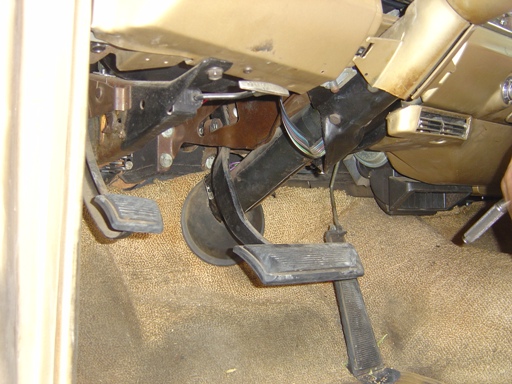
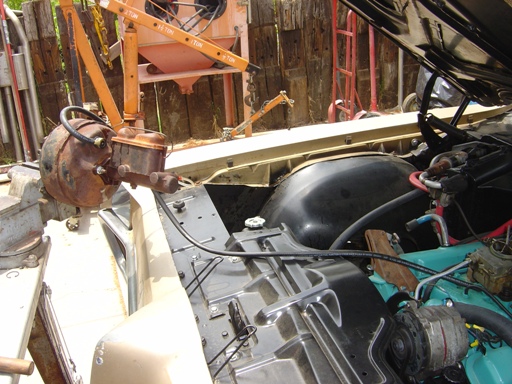
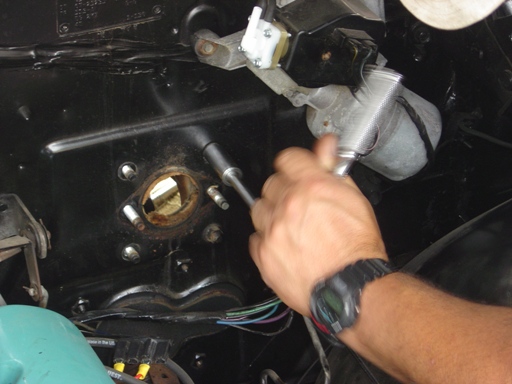
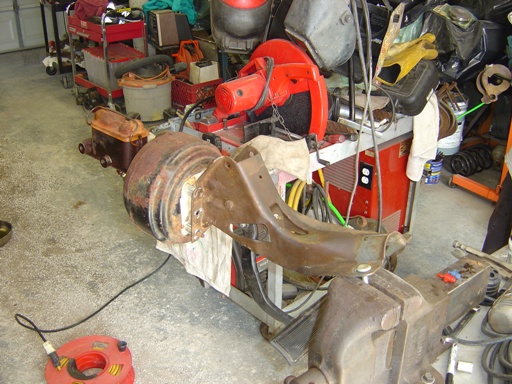
Since the bolts for the booster are on the booster itself but the car has the bolts in the inside, we need to remove the brake pedal assembly. Lots to get out of the way.
Some very heavy bracketry comes out.
Steve tries to decide which part needs to come out next (screw the manual!).

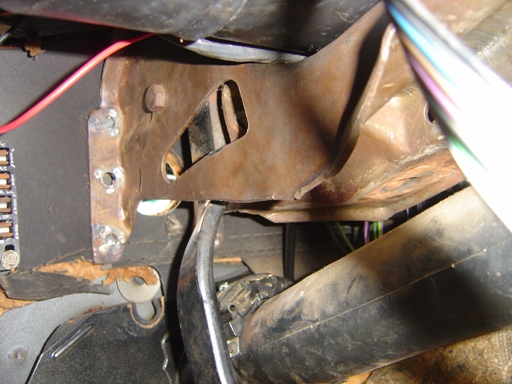
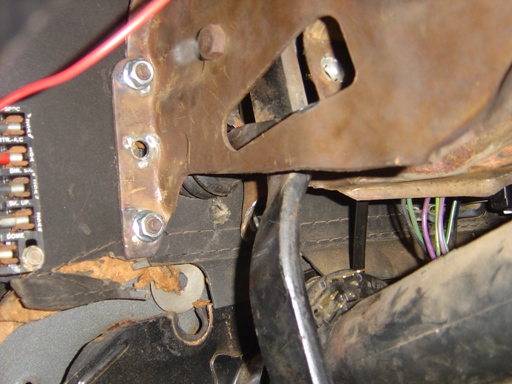
Metal plate has to be removed to drop the column to the seat. We need all the room we can get. Later cars have a joint here and don't need this plate unbolted, but not this guy. It had to be difficult. 6 sheet metal bolts in all with giant washers hold this plate down. Some kind of adhesive is used on the washers to keep them stuck to the plate, but after 40 years it isn't the strongest.
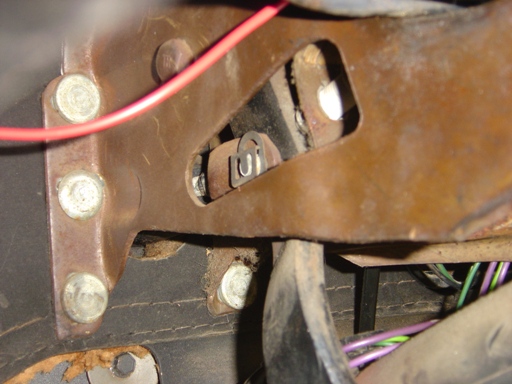
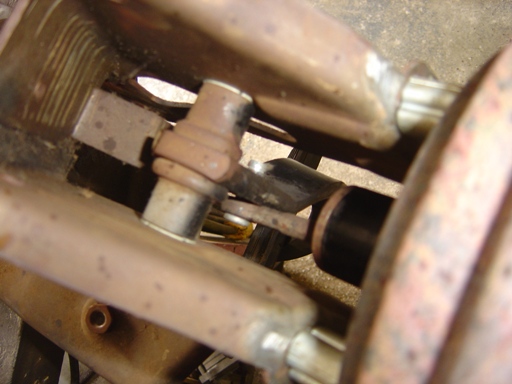
The typical clip that holds the pedal to the master cylinder. Millions of cars used this setup apparently. I'm not sure how they got the rod in on the other side, there's a giant plate in the way.
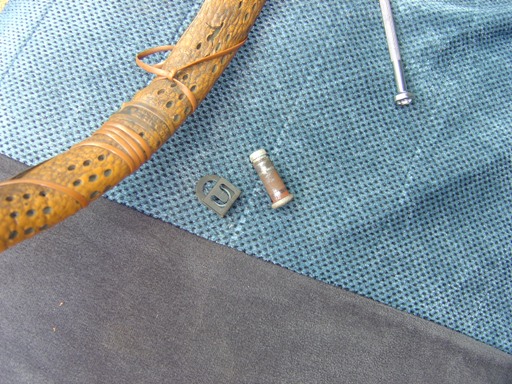
Pin and clip removed, for reference. Nice and clean!

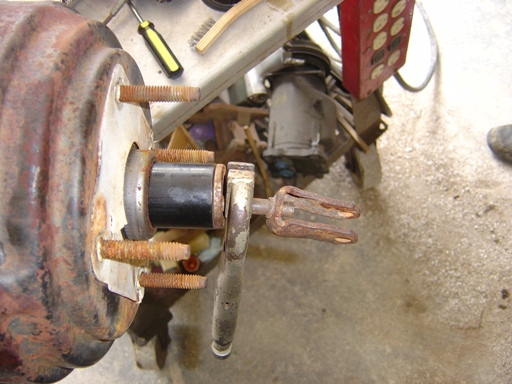
Olds master cylinder is removed. Check out that removable pedal extension that interfaces with the master cylinder and the brake pedal. Usually on a power brake car the booster serves this function, but this car uses it's own special linkage. It's in great shape too.
Now we have to get the pedal bolts off...
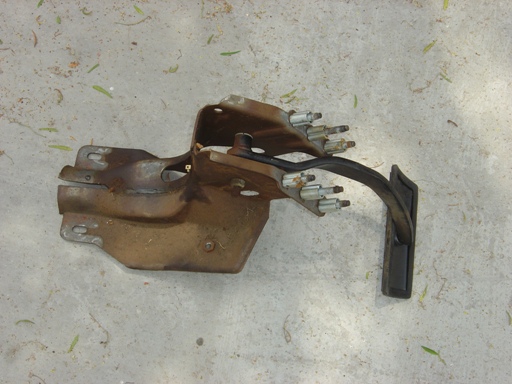
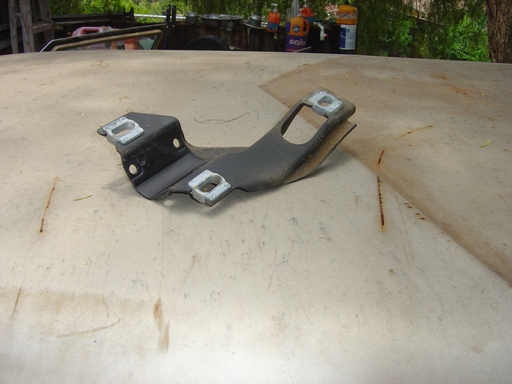
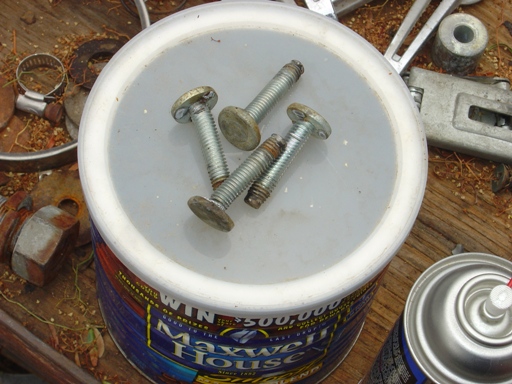
Brake pedal assembly is removed! Note the unusual coated steel spacers.
Very thick firewall insulation is visible. This car really was engineered well from the factory.
The blind bolts are spot welded in at the factory and required driving\chiseling out.
And several got pretty deformed... The pedal assembly got deformed too, but the steel is REALLY thick, so it went back in a vise with no issues.
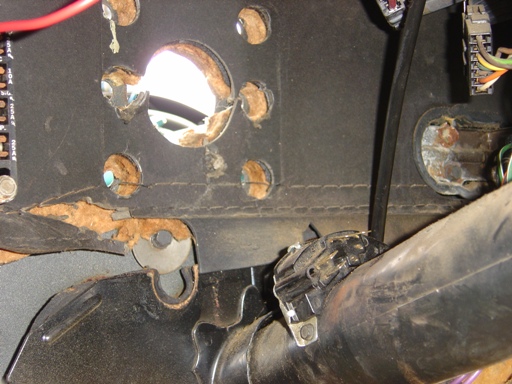
The brake switch hole (on the top) and a second unfilled hole (probably for a cruise control switch). This setup uses a nylon-like fitting that actually sets the brake switch automatically. You push the pedal in, push the switch in as far as it goes, then release the pedal. It pushes the brake switch out to the default location of the pedal and the switch is set! No more turning and testing\adjusting like on my older Trans Ams...
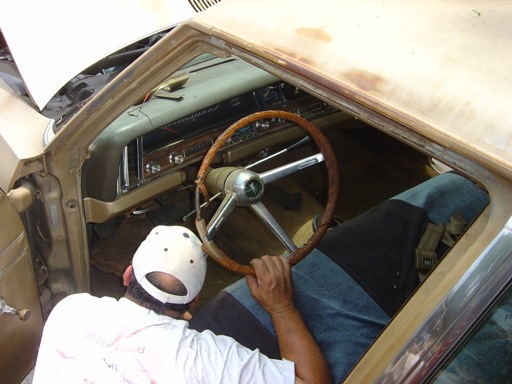
We're going to mock this guy up. No room to work inside the car and since we have a 1969 questionably original setup with a 1967 factory unusual setup, we have no idea what will work and what won't.
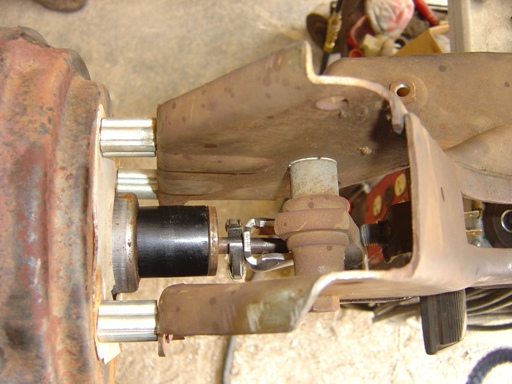
Well, the pedal is a ring setup and so is the booster lever. You can do it like this and offset the two, but this is asking for trouble. The 1969 Catalina setup either had a u-bolt setup on the brake pedal or the brake pedal was offset slightly to accomodate this (hence why I REALLY wanted the 1969 pedal assembly for reference). We need to do something about it.
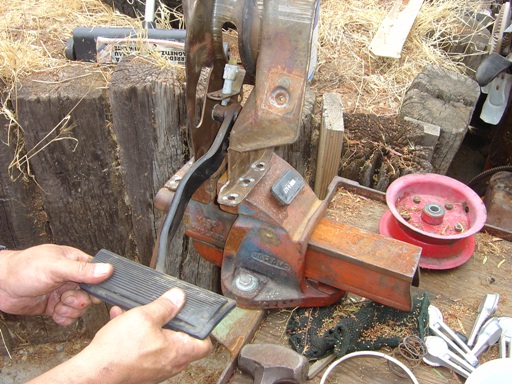
Grind off the ring on the booster and weld a u-bolt from a junk A-body on! No modifications to the original factory manual drum setup will be tolerated in case we have to ever convert back. I'm NOT hunting down rare B-body parts like that.
Test fit! Gotta mock it all up before doing any welding.
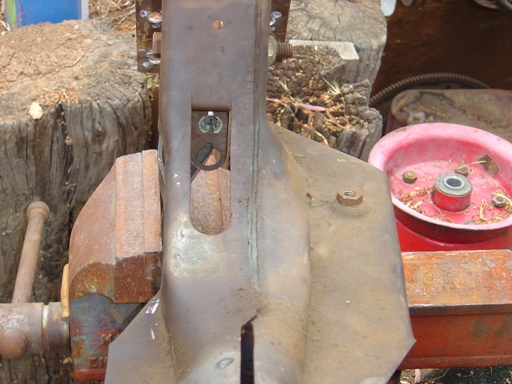
More mocking up. Really don't want it to bend (BAD news, a lever instead of movement).

Tack welded in place mock-up. Ground off enough material in case we need to drill holes in the u-bolt for pedal placement. Play in the pedal is ensured to avoid hot brake fluid expanding and locking the brakes (another "really not a good thing").
All welded up and done! It's not going anywhere. Unfortunately we now have a 1969 vacuum booster with a 1967 style fitting welded on. So what happens if it dies? Shops can rebuild these, we'll just have to ensure they leave this arm alone. If not, more fun will ensue!
Final fit and mock-up is done before installation.
![]()
Weld the spacers to the bracket. I really don't feel like fighting the 4 spacers while trying to line up to the vacuum booster.
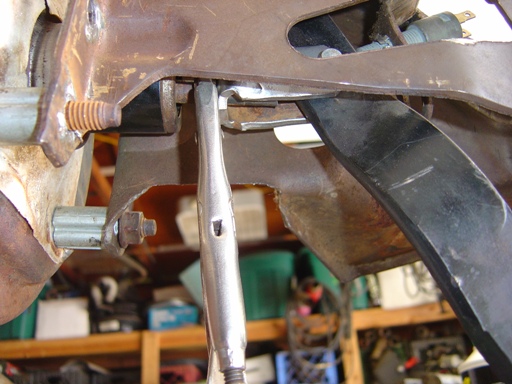
Pedal assembly is in.
Booster and master cylinder in.
Pedal is tightened down. Top right bolt is *fun* to get to...
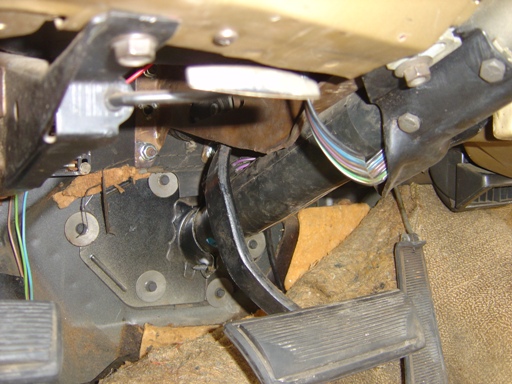
Plate is tightened down.
Under dash work is completed.
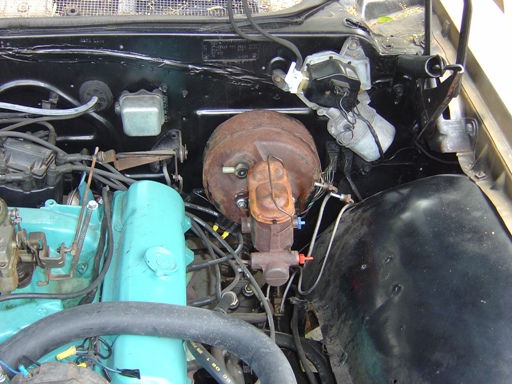
Booster and master cylinder plumbed up and ready to go!
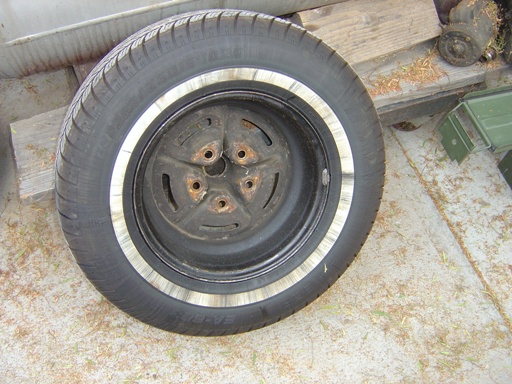
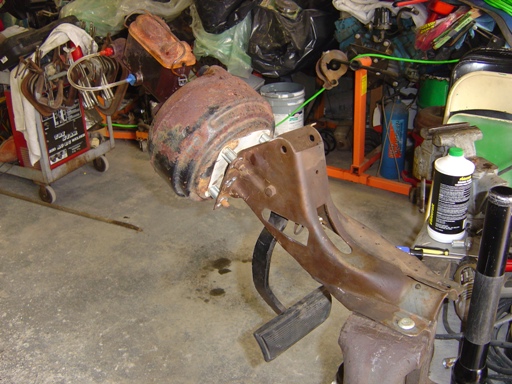
Wouldn't be a project if we didn't discover another. Apparently the axle bearing seal on the passenger side rear tire went out, spewing grease everywhere. The bearing is still good, but the grease is coating the rim, and likely the drum and pads as well, resulting in only 3 wheels doing the stopping. Good thing it's a back tire.
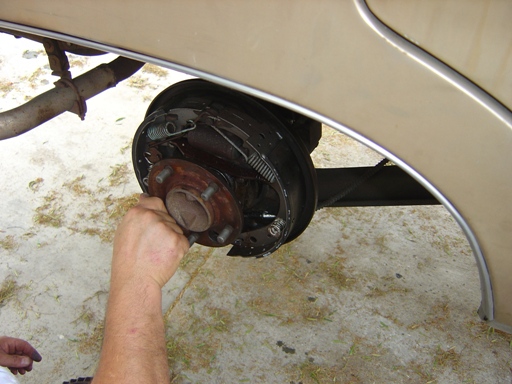
Yup. Grease everywhere. Gotta take the axle out to a machine shop and have it fixed. Steve said his GTO cost $60 per side when he had it done a few years ago. Couldn't have gone up much. And yes, both sides will be done at once to prevent having to do this again.
This was one really long day. We didn't even get the rotors mounted. Started at 10AM and finished around 5:15PM. Lots of fabrication and testing before finishing. The brakes are REALLY responsive now. I tap the pedal and it stops the car nicely. Just use a little finely regulated pressure and the car slows just like a modern one. Slam it and the cylinders lock and the car puts you through the windshield. Beats the heck out of having to stomp the pedal with both feet to slow it down. Tomorrow the rotors get put on and the disc brake conversion closes!
Back to '67 Catalina
Last updated June 24th, 2006