Radio Installation - Part 3 - 06/02/2006
This project is taking longer than I anticipated it taking. That's the price you pay for doing a job right. I could just throw some speakers on the dash and a CD player on the floor, but that wouldn't be as aesthetically pleasing.

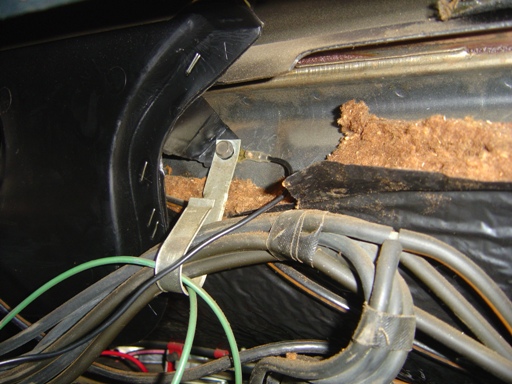
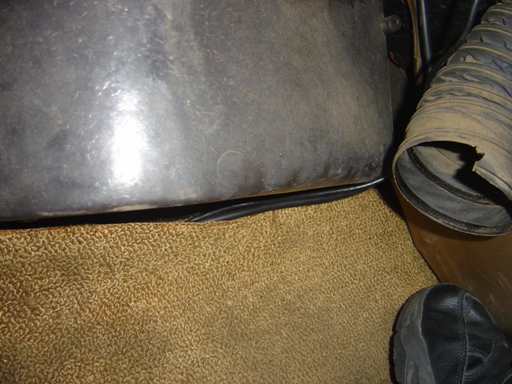
Fixed tab on the duct. It's JB Welded together. Should last a while longer.
![]()
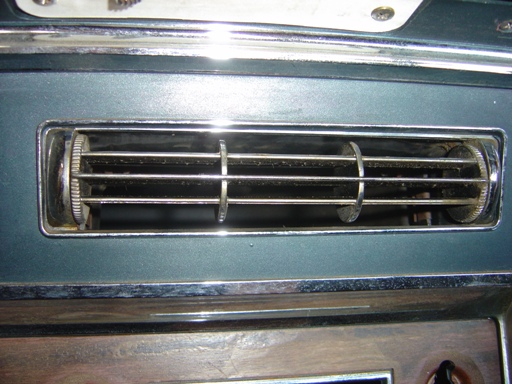
The one spacer left. It keeps the cylinder deflector in one spot so that vibrations and movement don't make it fall. Not having both is a problem as it will move.
![]()
My new spacer. A piece of styrofoam. I'm not happy with it, but it should work. It may squeak a bit, but that can likely be lived with, we'll find out anyway!
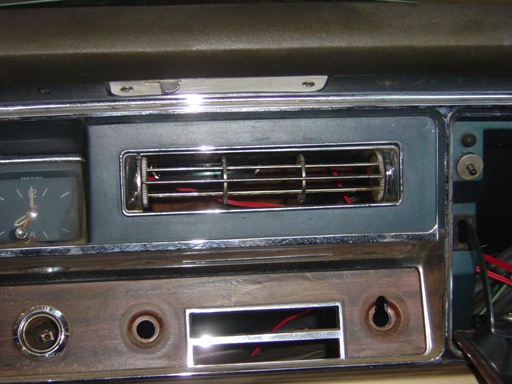
Vent is put back in. Speaker to vent clearance is making me nervous.
The upper air duct is in. It was a slight squeeze, but with a little careful massaging it went right in. Don't force it! Lucky for me the vent on the dash angles down, so it doesn't have to go up.

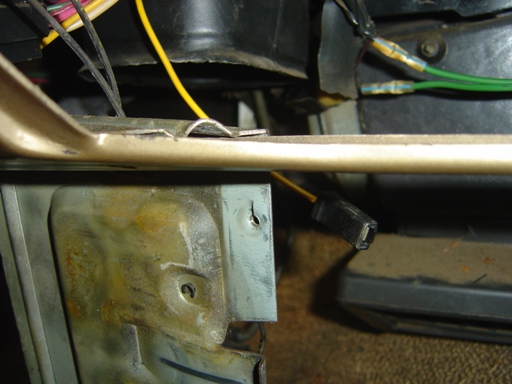
These are the two plugs that needed to be removed and reinstalled to get the upper air duct down. I really don't know why they were routed this way. That splice doesn't look like something the factory would have done (there is another set of splices in the glovebox area) but everything in this dash is so old and dirty I am having a hard time believing anyone has taken it apart. Couple that with all of the original hard to get at fasteners in the dash still being in place and I can't imagine this dash having been apart any time remotely recently... At least everything works!
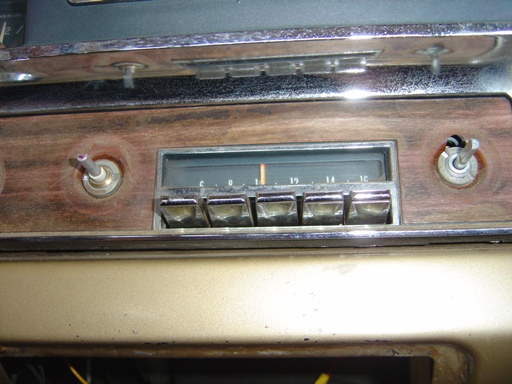
Old radio goes back into place.
Switched +12V for the new radio. Comes off of the factory radio connection. Makes me happy to continue to use this connector rather than cut into another harness connection.
Radio ground. Placed here on the firewall in this existing bracket (perfect size).
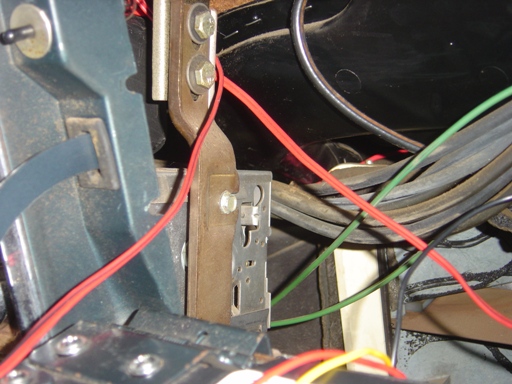
Just for reference, the factory radio mounting bracket. This braces the entire dash on this side and is removable easily from the bottom screws and almost impossible from the top two screws. It was about this time that I found the lost second spacer for the middle air vent stuck on a lip on the dash. Yay. I'm not pulling it apart again to replace it. I'll store it someplace safe for next time.
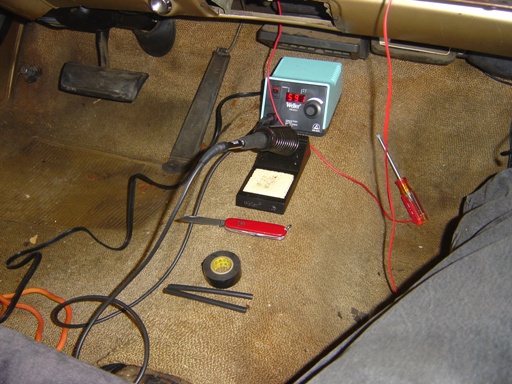
The soldering station for the wires. Solder them in rather than using the butt splices provided. I didn't feel the supplied connectors were very strong connections and I don't want to have to pull this apart again. Not to mention a good solder joint is as good a connection as you can get. This allowed me to cut off the 4 feet of wire per speaker not needed. Custom Autosound supplies like 6 feet of speaker wire per speaker channel (2 in this case), good for trunk mounts, not needed for my dash mount.
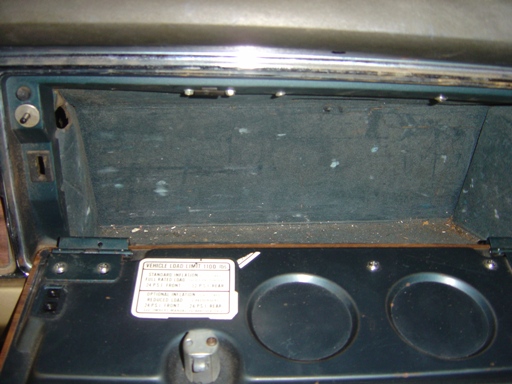
Glovebox goes back in. Cardboard... what the hell were they thinking? All of the screws were in the glovebox at least, so I can remedy that common problem of missing screws.
And the only two cables visible, and barely at that. This will almost be covered by the lower air ductwork.
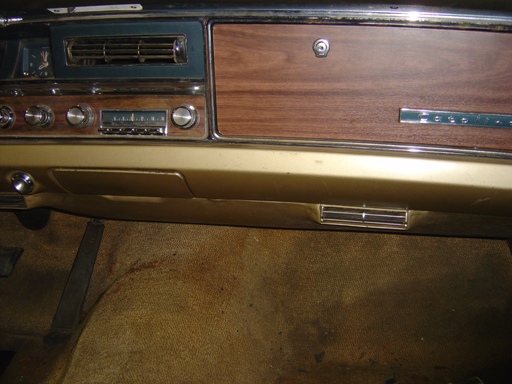
Look at that! The dash is all back together!
The radio works quite well. No problems whatsoever noticed so far. CD changer works good. All that is left to do is clean out the floor REALLY good (lots of dirt and trash to vacuum up), check for CD changer fit with respect to the seat, mount the changer, and then put the seat back in. And then I'm done. Quite an involved process. 4 days so far of involved work.
Back to '67 Catalina
Last updated June 4th, 2006