Dash & Firewall Restoration - Part 9 - 02/28/2015
Today is the day we make major progress! After last night it's time to finish the electrical in the dash and get the heater running and test everything. But first things first...
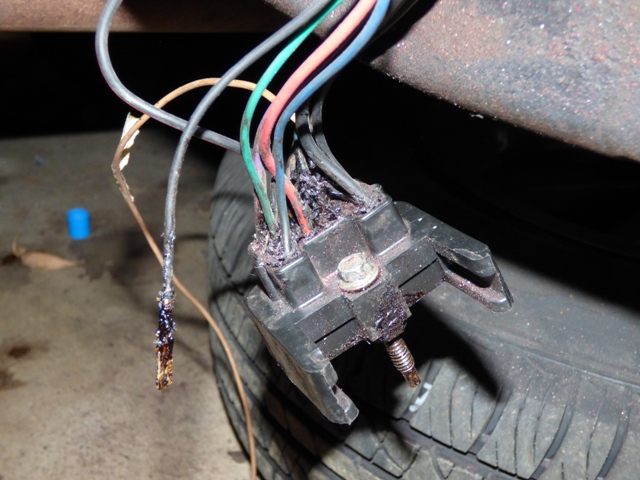
De-pinning of the coil wire. I have a nice HEI lead I want to install. Everyone says this is also the resistor wire, which it is in 1972, but let's make sure...
Test the impedance of the wire.
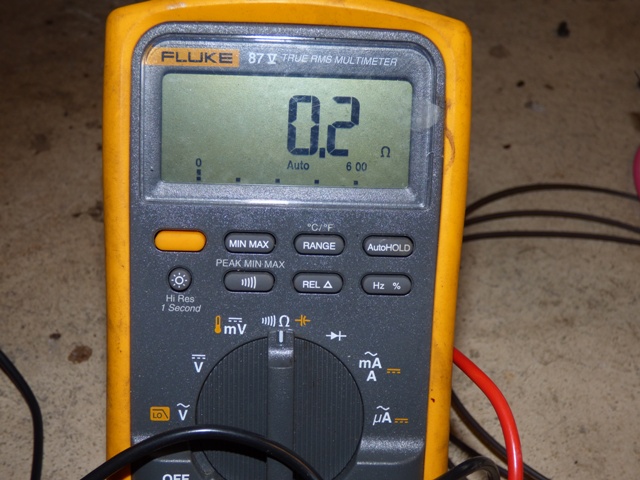
The impedance is only 0.2ohms, which is the same as the test leads. So this isn't the resistor wire. That means it is probably in the instrument panel harness...
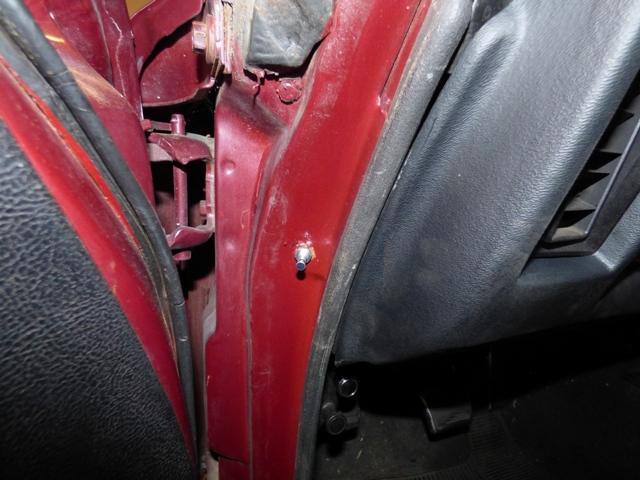
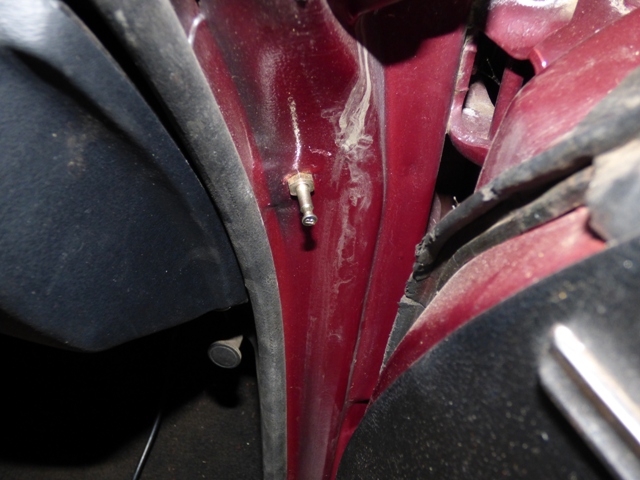
Here we are. 1.5ohms from the IGN2 terminal to the Y-B terminal at the firewall junction block. The factory used a 1.32ohm resistor to lower the coil voltage when running to 9.5V, which will fire an HEI but not even close to optimally. I want optimum firing, so the solution is to remove the resistor wire and run a straight wire.
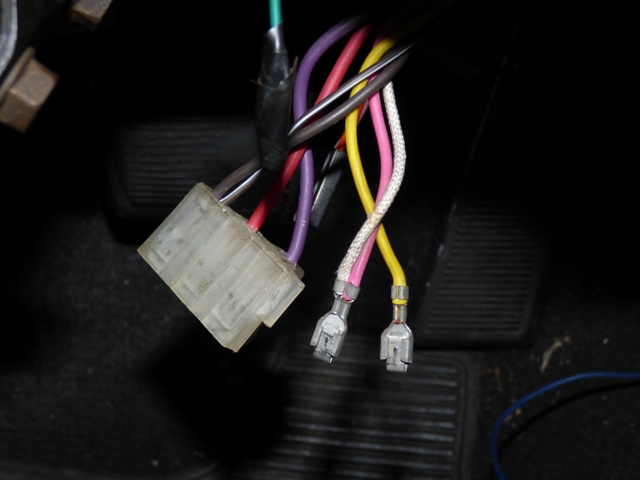
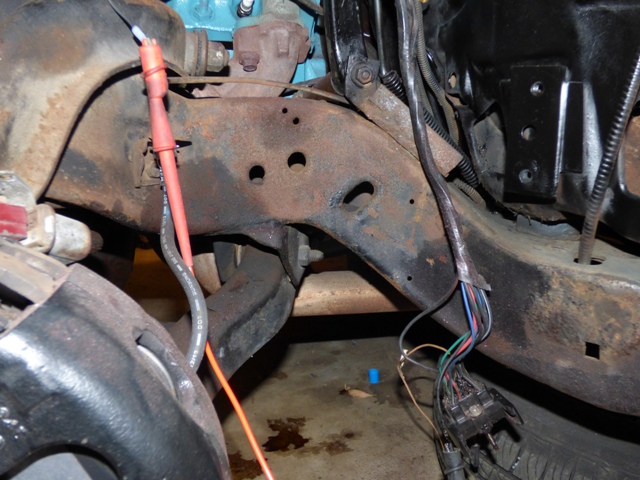
The resistor wire is the silver foil covered wire that is attached to the pink. The yellow is the IGN3 terminal that feeds full 12V to the coil when cranking. Jumpering these 2 terminals together yields 12V all the time without cutting or damaging the harness should we ever want to go back to points.
Soldering doesn't necessarily work and I'd rather not trust it to a bad solder joint or poor crimp, so a jammed 14GA wire will suffice. It isn't going anywhere after quite a few hard tugs. The impedance of the terminal now measures 0.2 just like the one outside.
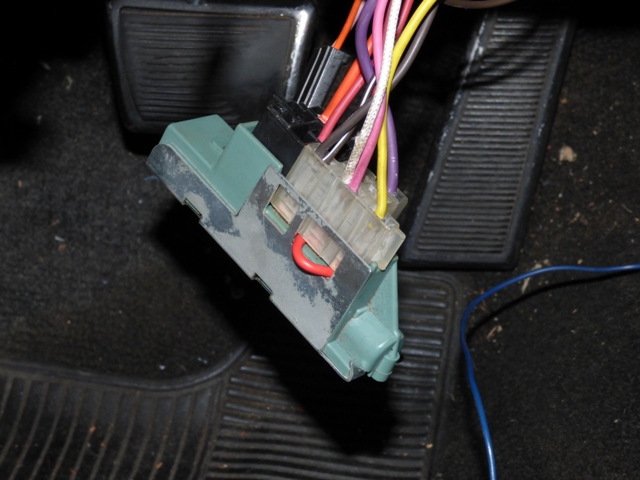
Harness completely put back together and junction block is ready to go. All switches and interlocks taken care of, parking brake wire and floor dimmer switch restored. All wires are also tucked out of way to ensure no snags or tugs too.
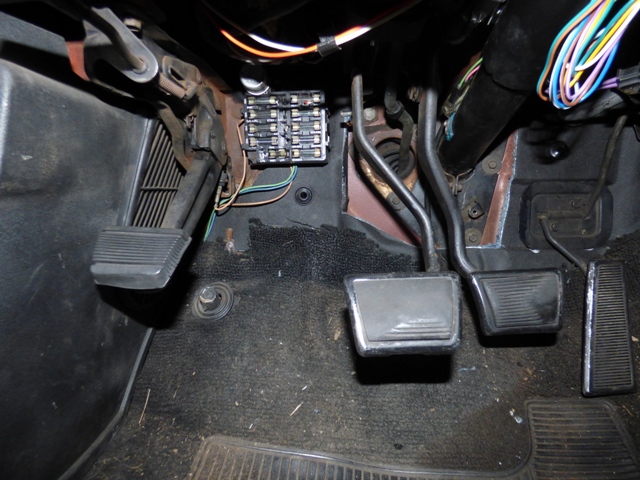
Engine and headlight harness put back together and ready to go. Wiper motor\washer and horn relay also mounted back and functioning.
Door jamb switch is installed with new switch to replace old broken one.
Both doors will function. Yay!
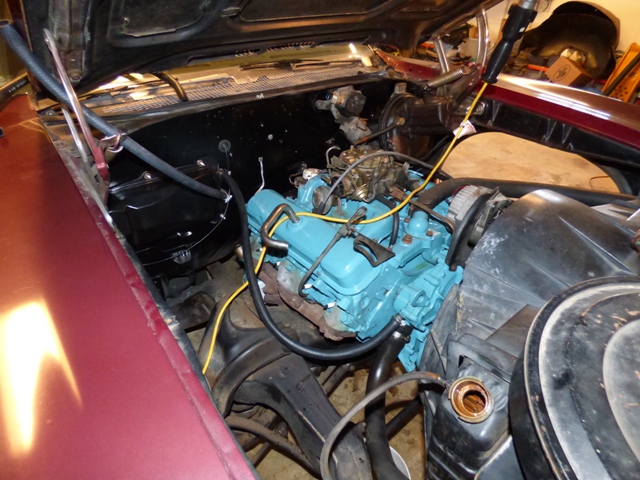
Need to hook up heater core. This was fun, since the petcock in the radiator is broken and it won't drain from there. Had to remove the water pump return line and drain it down, making a giant mess the entire time (naturally). The coolant that came out is partially green and mostly brown, so it will need to be replaced. And since the radiator will be needing replacement, I will take care of it then. I used the heater core feed to put coolant and water in to ensure it doesn't leak. Also added was a 1/4" hole restrictor drilled in a piece of 5/8" round stock. This was placed in the heater core feed from the block by the distributor to prevent high RPM bursts from having the potential to burst the heater core - Pontiac even had a service bulletin detailing how the dealers were supposed to install it to handle warranty heater claims. Since the car has 3.55 gears, I'd rather not run the risk of premature heater core failure...
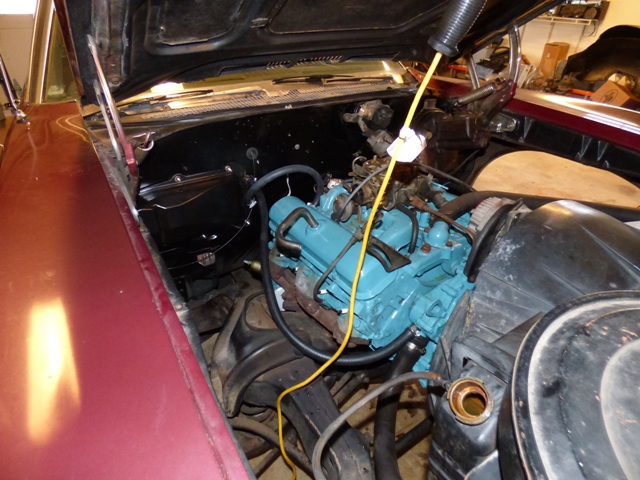
Heater core is all plumbed up. Ready to go!

New proper HEI plug wires are installed. Tach and battery connections just like factory!
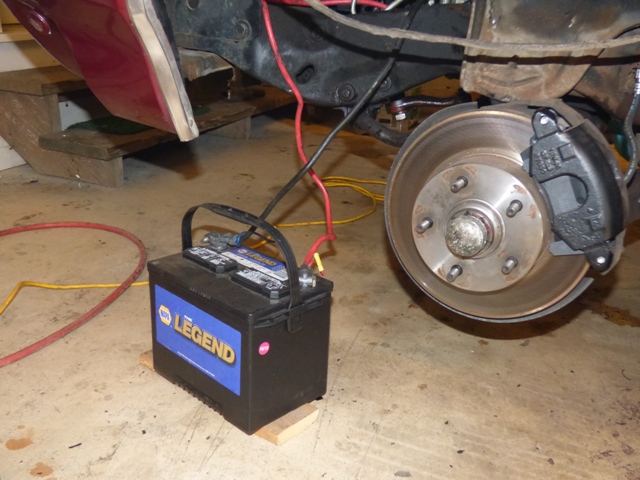
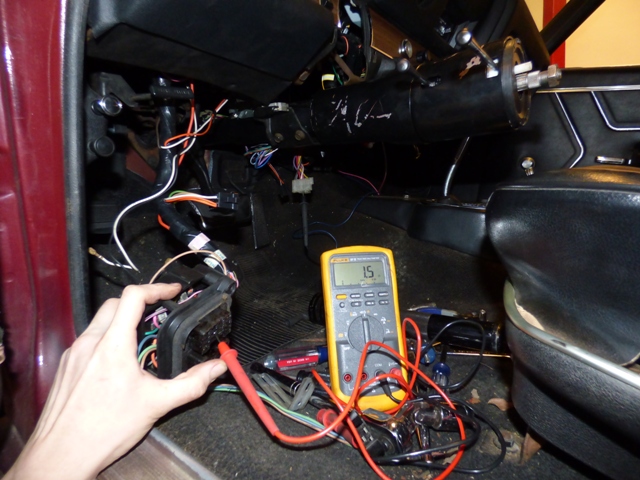
Time to test! I love my setup...
Everything checked out on the first try. The turn signals worked, the temperature and oil gauge worked, the tach worked. No fuel gauge or dome lights and I started to panic... then I realized that I had forgotten to plug in the rear body harness to the dash harness. Easy mistake to make, fuel gauge and dome lights worked great after that. Temperature got up to 195 without issue, heater blower works great and blows hot air at dash for defrost and the floor for heater. Heater setting gives a slight defrost as well, which I'm happy with. I also realized that you can adjust the amount of defrost by sliding the lever partially between Normal and Defrost. I R SMRT. No leaks at heater core either. Spilled a bucket of water not once but TWICE. Of course.
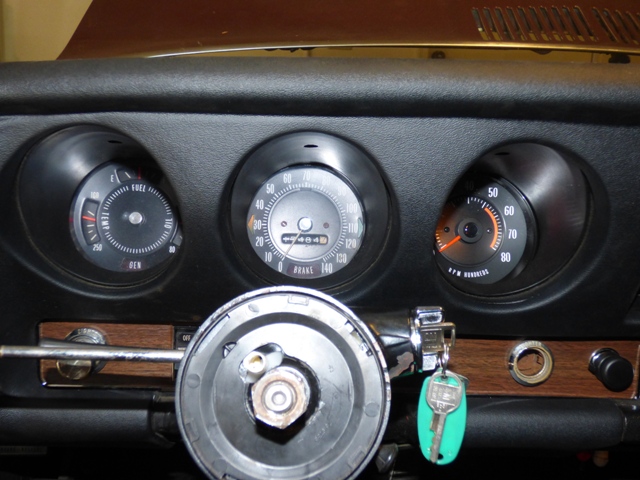
Radio is tested and works, glove box light works as intended, dome lights work with the doors, and after MUCH angst and contorting, the high beam indicator and parking brake light work - the socket for the high beam indicator was broken and the dash harness plug was not fully seated. All dash lights also work. The tach is actually a pretty quality piece, I'm impressed. It will slide all the way to 8k RPM on turn-on as a test just like a modern car, and will zero itself when you turn it off. All without any fancy parts I've had to jury rig. Not bad! Oil gauge is still a little flaky but it's 45 years old and to be expected. Now all I need to do is reinstall the inner fenders and battery tray up front, re-paint the scratched portions of the steering column, reinstall the steering wheel, install the rear speakers, run the wires for them, and put the glove box back in and this project is DONE. I'll move on to the weatherstripping and rear window adjustment afterwards as part of the next part of the saga.
Return to 1969 Lemans
Last updated February 28th, 2015