Gauges Install - 05/31/2014
Flying blind is a bad thing. Not knowing oil pressure or temperature in a car makes me nervous, so I don't like to do it. In an effort to improve the knowledge of the car's internal workings, I had procured a set of gauges a good long while ago to install and make it known. Time to install them!
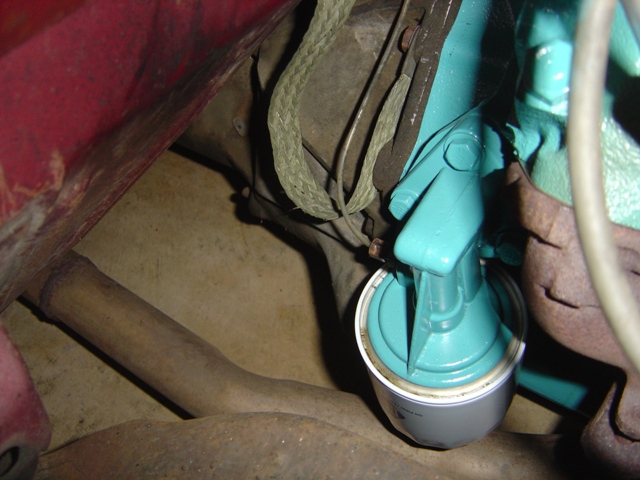
First thing to do is get rid of the mechanical oil gauge and that involves removing this plastic line (plastic is such a bad idea near the exhaust anyways).
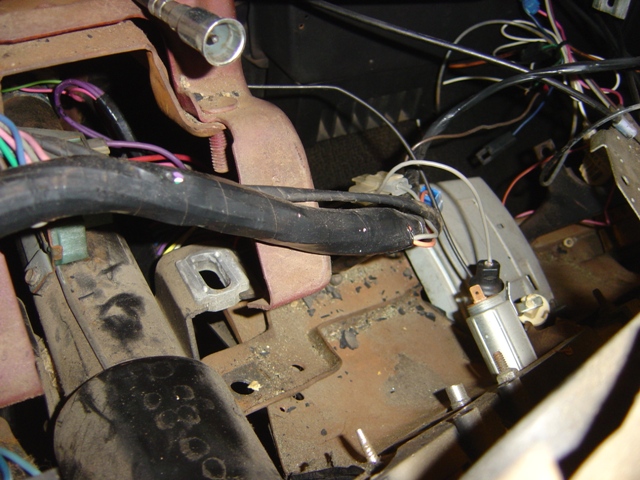
Known good 80psi oil pressure sender that came from my '75 Trans Am. Little elbow makes it that much easier to install and get to. Having the factory rubber plug is a bonus as it makes that cool little snapping noise when it clips into place.
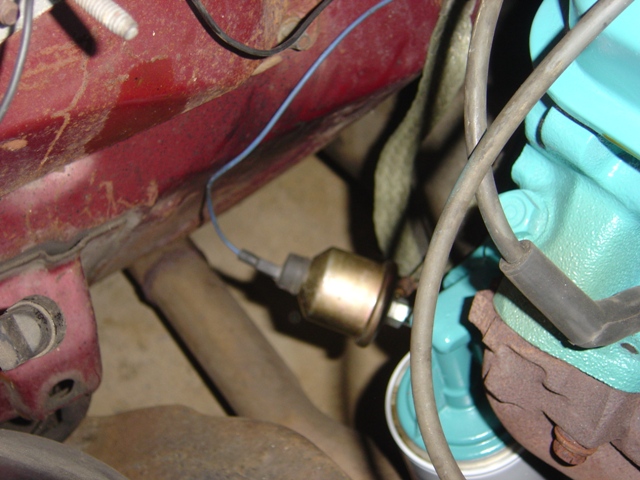
Temperature sender is in the head on this engine, so the wire has to stretch slightly. The factory put the sender in the intake water crossover in these years but switched to the head in the mid 70's. I prefer the head because it's more accurate a temperature of what's going on.
Have to drop the dash to get this done.
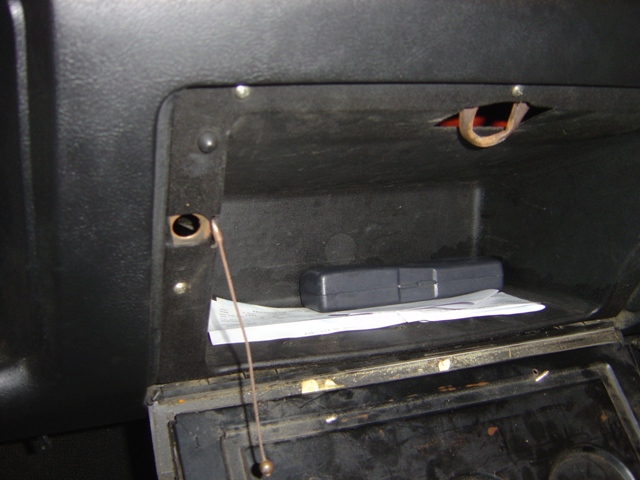
Removing the glove box too!
This is special. Half the wires here are zip tied together and the other half are chopped off. That black wire is the blower motor wire, cut right off. This was a newer harness too, someone really took a pair of scissors to it! I have no idea why. The heater core box also is hooked up all wrong on the cable sliders too. That's a job for another day.
The plastic and metal vents are all hosed up. They can't close or move and the wires are all bent.
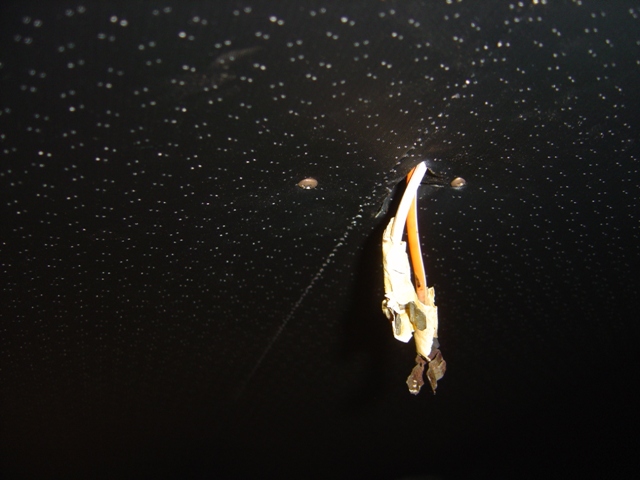
The defroster duct is just hanging out too. Note the zip ties for the "tach" someone put in.

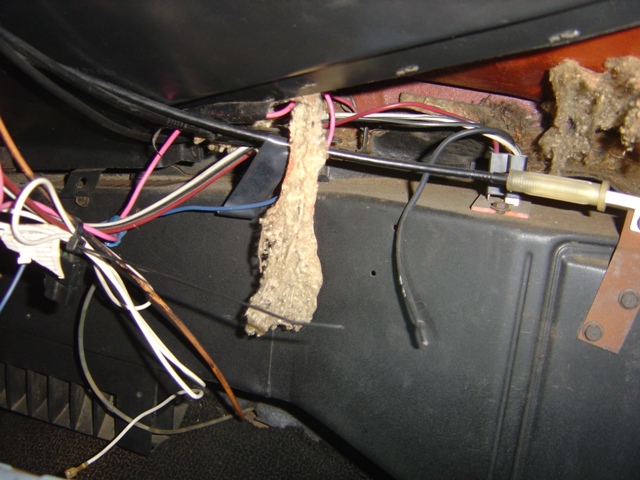
Defrost duct still hangs out and goes nowhere. It's all broken and missing chunks. Will be removed and replaced later on.
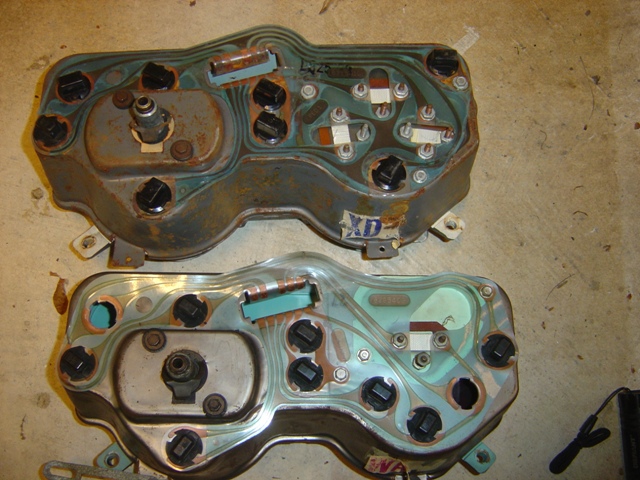
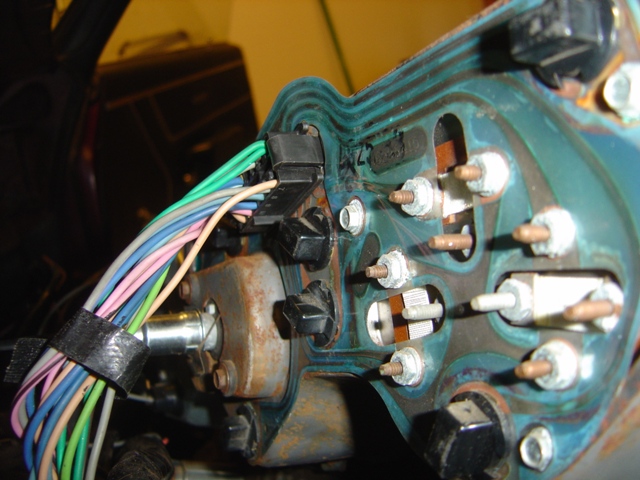
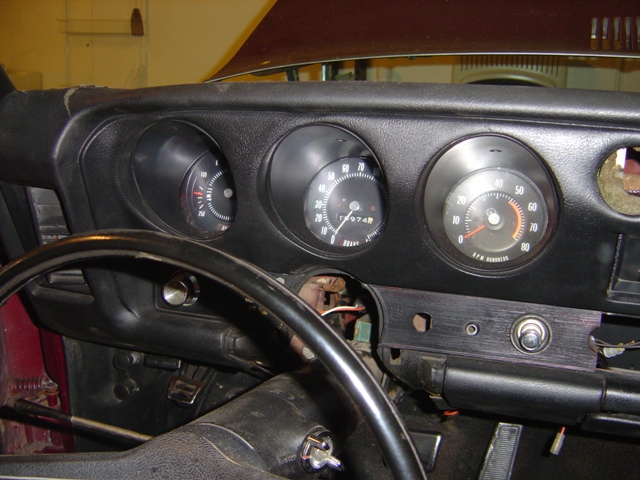
Compare the 2 different types of clusters: gauges on top and lights on bottom. Seeing no socket installed in the temperature indicator makes me feel better because that explains why it wasn't working! Looking at the two printed circuit boards you can see that pin 5 & 7 have to be swapped.
Pin 5 is the upper row 2nd on left, pin 7 is on the lower row far left. This plug is labeled to make it easy.
Tiny screwdriver and the pins pop right out quite easily. The dark brown wire seen here is the generator indicator and the tan wire behind it is the fuel sender - these two have to be swapped. If you don't swap them you'll put +12V on your fuel gauge and make it die.
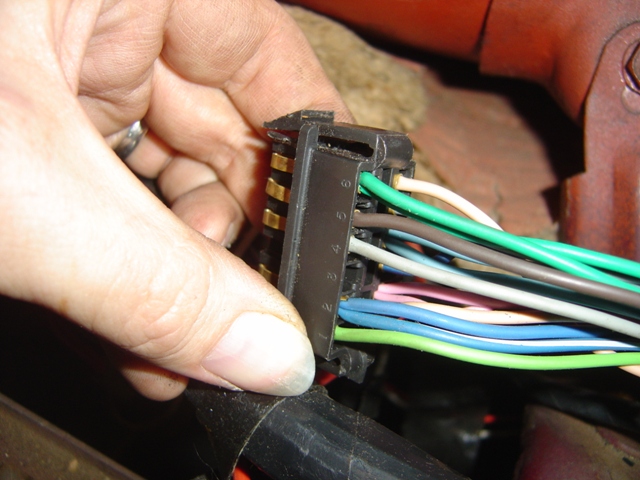
Swap done. Brown on pin 5, tan on pin 7.
This cluster looks like it was a clock at one time, it's got the right holes in the back and one in the front and is labeled a Borg Warner part. I've seen this font on an 80's Monte Carlo and Grand Prix, so I'm wondering if someone swapped the guts from one into the clock cluster.
Hole where the tach was. The old grey clock harness was chopped up and no good.
Snaking the tach wire through the existing hole.

Tach installed! I went to check the lights on the tach and the wire harness for the lights disintegrated and both bulbs fell inside the housing, an eye rolling moment if there ever was one. Fortunately I had bought a new harness just in case and installed it with new bulbs ($5 well spent). Brown tach lead from the hole is installed too.
Cluster is installed. It's so much easier to clip the speedometer cable in from behind and above like this rather than down below where you can't get any leverage. All of the metal tabs that ground the dash are also present even if the photos of them didn't turn out well (the wiper switch tabs all broke unfortunately).
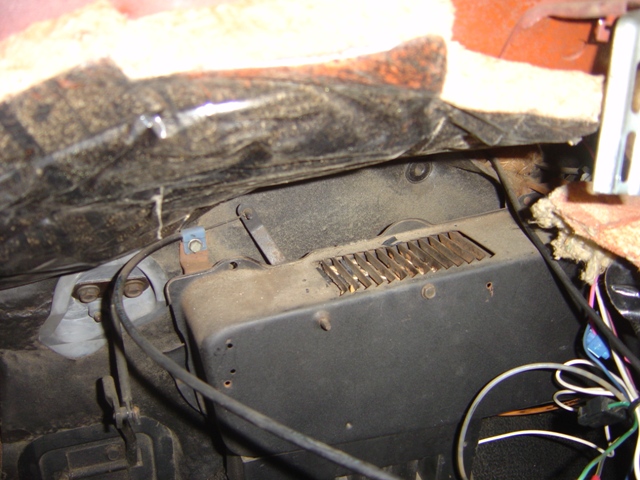
Sunflower seeds on top of the heater box? Either someone liked seeds or a rodent felt the need to get in here...
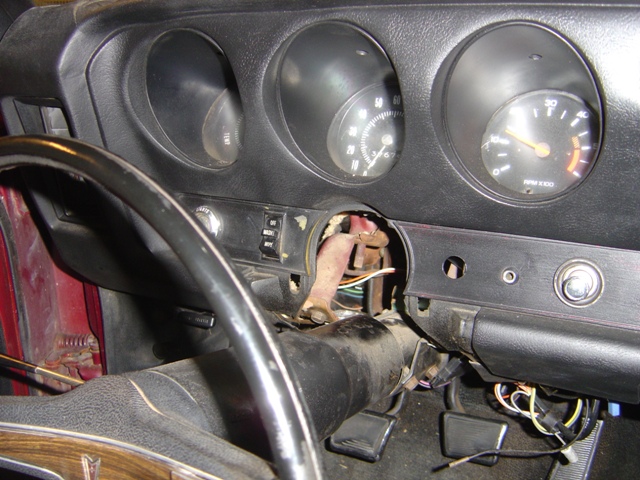
Dash put back in. Note gaping holes where someone used a hole saw to put their aftermarket gauges in that I've removed...
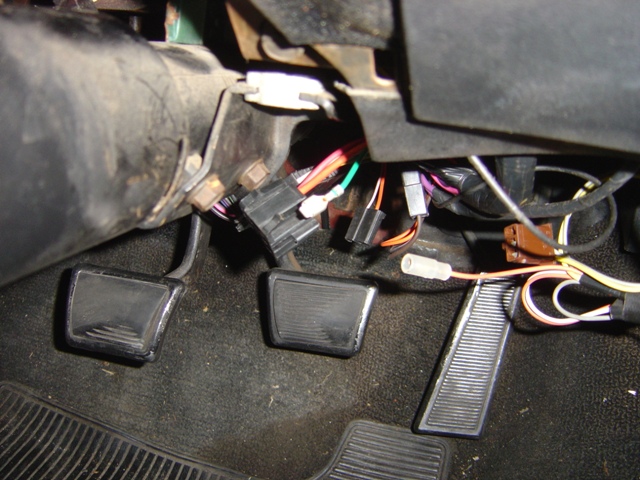
Pull out the green wire from the IGN3 terminal on the ignition switch: it tests the temperature idiot light to prove it's still working by grounding this lead when you are cranking the engine.

Tape it up and out of the way. If you ground a gauge it will peg hot and eventually stop working...
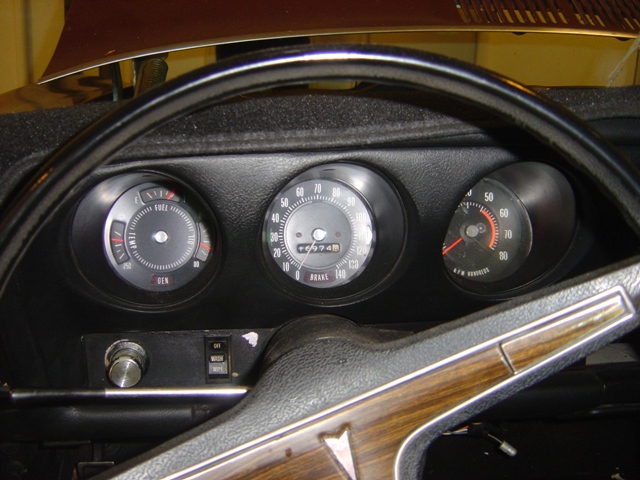
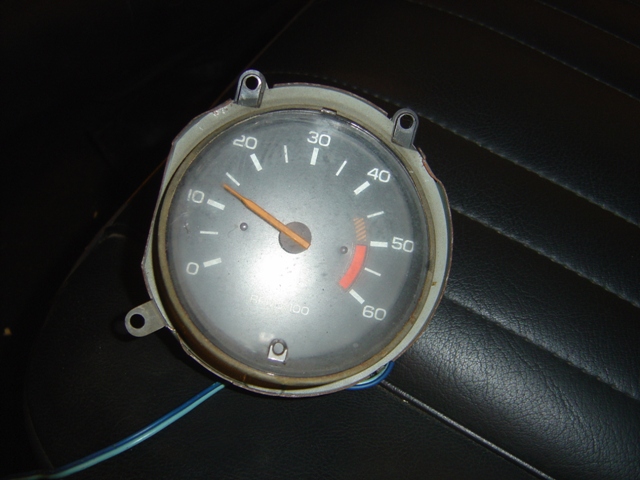
Engine all fired up and running and let to get up to temperature in the garage. Needle indicates just above the 2nd notch, which on most GM cars of this era is roughly 180 or so degrees. Oil pressure is 60psi which the mechanical gauge used to show. Tach indicates zero because it doesn't work with HEI properly, I need to fabricate a circuit that will interpret the HEI adjusting the dwell to a constant dwell for the old style tach. It's pretty simple, a few resistors and a transistor. Just need to do it. The cluster itself is from a 1970-early 1972 car as you can tell by the 140MPH speedometer. It was a 120MPH speedometer originally in 1969 and in 1968. I like the bigger numbers even if I'll never get there.
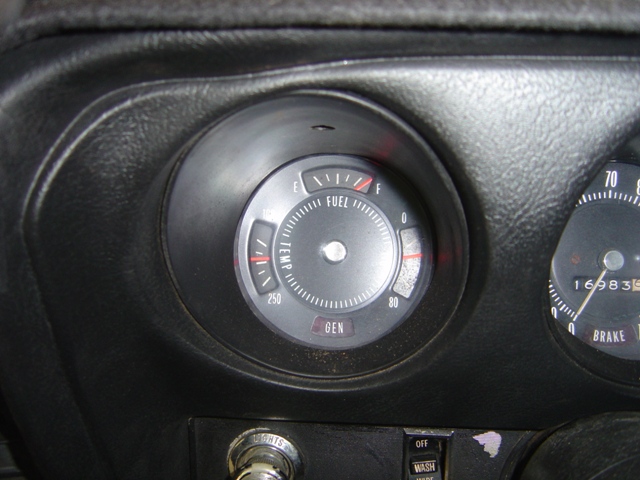
This is after blasting down the turnpike at 60MPH as much as I dared for a good 5 miles. Engine all warmed up and hot, likely sitting at 195 or so in the head, so this being close to the middle notch is around 200 which indicates that the sending unit is working correctly for this cluster. Oil pressure is around 20-25psi at idle too, which is what the mechanical gauge used to show also. So the gauge install is a success! Note broken wiper switch. This makes me sad, but fortunately it's easy to fix as the plate with the plastic pieces is easy to get and easy to change.
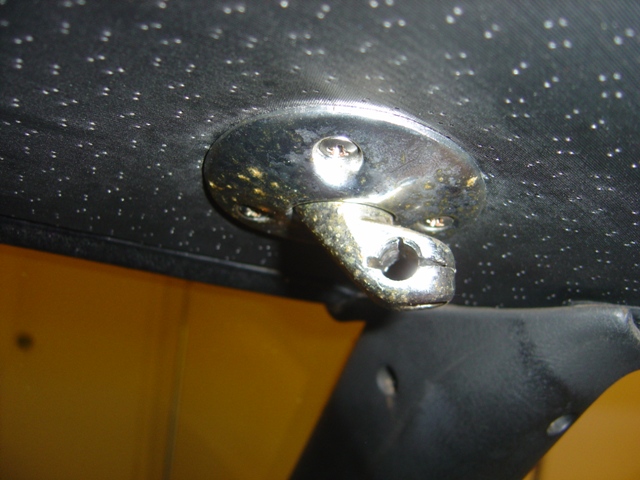
Now that the gauges are in and the car is running well, time to focus on other important quality of life items. The sun visor on the passenger side would flop down, which Audrey absolutely hates. Need to fix that!
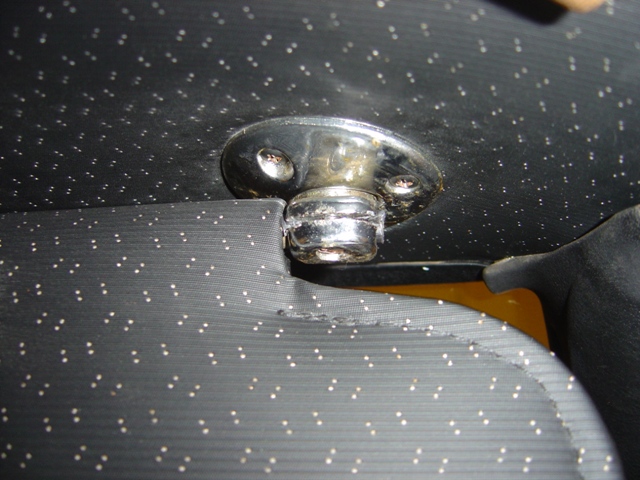
New plastic bushing installed. Of note is how difficult it is to install this and the visor back in when someone has cranked the set screw down HARD over 45 years rather than replacing the plastic bushing...
Visor now stays up!
I like having a light in the car in case I need it, this car didn't have that.

After putting a new housing in, cleaning up the terminals, and cleaning up the headlight switch ground (which is where the dome light is grounded) it now works! I have a light that operates based on the door and based on the dash switch! Yay!
Well that was a busy day. Only things left to are to get the new steering box installed with new (non-leaking) power steering hoses, install new steering column with backdrive linkages for saftey lockouts and reverse lights, and build the tach adapter to drive the tachometer accurately! Progress is a beautiful thing. Need to do the heater core and ventilation system fixes one day too but they aren't high priority now. The guy who had this car before me was a complete hack and a butcher, sad to see, but very satisfying to fix!
Return to 1969 Lemans
Last updated May 31st, 2014