The Clutch Spring Saga - 05/29/2014
In an effort to improve the safety and driveability of the car, I located quite a few parts and brackets. New wiring harnesses, backdrive linkages, and the clutch return spring. The clutch return had been mickey moused up and was causing problems in the steering column, so it needs to be replaced.
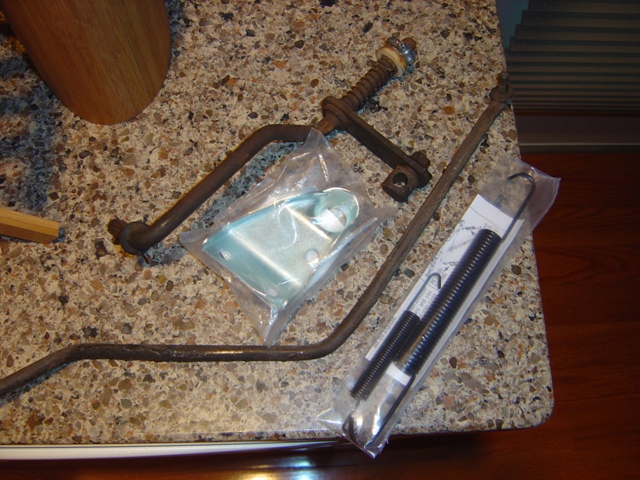
Parts! The clutch return springs and the equalizer bracket. The bracket is what the backdrive linkage (pictured) pivots against on these cars and the clutch return spring goes in that extra hole. This car had none of that installed on it... The backdrive linkage turned out to be for a Trans Am, so that part has to wait for another day...

New breather tube, lots of little grommets and washers and springs to make everything work together.
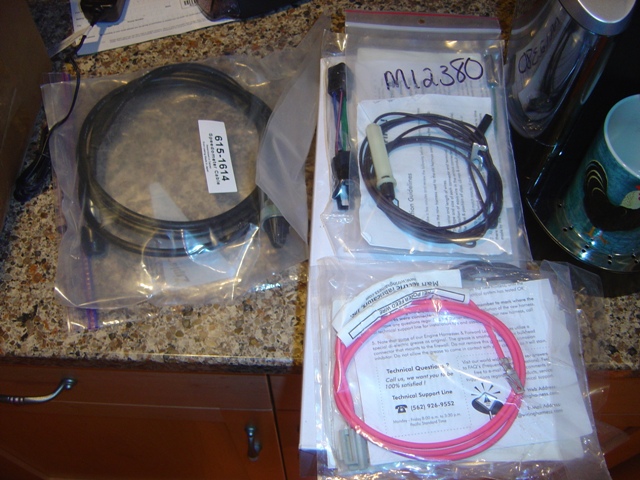
Tach harness for the car, HEI cable with proper plug, and speedometer cable (the longer variety).
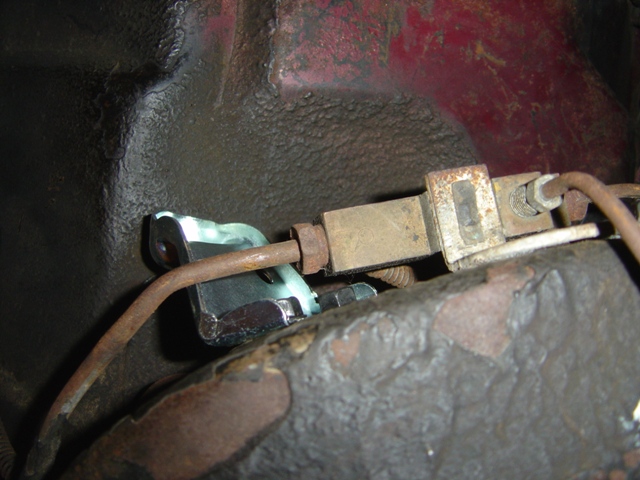
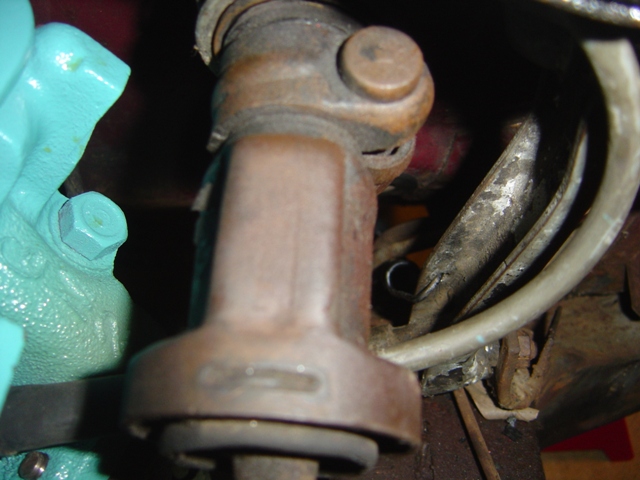
Equalizer bracket mounts to the frame right here, next to the distribution block for the brakes.
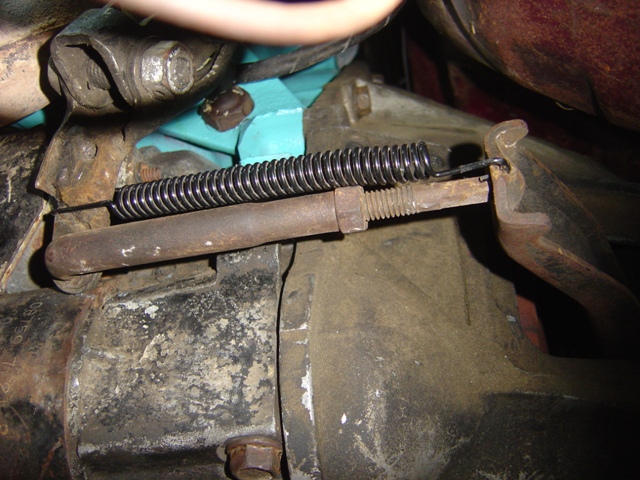
And after 3 hours and a LOT of effort and grief, the spring is finally mounted and the bar is mounted too.
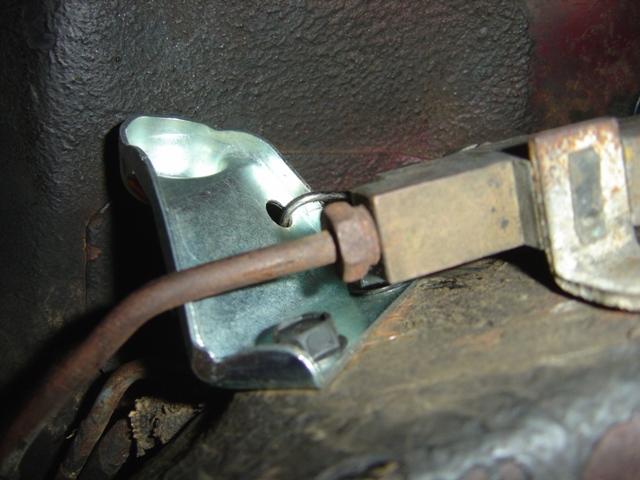
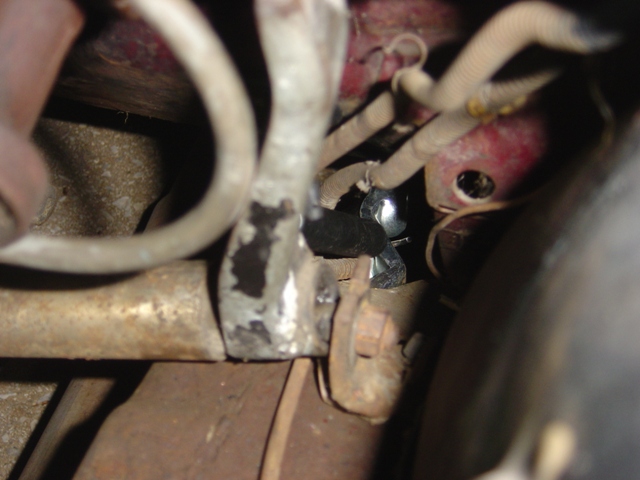
The spring clips into the Z-bar as shown below the steering column.
The spring has to stretch a good ways. As you can see, compounding my issue to get this installed is all of the wire covered brake lines had been bent in any haphazard direction, interfering with my ability to get the spring in. Once they were positioned slightly out of the way, no more interference. Having the distribution block not mounted to the frame assisted in this job.
You can see how the equalizer bracket is pivoted slightly but very strong to keep its form. The ONLY way I was able to install this spring after 3 hours of grief, cursing, and bashed knuckles, was to put the spring end on the Z-bar, the other end on the bracket, and STRETCH the spring using the bracket as a lever. I would stretch it just far enough for one of the bolts to start threading in to the frame (straight of course) and then once it was in a good ways, used my channel locks to rotate the bracket far enough for the last bolt to thread in. Then tighten it all down. For as much effort and strength and cheating as it took to get it in, that clutch sure is nice and light feeling. I like it. The previous spring was a MONSTER and would wear out your hip and knee within a few minutes of shifting.
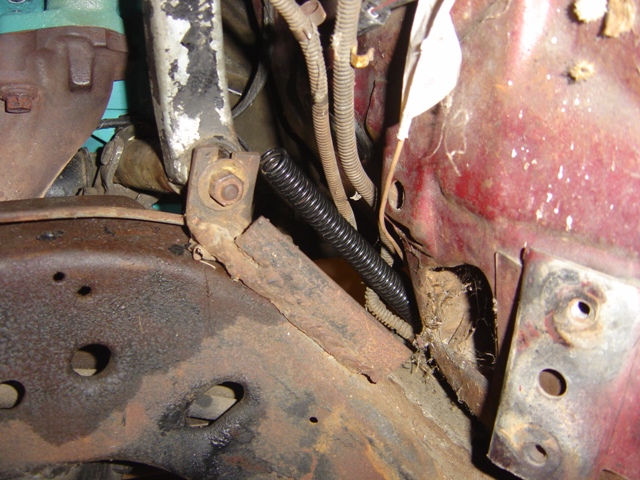
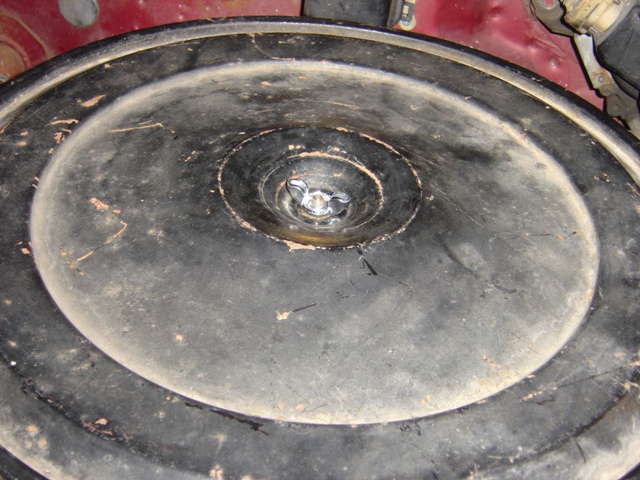
The anti-rattle spring. It looks a little haphazard because it IS. See that square end on the right? That's correct. See that rounded edge on the left of it? That's WRONG. Because if you look at the bracket near the bolt, instead of being a piece of solid metal, someone has slagged a gob of metal all over it, like they cut 2 different ones in half and welded them together (it isn't as best as I can tell). This resulted in filling the hole that the anti rattle spring is supposed to clip into. Getting this spring in only took 45 minutes, but was still rough. That bar will have to be changed "one of these days" but it's NOT high on the priority list because all of this assembly has to come out to get it out...
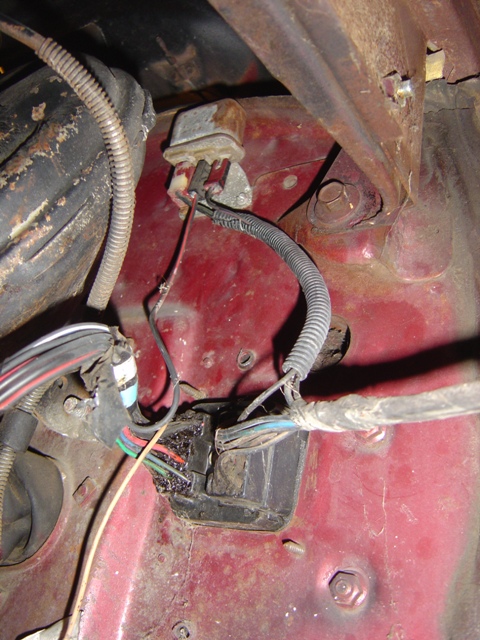
I pulled the engine harness out to find I had 3 bent pins in it. That was special. The dash harness where the fuse box is right behind this was not put in correctly so it misaligned the pins when you put it together. I do not know how the previous guy who worked on this missed it. I straightened everything out and re-installed the dash fuse box, but in typical knucklehead fashion the 2 screw holes are sheet metal and have been blown out due to overtorquing, so it won't fully seal. I put the insulation in correctly at least. The horn harness was painted at one time as you can see. Someone disassembled the ENTIRE front end of this car to get that firewall painted. Kudos to them for being thorough but they did a horrible job. The gaping hole on the right is for the tach harness and needs a grommet. Quite a few missing grommets on this car...
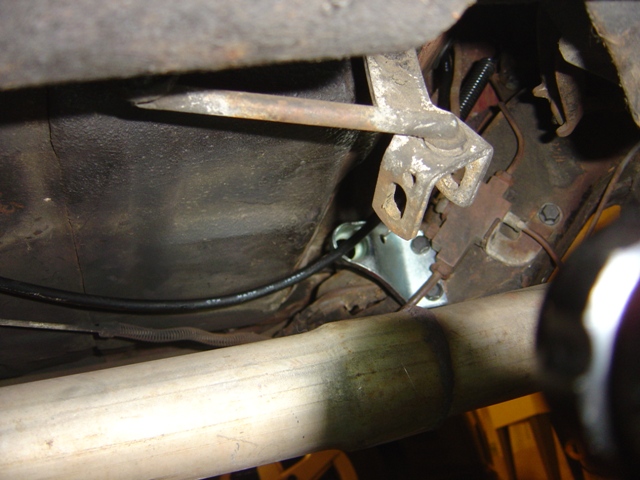
Since we're under the car, we need to install a speedometer cable. You can see the equalizer bracket and distribution block are now properly bolted in to the frame and aren't going anywhere. Once again in typical knucklehead fashion the retaining clip for the speedometer cable is nowhere to be found, but a hole in the body where the screw for it goes is still there...
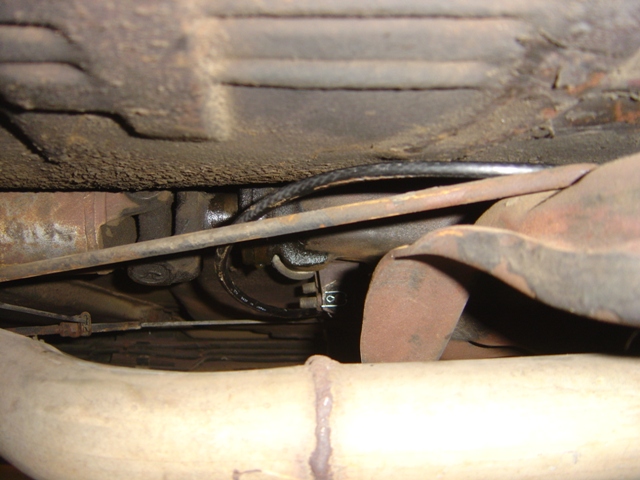
Over the parking brake cable and crossmember, behind the transmission itself (this is how the factory book said to do it).
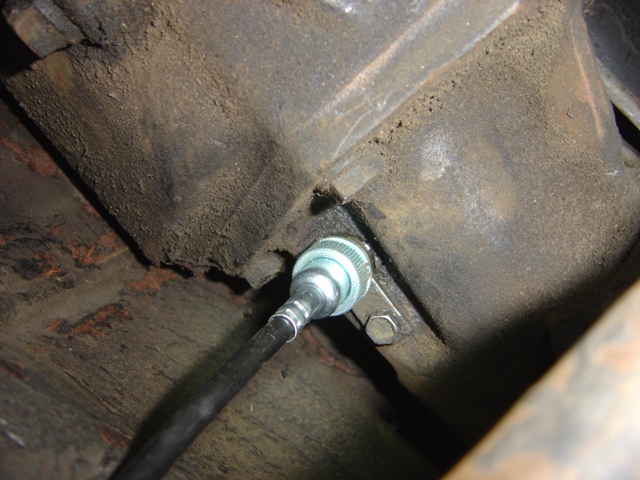
And into the transmission. Pretty simple job, 20 minutes tops. And now I have a working speedometer, which I consider to be a critically important piece of info for any car. The books don't list a length for a 3 speed, but for reference I got the 80 inch cable as the 61 inch I had was too short and I was afraid of the 76 inch being too short. There's a decent amount of room still to work with it, so the 76 probably would have been fine.
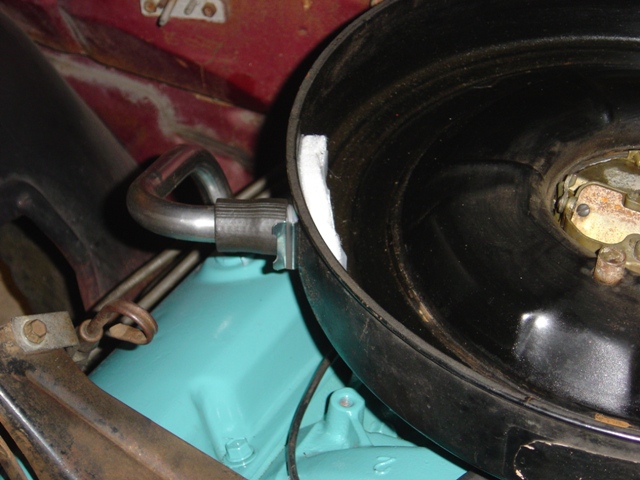
New breather tube, filter, clip, and rubber connector. Now the car won't vent any oil vapor to the atmosphere!
I'm a sucker for things like wingnuts rather than a bolt that requires a tool.

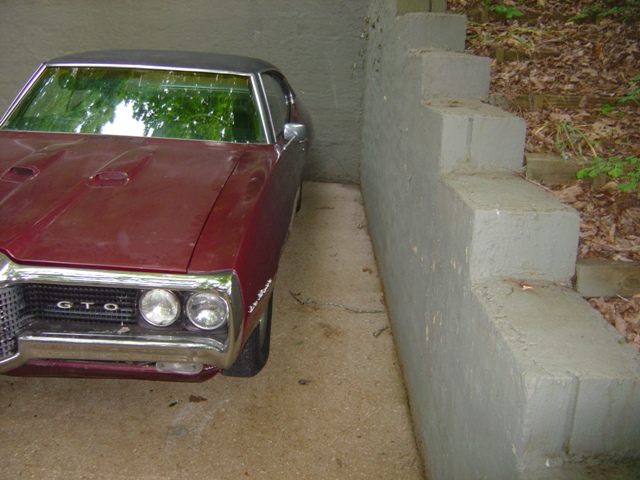
I have some guys coming to install a new garage door opener tomorrow, so I have to park the car in the driveway.
Room to get out!
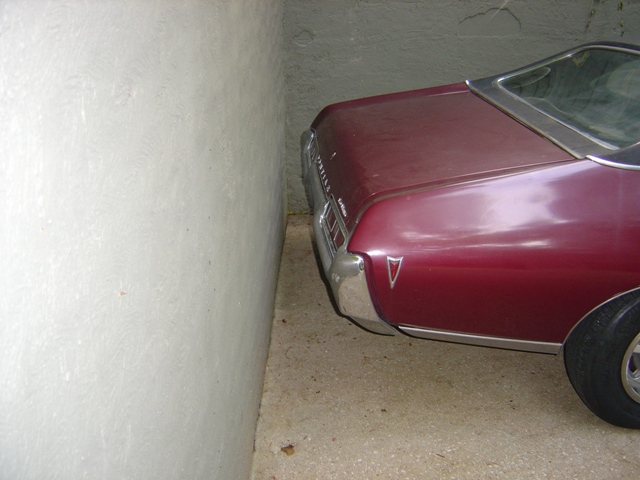
Just enough room. Didn't even have to tap the wall or anything. I rule.
That saga took 3 days and 2.5-3 hours per day to finish. Quite a pain, but fortunately it's done now. Just need to finish getting the backdrive linkage in once it arrives, install the cowl vent to keep leaves out, and install the gauges. I have to run the car over to the shop that did the brakes to get them to swap on the new steering box and I'll ask them at the same time to install some new power steering hoses since I am leaking a good bit...
Return to 1969 Lemans
Last updated May 29th, 2014