Wires & Column - 06/06/2014
The smoking continued. The smoking got worse. An investigation was necessary. Investigate the plugs, investigate the wires, investigate the leaking oil dripping all over the front of the engine and exhaust, and find out what's going on.
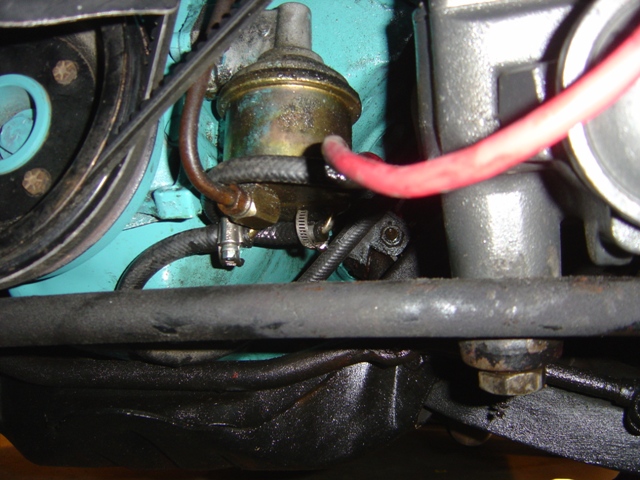
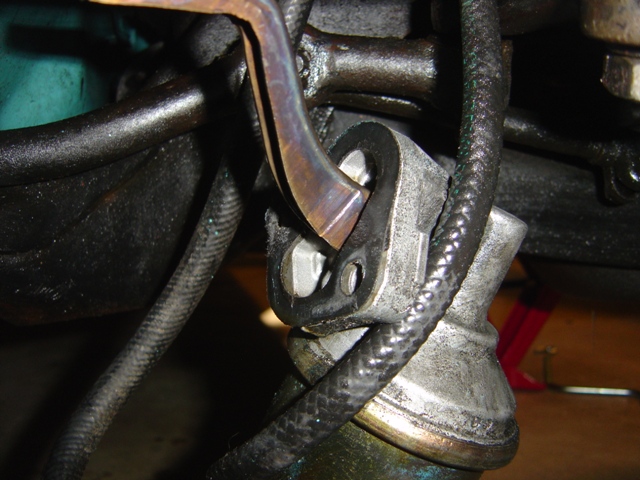
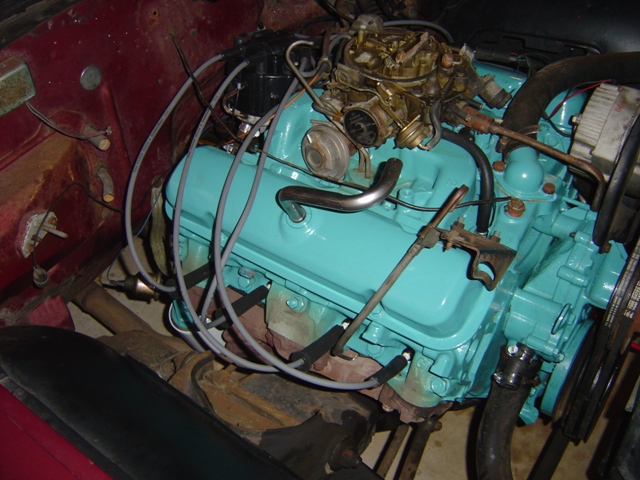
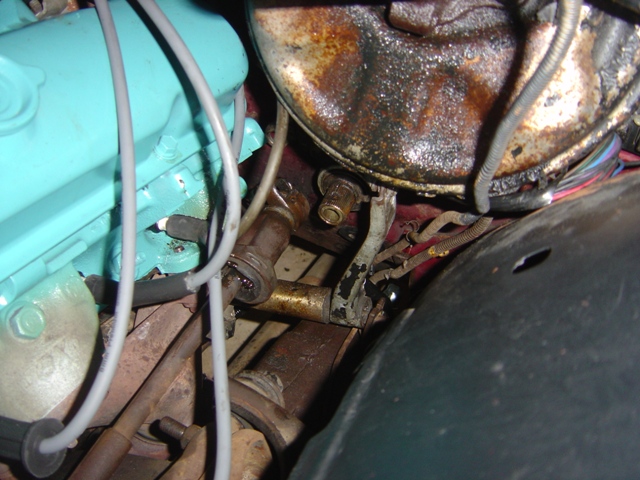
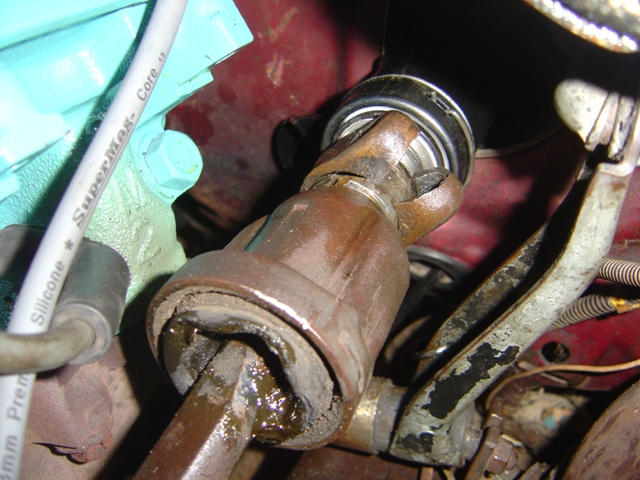
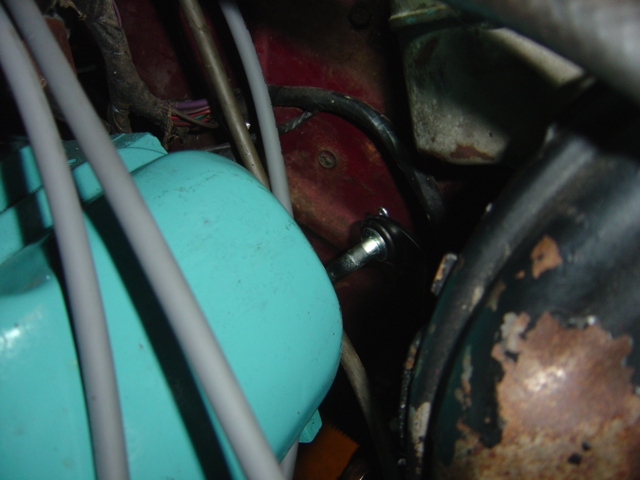
The source of the leak has to be in this area. There is oil literally dripping off of everything on this side of the car, and the front crank seal area is bone dry. Considering how wet the fuel pump is, it's suspect.

Removing the fuel pump reveals that it was NOT a new gasket as I was told, it was a re-used gasket. And it was ripped. And the oil is awfully runny coming out of that hole...
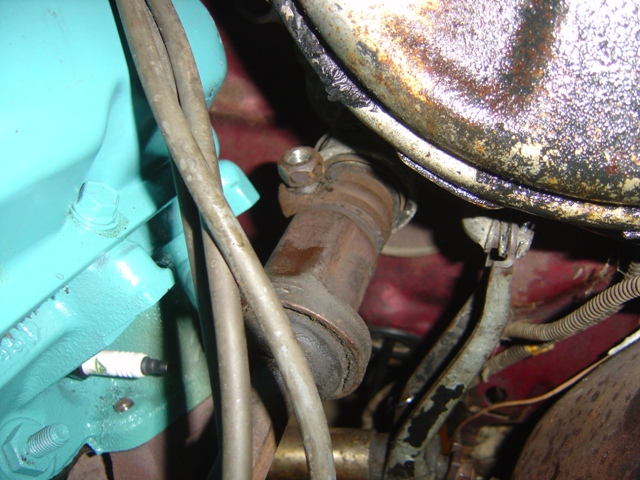
Leaking fuel pump.
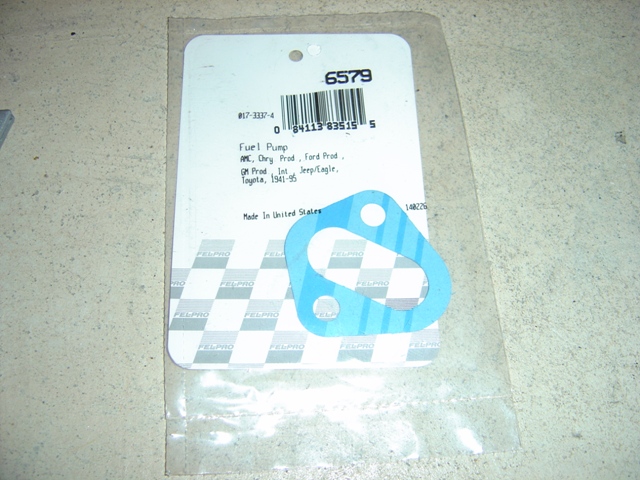
The new gasket... it was all of $1.49...
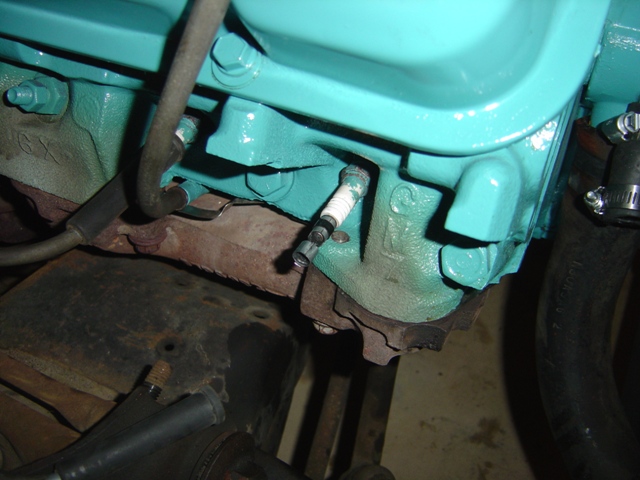
The oil reeks of gas and the engine smokes. Time to pop open the plugs and take a look. First plug revealed this... not exactly a good thing as this most likely would lead to a dead cylinder.
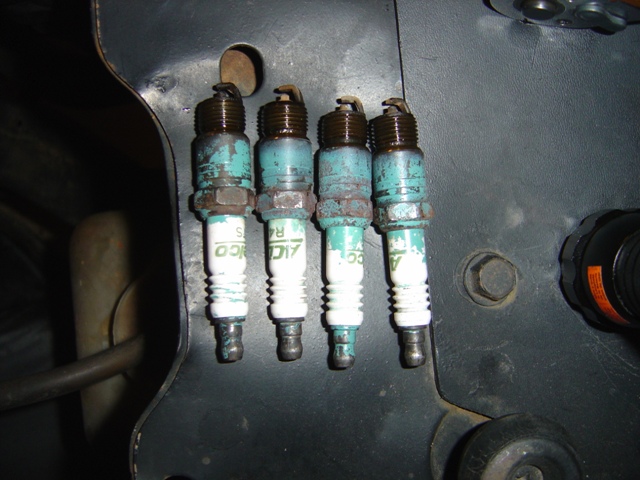
The even bank of cylinders. All the plugs are oily around the threads and seats whereas the electrodes have oily deposits on them and are tan indicating clean burn elsewhere. So we aren't dealing with a TON of oil, but oil nonetheless.
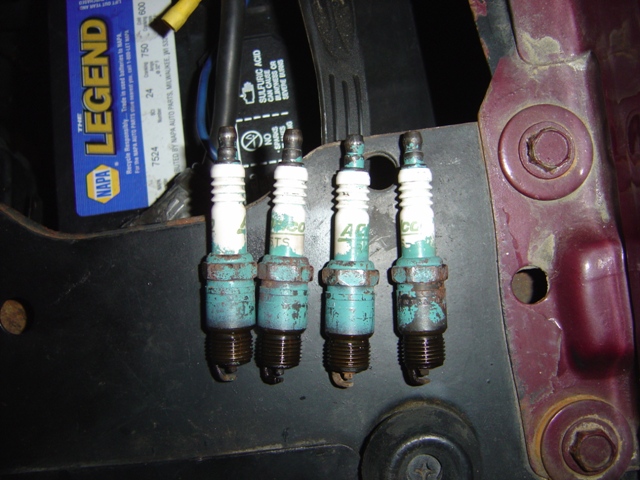
Odd bank of cylinders has the same situation. Oil on the threads and seats and deposits on the electrodes. Combine this with oil reeking of gas and I'm speculating we've got oil with viscosity that has gone down the tubes due to gas contamination. This is allowing the oil to thin out and get past the rings and seals, because it's extremely thin now. Bad rings or bad valve seals wouldn't necessarily all show up at once, so those are ruled out for now. Since it is getting worse, that means the oil is getting worse and the source of the fuel contamination still exists... The fuel pump diaphragm failing is the primary suspect, as is that one potential dead cylinder. Time for an oil change, new fuel pump, new plugs, and new wires. We take NO chances. And not to mention all 4 of these things are dirt cheap compared to re-ringing and a valve job that the engine may not need...
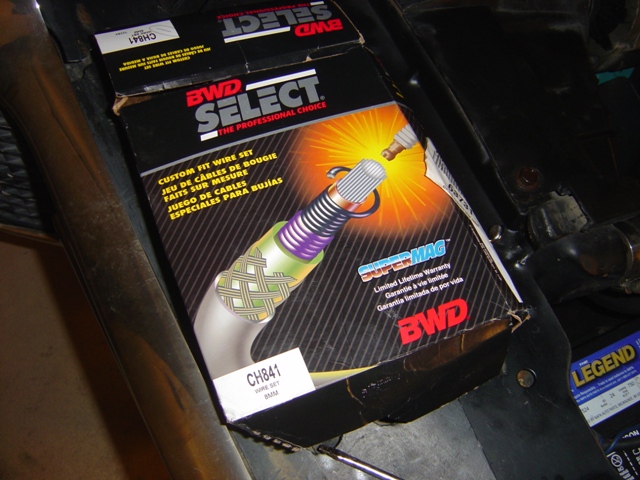
Go go quality packaging.
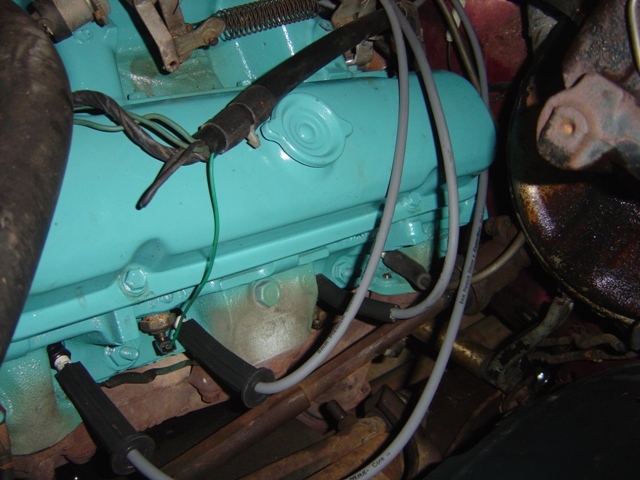
Driver's side done!
Passenger side done. Don't ask me why half the boots are small and the other half are large. I wondered that myself and with the box being all torn up, figured someone may have combined 2 sets of plug wires from the same brand. These wires are almost a perfect fit though, nothing too short or too long.
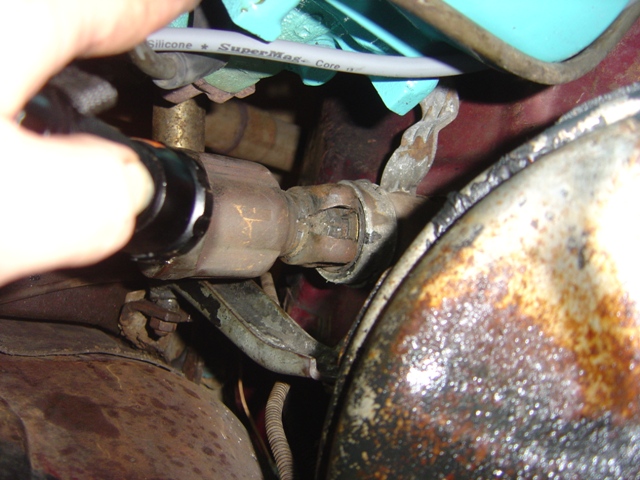
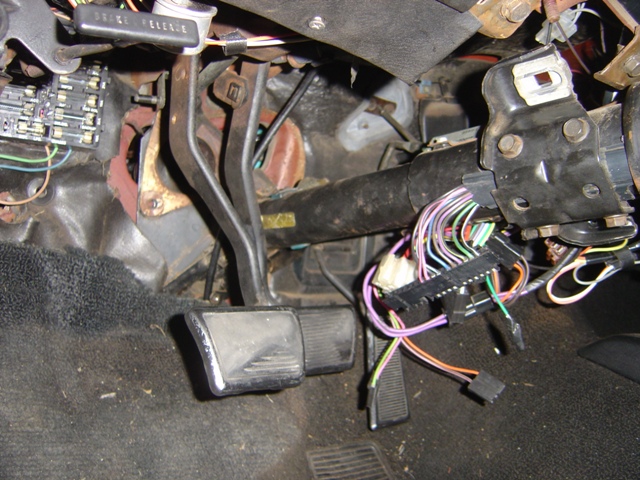
While we're here, bust the nut on the steering column clamp open. Going to have to do it eventually anyways, it's an 11/16" and a 1/2" drive breaker bar makes quick work of it.
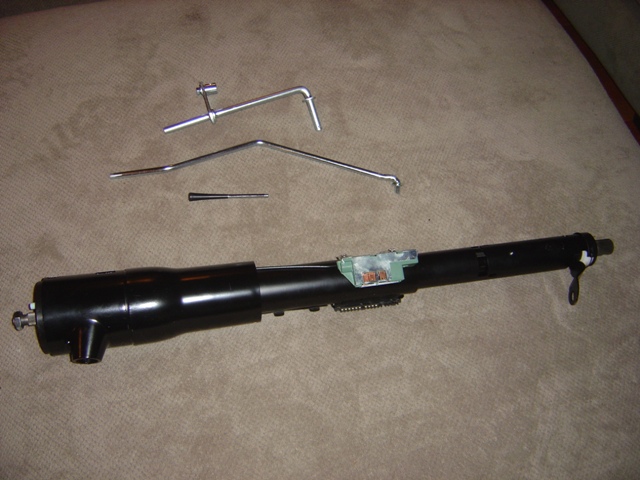
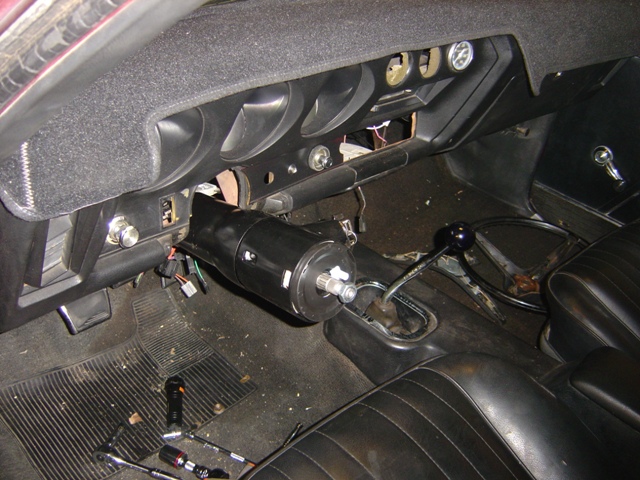
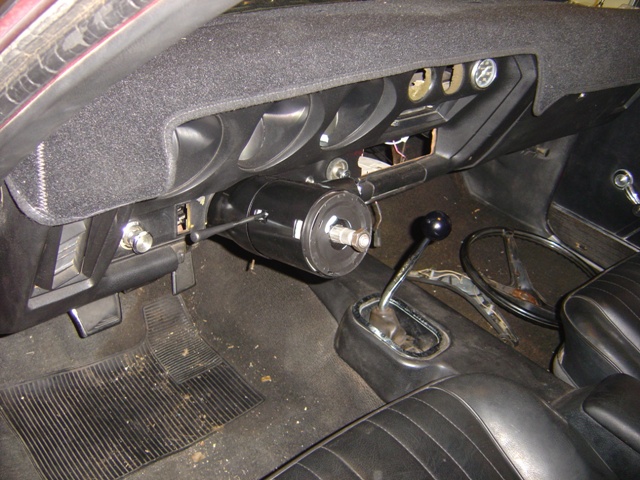
New steering column and backdrive linkage!
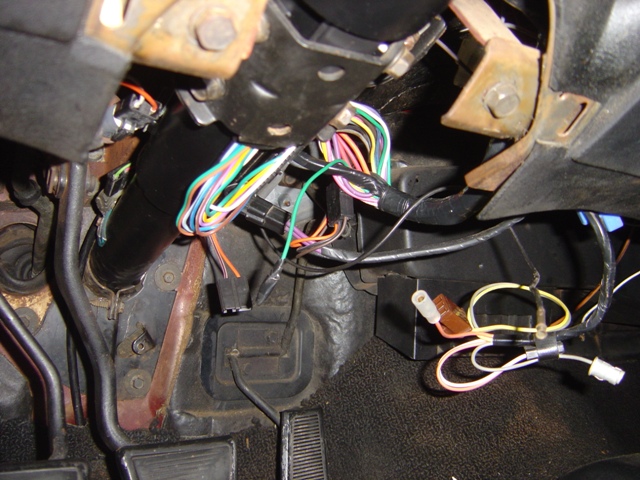
The sleeve needs to be split open with a large screwdriver. Copious amounts of PB Blaster remove the grime and lubricate things up a bit.
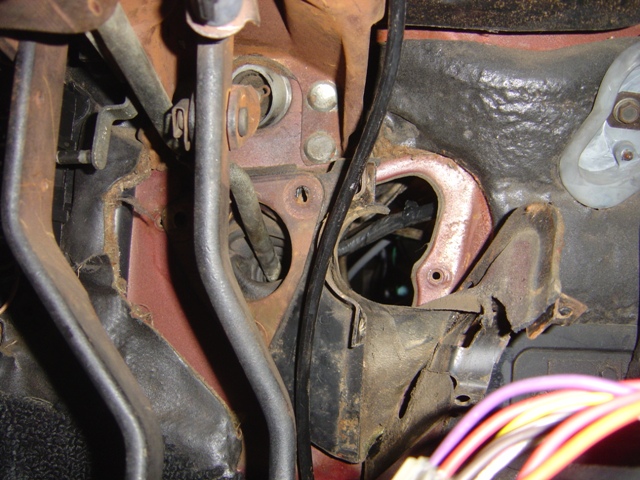
The firewall plate that would normally come out on an automatic can't come out on a manual without removing the clutch rod. Considering the effort involved, I'd rather not! Fortunately it separates into 2 pieces without much fuss.
And the two shafts are separated from each other!
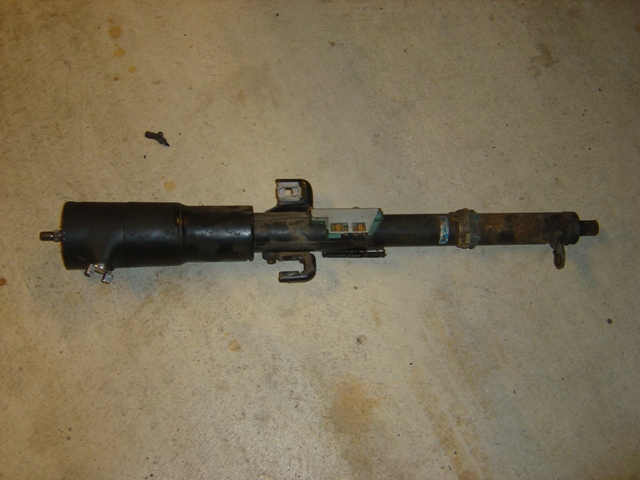
Old column removed from car.
Closer shot of the 2 plates. Rubber insulation is still in really good shape.

This bracket needs to be removed and put on the new column.

Reverse switch removed.
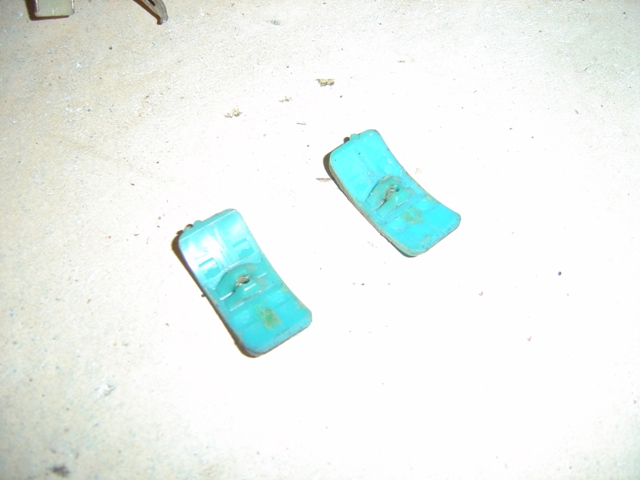
These 2 plastic plugs mount the reverse switch to the steering column. I would have expected a brand new column to come with these... good thing I have a light touch and managed to free these 45 year old examples without breaking them!
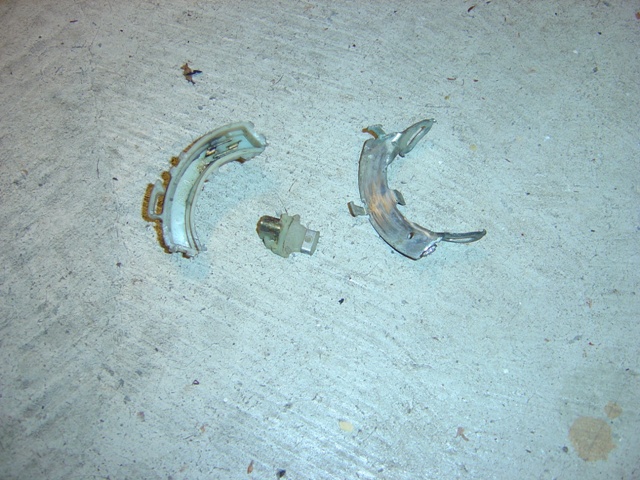
The reverse switch is quite simple. The plastic piece in the middle has a spring loaded bar that rides in a channel that slides along the plastic piece on the left. When it gets to the end, it shorts the 2 pins and makes the reverse lights come on. This piece is not reproduced by the way and is unique to manual transmission cars (I'm sure an automatic neutral safety switch could be substituted). Since this switch hadn't moved in who knows how long, it was frozen up and not making a connection in any spot. There was all kinds of dirt and hardened grease in it, which was scraped off with a small screwdriver to get the spring and little rod to stay springy. Some of the plastic on the middle piece had melted and was obstructing the movement as well and was trimmed with a razor. Add some machinist grease and the switch works great and smoothly like it was new. I did end up having to rebuild it 3 times to get it right...
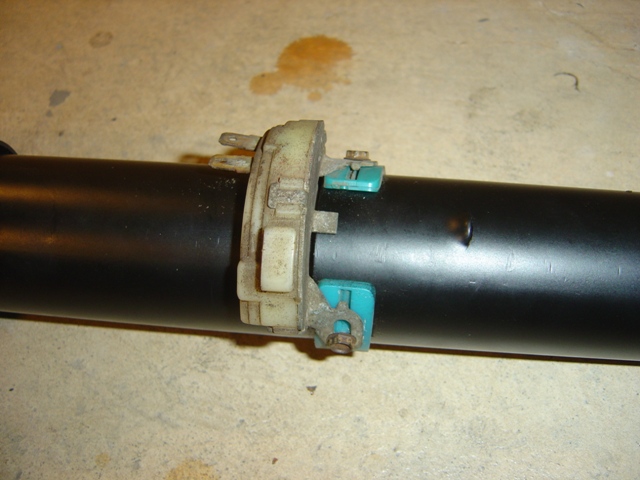
Switch is installed and ready to go!
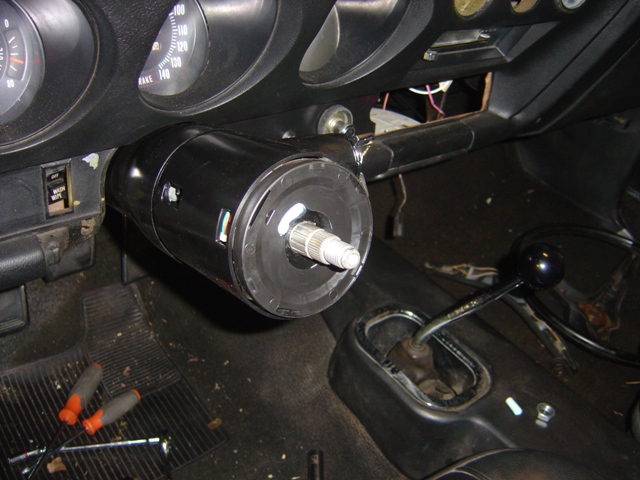
Column mated to intermediate steering shaft. It is keyed to only go on and bolt up correctly one way.
Column mostly installed...
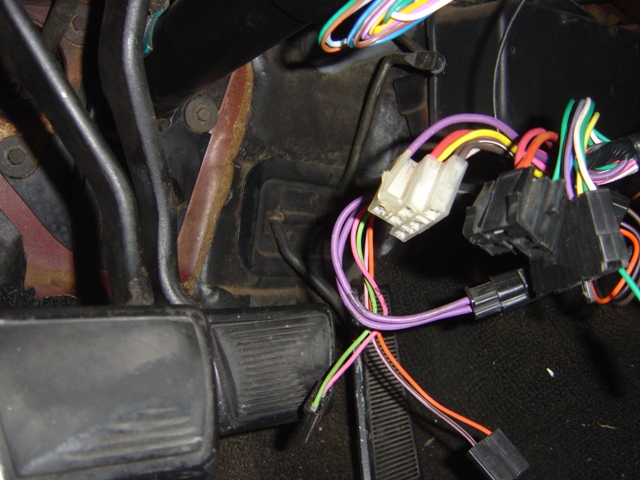
Plate back together. This went surprisingly smooth.
In an effort to get the steering column lined up with the steering wheel, a little movement was worked and I ended up snapping the cancel cam plastic rod for the horn element. Typical... just typical. Fortunately it was a clean unique break and some super glue should make it good as new. I have to pull the lock plate to get the turn signal lever installed anyways...
Wiring it all up. The pink and green wire connector is the reverse lights. You can see the "unique to manual cars" extension harness on the purple wires to route to the clutch safety switch over by the clutch instead of the neutral safety switch on top of the column.
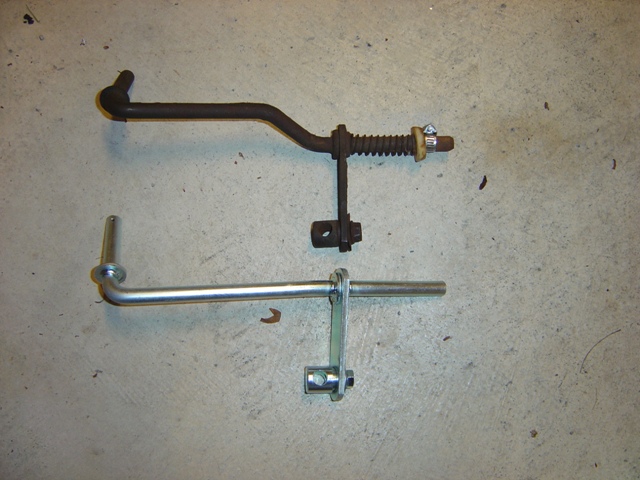
This is a comparison between an A-body backdrive (shiny) equalizer bar and an F-body (dirty) equalizer bar. This is the bar that slides into the bracket on the frame on one end and into the transmission shift lever on the other to move the steering column up and down for the neutral start, backup lights, and locking of the column. All features brand new for 1969 to combat theft and make cars safer - can't start in any gear you want and can't remove the key without putting it in park (automatic) or reverse (manual).
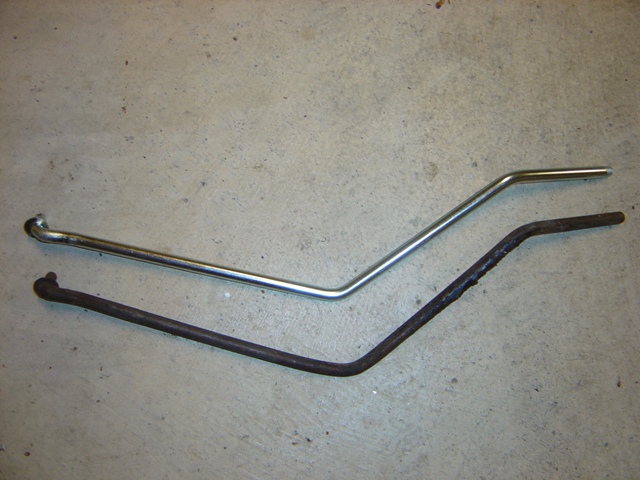
This is a comparison between an A-body backdrive (shiny) rod and an F-body (dirty) rod. They look the same, but the F-body one is MUCH more beat up so it could very well not be.
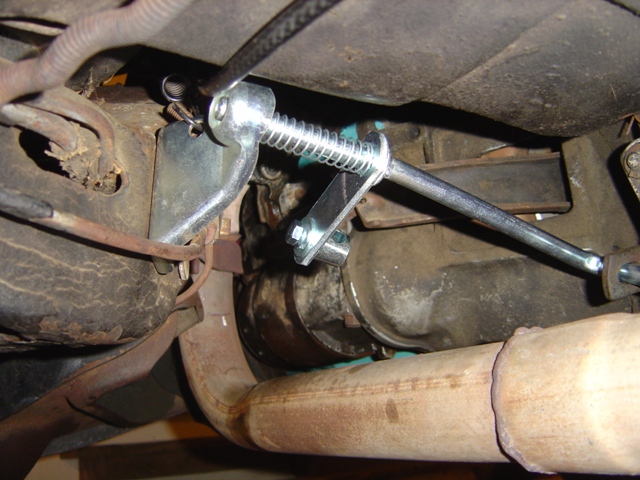
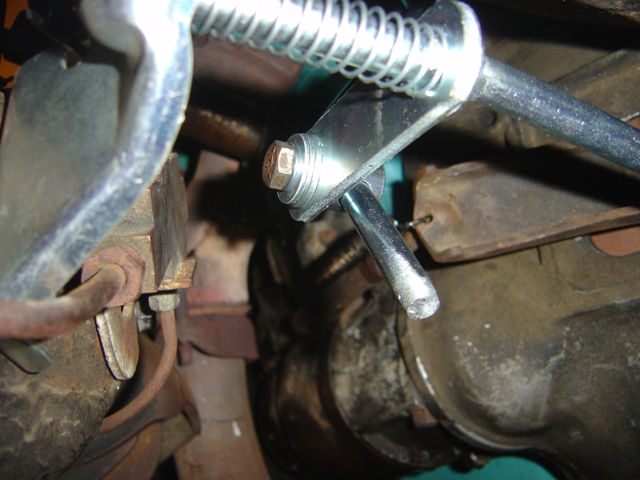
Equalizer bar installed with bushing. This has some wiggle room and should have some chassis grease on it (I'll get to that later).
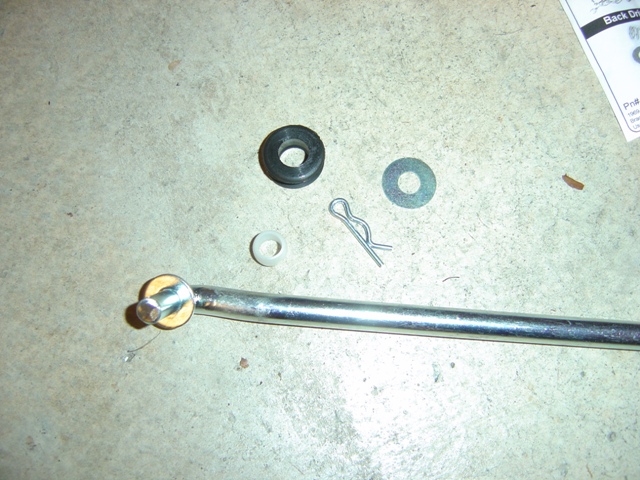
This is the hardware to mount the backdrive rod to the steering column. I don't know why it comes with the washer, the opening is too small and doesn't fit anything.

Rubber grommet is installed. Cheap insurance to ensure this gets handled properly.
Rod is in with hardware securing it from going anywhere.
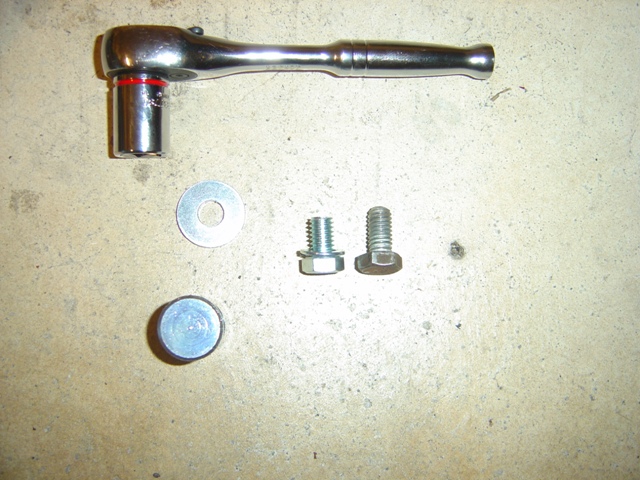
In yet another "typical" situation, the washer and lock washer and bolt combo that comes with the bushing is too short to actually secure the rod to the bushing. I sourced my washer collection and my bolt collection to find a few different pieces.
Trying various combos out. Ultimately I went with a *very* slightly narrower washer and the original lock washer\bolt from the kit and it all worked out. I adjusted the rod by putting the shifter in reverse, sliding the rod all the way up, then tightening the bolt to the bushing. This gets it 90% of the way there. To finalize, shift to neutral and loosen bolt ever so slightly, then move rod up maybe 1/4 inch or so and re-secure the bushing via the bolt. Instant working backdrive linkage.
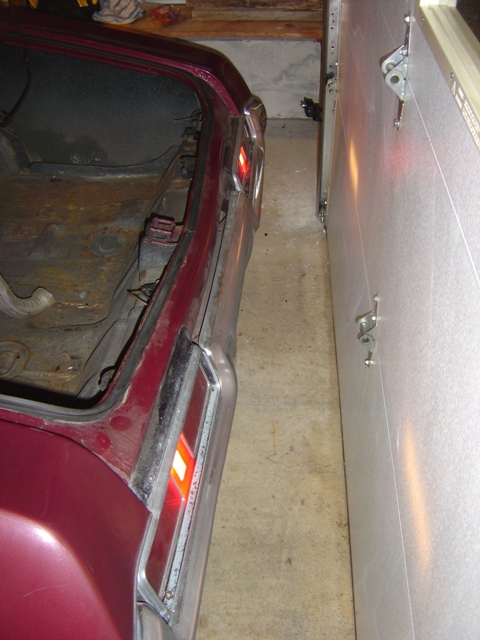
After cleaning out and rebuilding the switch and doing some tweaking adjustments, I have backup lights! Putting the shifter into reverse from all 4 other positions gets the lights to come on probably 19 out of 20 times, so while not absolutely perfect, it's really darn good.
And done. Need to get the car aligned again since the wheel is quite off by about 1/4 turn, glue that turn signal cancel cam back together and get the turn signal lever installed. The shifter has to be in reverse to get the key out, safety first! Note the old steering wheel mount nut: the new nut that came with the column had a tendency to cross-thread and ended up eating the first thread on the shaft... the nut was harder than the shaft! I chucked it in the trash and used the old one. It threads on just fine.
It looks like a lot and damn was it ever. Probably 5 hours alone on the steering column, splitting the splines apart with a hammer and screwdriver, finagling the column out and then the new one in, then repairing the reverse light switch, then the up and down testing of the switch and reverse lockout mechanism. I am SO tired. But SO glad it's done. Fuel pump won't be here until next week, so tomorrow is an oil change and potentially draining the tank to put a new fuel sending unit in so I can have a fuel gauge.
Return to 1969 Lemans
Last updated June 6th, 2014