Steering Column & Coil - 02/09/2013
Since the steering column took a hammer and chisel to it at one time from some idiot trying to boost it, it had developed a pretty serious sticking ignition problem. The key should release when you let go of it in the Crank position, but this one would just stay put. It's a safety issue, not to mention the column was ugly and turn signal switch was broken as a result of the idiots banging on it. I found someone selling a very nice condition one so it was time to replace it.
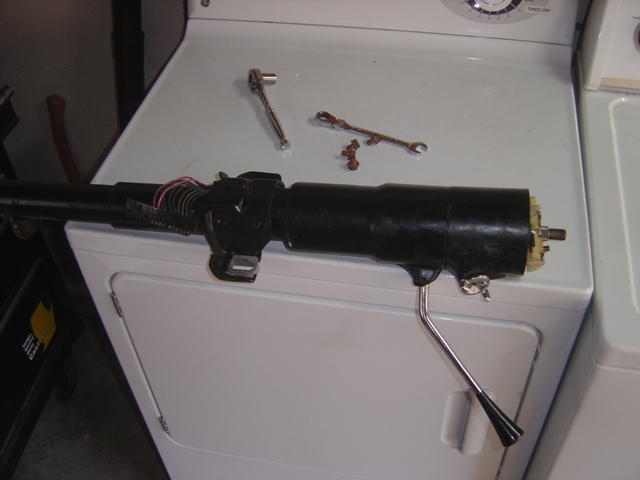
New steering column on the workbench.
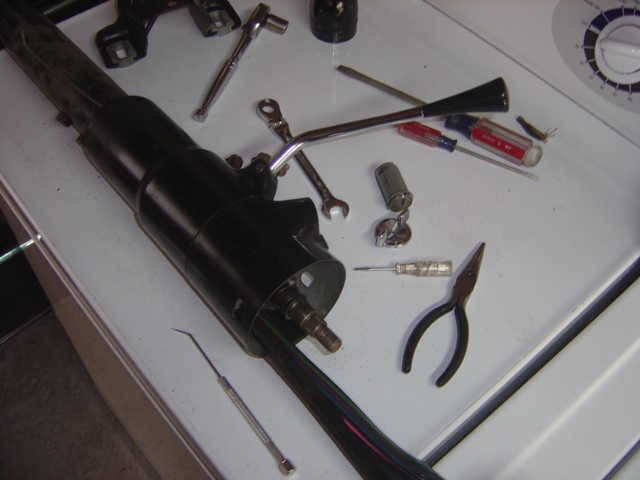
I had to remove the old lock as it had no key. It's crazy how easy this is yet people don't bother to. The key switch fell apart upon disassembly naturally. And I had to assemble the entire thing outside the car, but eh. I can do these in my sleep now.
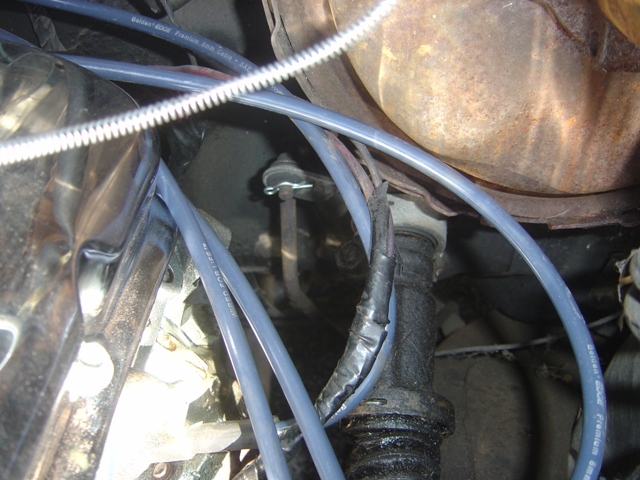
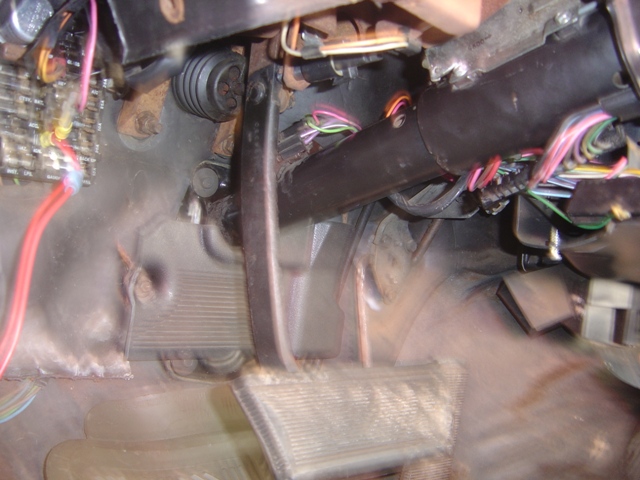
The steering column is attached at the steering box via a u-joint and a flexible coupler. The factory procedure is to remove the u-joint and column as a single unit from the box. The box itself has a plastic cover zip tied to it, making this practically impossible to remove without breaking things. The plastic cover is a warranty repair from mid 1971 - not just Toyota recalls cars for design flaws! The 11/16" nut is tight but breaks loose pretty easily with an extension.
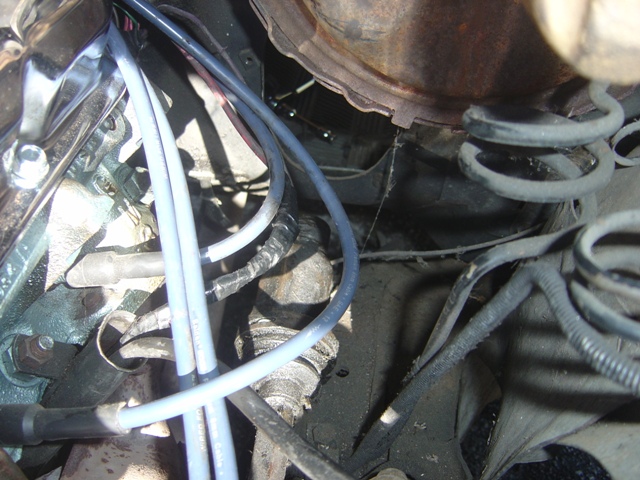
Steering column removed! This wasn't exactly easy. The splines on the column have to fit into the u-joint, but the u-joint has a clamp that tightens everything down and it must be removed, then split with a large screwdriver to get the clearance necessary to remove and install a new column. Not exactly easy or obvious. And it was a mess.
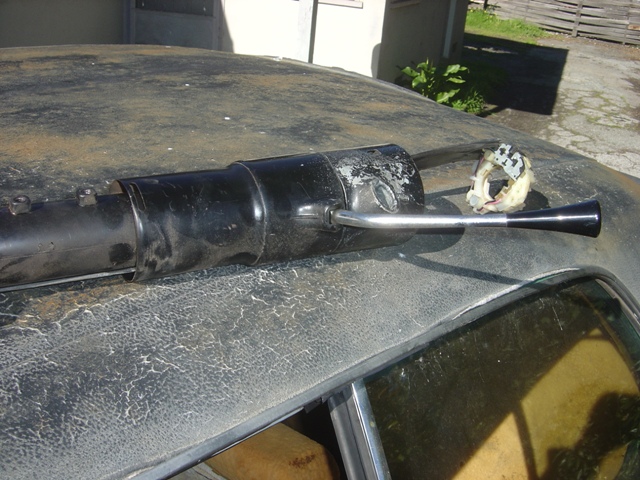
Old steering column removed. I also took the opportunity to clean out the last of the stereo wiring, plastic tubing, and other things that someone ran through the steering column area.
New steering column installed.
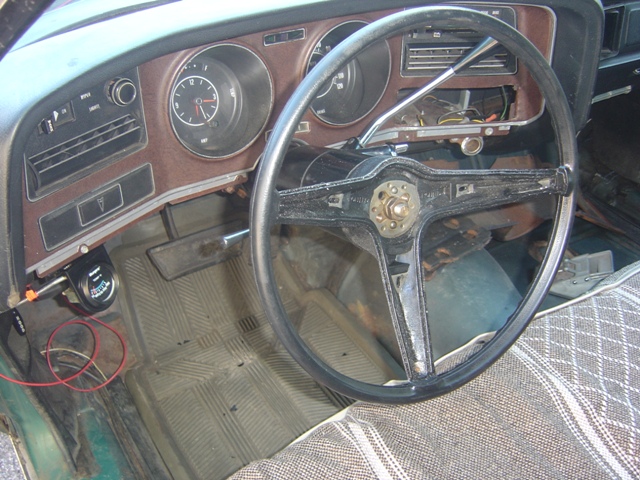
Looks all pretty. Well, prettier than it used to look. What should have been an hour long job ended up taking almost 4. Functions MUCH better than before though!
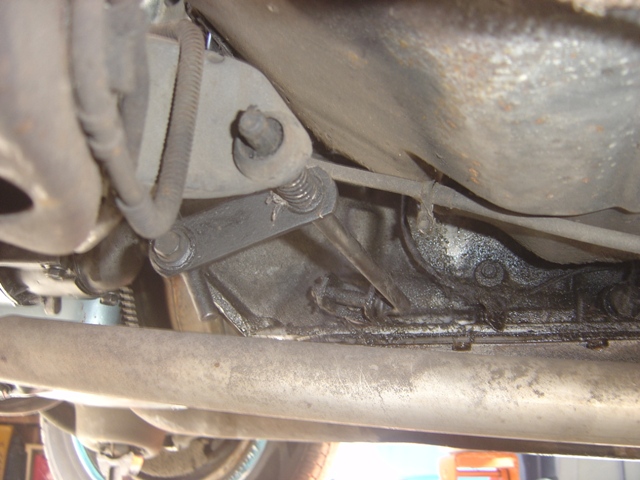
While I had the car up, I installed the spring and rubber bushing that allows the shift linkage to function properly without rattling or slipping around. Amusingly enough, the car has some oil dripping, but not from the rear main area. Maybe I dodged that bullet!
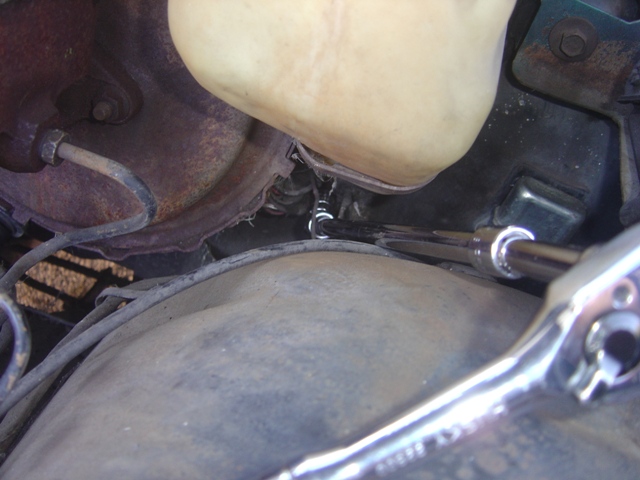
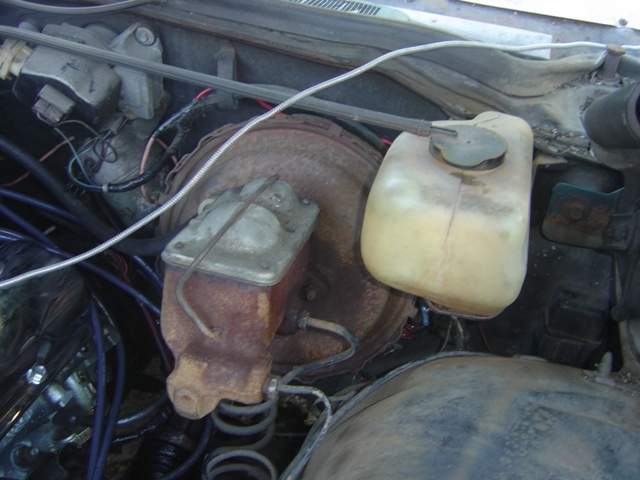
Since the car was originally a points car, it has a resistor wire that drops the voltage to 9V when running. Not enough for an HEI that requires a full 12V. In an effort to clean up the fuse box and not have a giant wire running out the door, I needed to remove the resistor wire and run a straight 12ga wire to the distributor. Getting the harness is no simple task due to its location behind the brake booster and washer reservoir.
This is hardly my finest work. I couldn't actually get the resistor wire out of the plug. Since the wire is a special resistor wire calibrated based on length of the wire, I cut the wire back as far as easily workable, and spliced in a weather tolerant junction and then soldered in a factory HEI connector I pilfered from a '79 Trans Am about 12 years ago and saved (I knew it would come in handy! Take that anti-pack rats!)
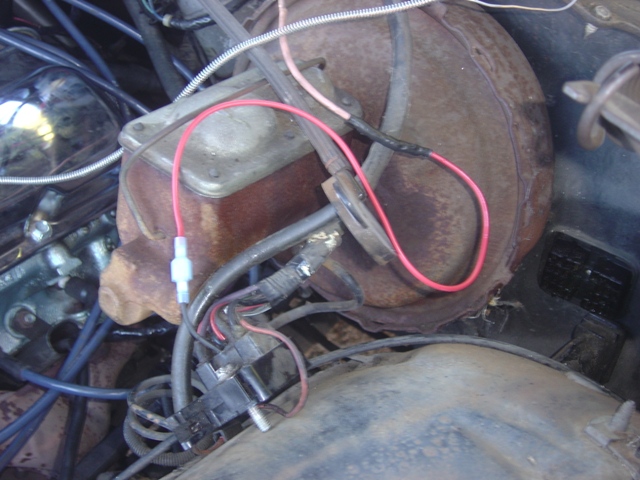
With everything buttoned back up, it almost looks factory. Kind of. But at least it works. And I get full battery voltage at the coil, car runs without an extremely obvious wiring hackjob now. It's hidden!
This day took a lot longer than I anticipated. And I got less done than I wanted. But at least I got several things done that needed to be.
Return to 1971 Catalina
Last updated February 9th, 2013