Timing Cover - 03/09/2013
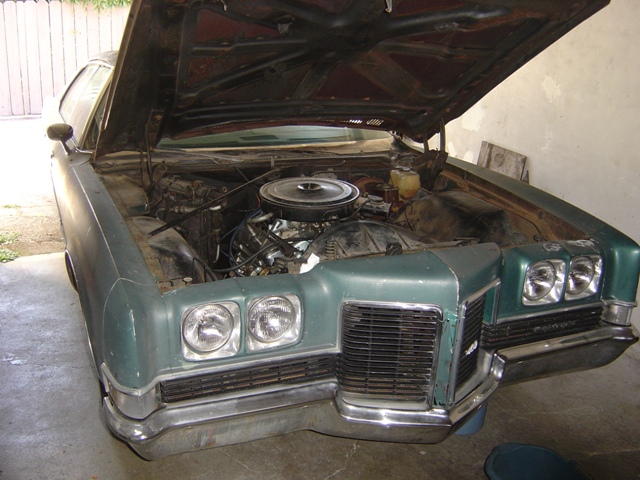
On my last test drive around the block the car started leaking coolant at a pretty good pace. It was from the timing cover water pump tube area, which means the timing cover has to come off to fix it right. Rather than monkey with a 40 year old timing cover that probably will leak again, I bought a new one since they are now reproduced with a quality piece.
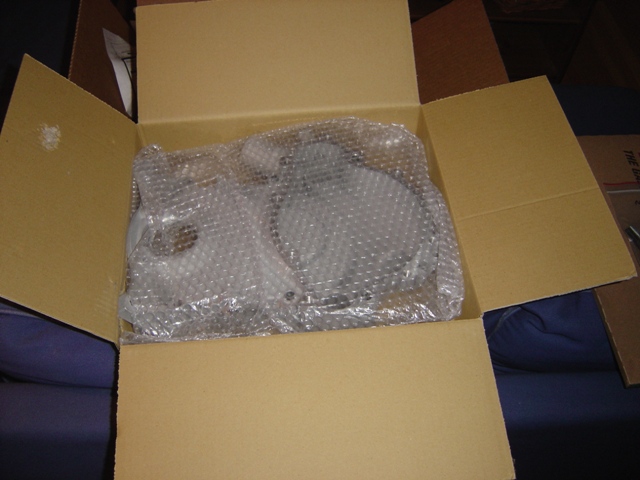
Comes in a nice box!
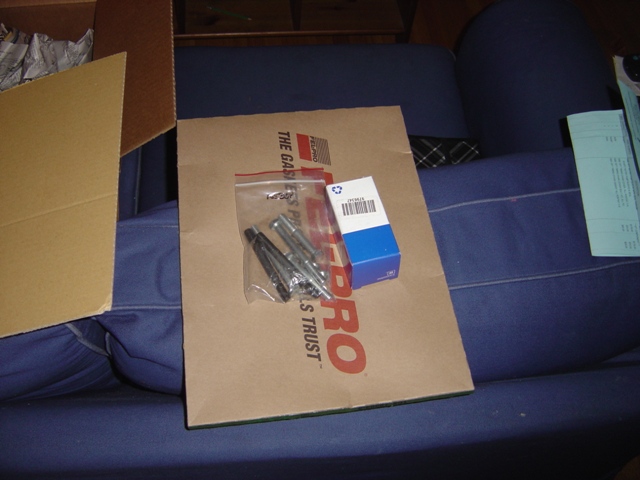
I bought a new stud kit too since it couldn't hurt. They advertise as having 2 different length bolts for the alternator bracket, but they don't actually provide the longer bolt. To mount the alternator bracket you need a 3/8" longer bolt. Just info out there for everyone...
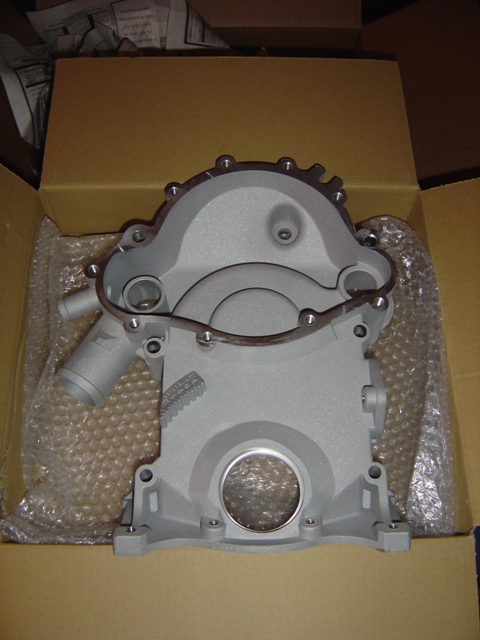
I think it looks really nice.
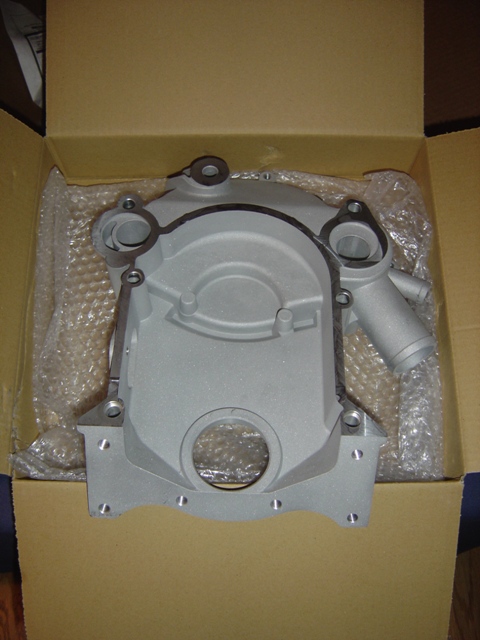
Nice and smooth surfaces too.
I'm in the garage today. I'm going to spoil myself with concrete vs. gravel and dirt.
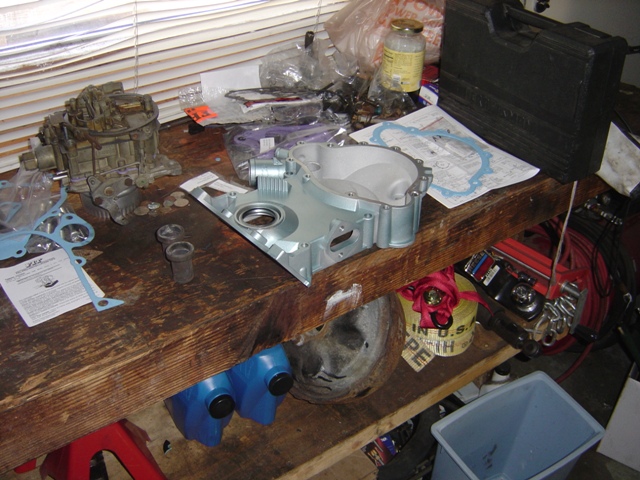
I could have been ghetto or the lazy shop down the street, but I'm not. I cleaned and painted the timing cover to match the rest of the engine with 2 coats of paint.
Water pump comes off. Quite easy to come off too, got some rusty junk out of the block this way. You can see where the water has been weeping out.
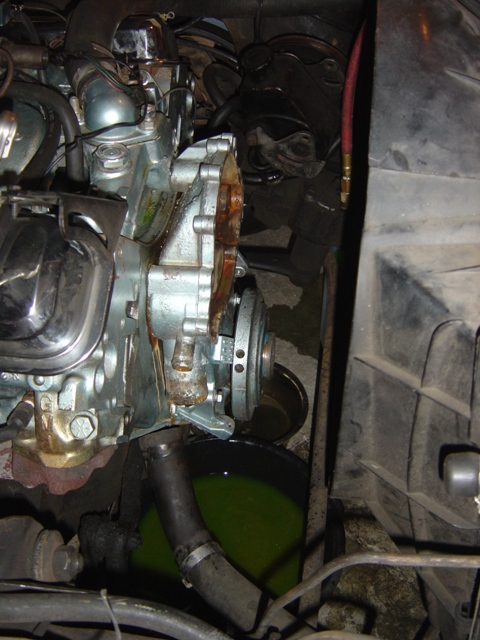
Timing cover off. Got lucky, the impact gun fits in the small space between the radiator, shroud, and harmonic balancer so I could get that bolt off. Great, milkshake in the front end. Means the coolant wasn't just leaking out, but leaking in to the crankcase too. Good thing I caught this and hadn't driven more than 15 minutes since I noticed it leaking.
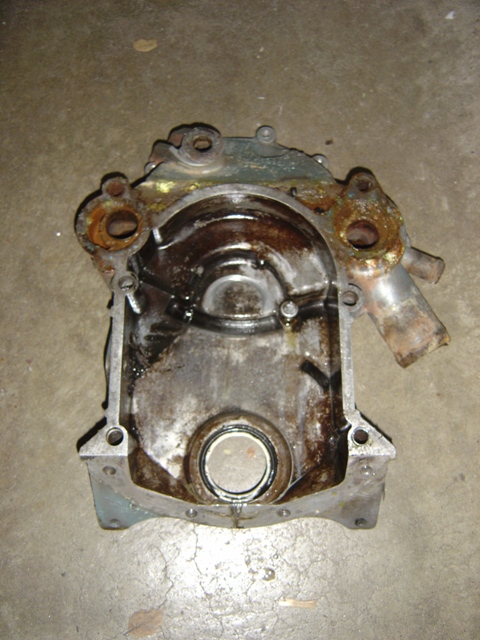
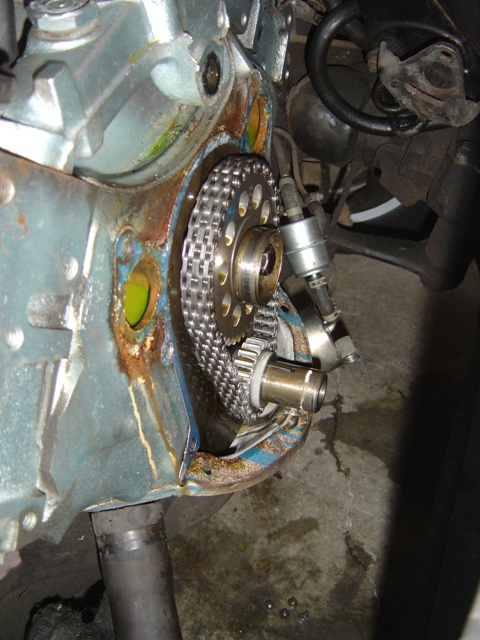
You can see the upper right water tube is where it was leaking. This timing cover may be saved, so it won't be tossed, but it won't be used on this car!
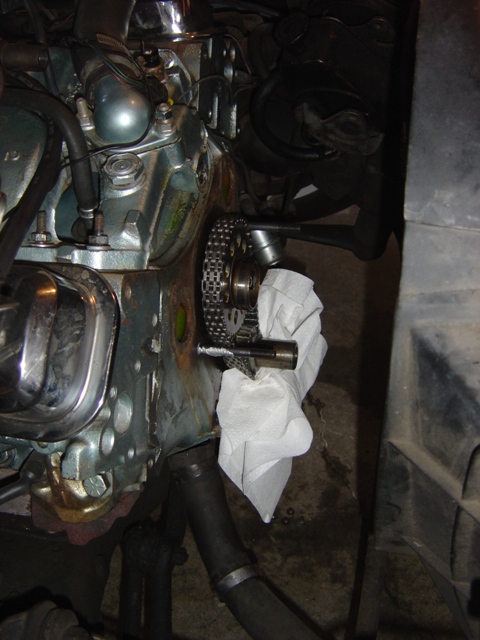
All surfaces scraped good and wiped off with rubbing alcohol and allowed to dry. Checked block surface for straightness and it is straight, so it wasn't the block that was causing the leak. Yes, I did have a cover over the oil pan, I just removed it to wipe down the oil pan and forgot to put it back for the picture.
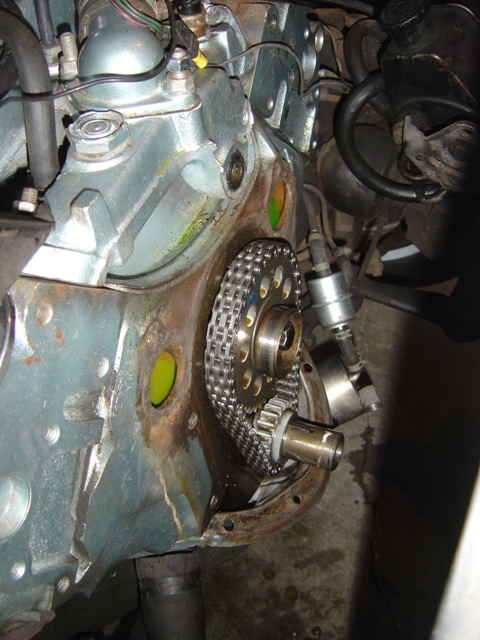
The studs are installed with everyone's favorite, anti-seize! I won't be dealing with snapped bolts on this engine. Everything came out SO easily because I used anti-seize the first time I put it together.
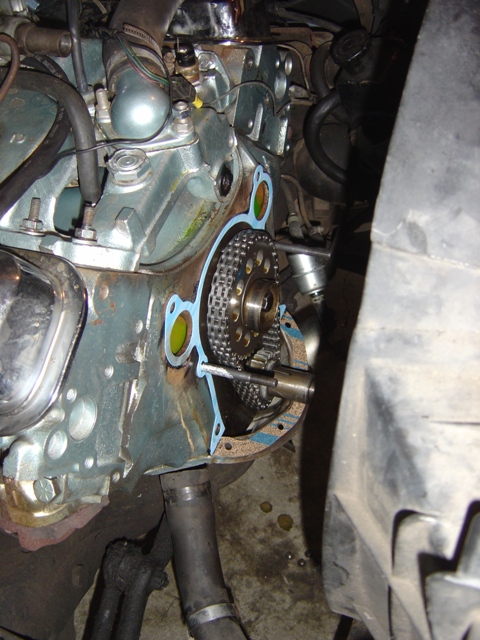
Gaskets are put on. As always, everything was installed dry except for the intake bypass donut and a gap closure between the oil pan and block. In this case I also put a tiny smear around the water passages on both sides of the gasket to keep everything sealed nicely and prevent leaks.
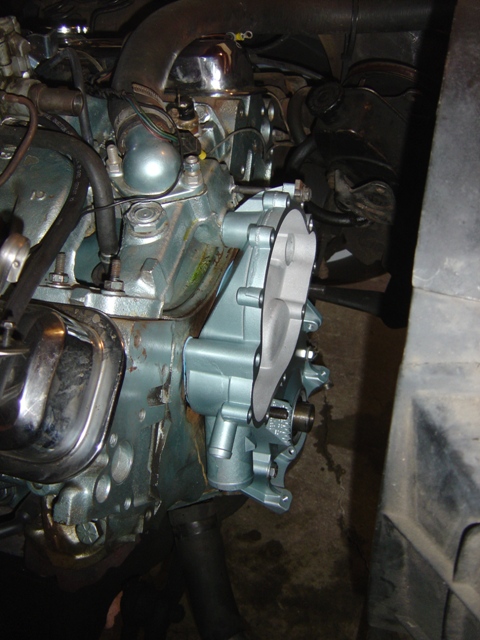
New timing cover goes on easily with the studs. Started the bottom oil pan bolts first, then the lower 2 bolts, then the stud bolts, then tightened down the long intake stud. Naturally I had to loosen the intake for this. I was impressed with how well everything came together and sealed, almost like a brand new factory part (which it essentially is).
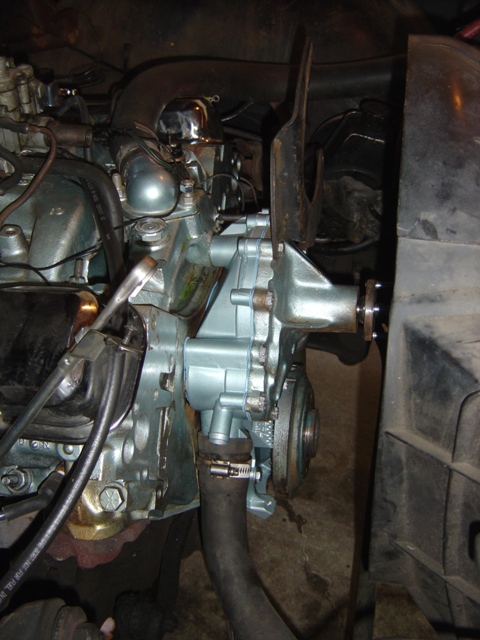
Water pump goes on. As always, seals are installed dry. With a new timing cover the bolts threads are in great shape and hold the pump down nicely. I put a little smear of silicon on the back of the water pump tubes themselves since they were a little loose in the new cover.
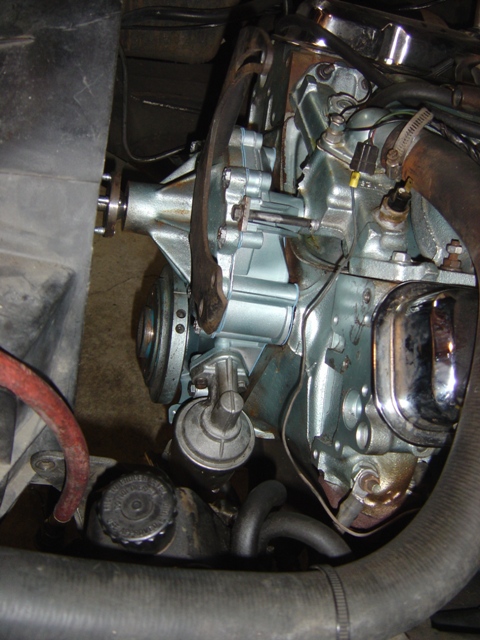
Fuel pump on. Harmonic balancer torqued to 160 ft-lbs. This was the part I was dreading, but managed to do it easily with a giant screw driver through the flywheel against the transmission bellhousing.
Engine is all put back together and oil is changed. Kind of annoyed I had to change the oil with only 50 miles on it, but better to be safe than sorry and risk eating the mains or rod bearings.
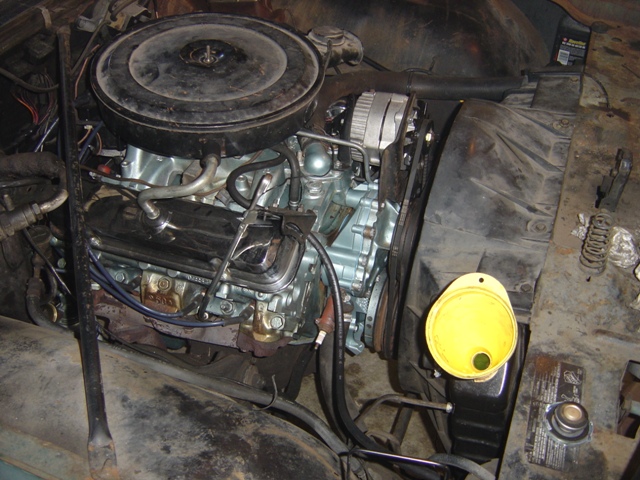
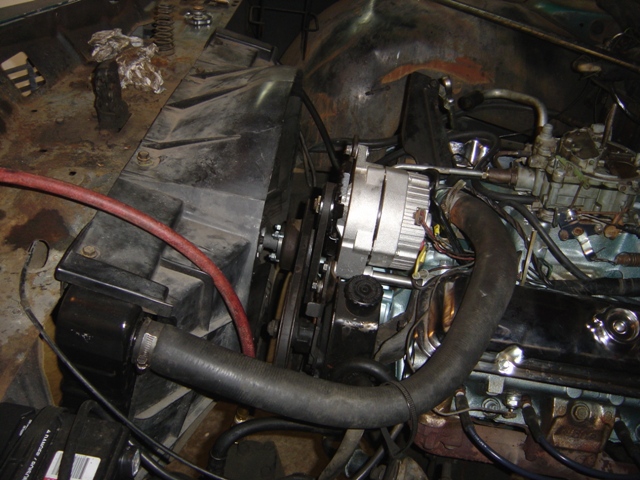
Coolant installed, engine on and warming up. Engine is actually on in this photo despite how it appears. No leaks either, which is the best part of it all.
This was quite a simple job, mostly because it was done recently and I used anti-seize on everything! Took almost 5 hours start to finish (including test drive). Drove it around the neighborhood at full operating temperature up to 40MPH with no issues so far. Oil is clean, coolant is fine, temperature stays consistent at 195 in the head, and no drips from either the harmonic balancer seal, oil pan, or timing cover gaskets. This might be a victory for me. Time to put this thing on the freeway after a few more heat cycles and tightening down any loose bolts to REALLY see what it can do. And put Cliff's recipe carb on it to give it a better matched carb, it is a little lazy right now.
Return to 1971 Catalina
Last updated March 9th, 2013