Work Round 3 - 08/15/2012
Some minor setbacks and parts delays led us here. I inspected the lower dipstick tube and I just flat out didn't like it. There was something wrong about it. I decided not to chance it and just ordered another one from Ames for $20 rather than deal with it potentially being wrong. Glad I did!
Yeah, something doesn't look right, does it?

Now THAT is how it is supposed to look! Guides the tube through hole and allows the dipstick to take a proper reading. Not sure who cut down the original tube or what in the world they were thinking.
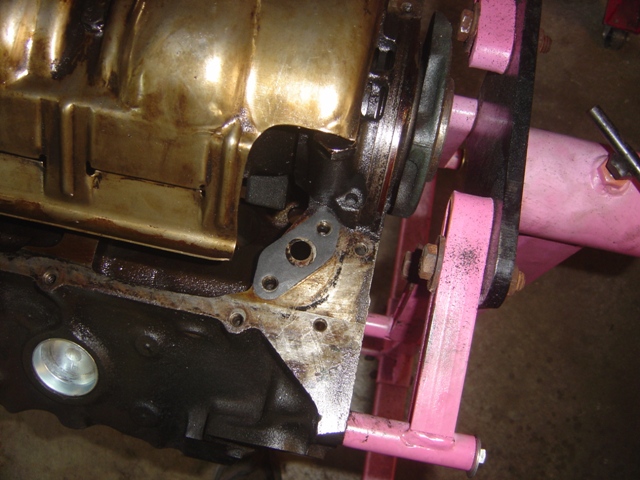
Test fitting to verify that the oil pump gasket and holes line up without issue. Offsets lead to reduced oil pressure and volume, which isn't good. And despite looking a little grimy, everything has been scraped for hours and wiped down with brake cleaner, so it's ready to install new seals (oil pan too).
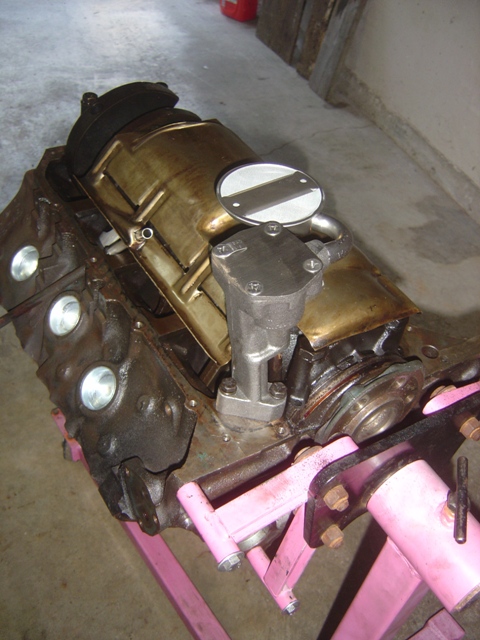
Oil pump installed. Had to stick it in the freezer for half an hour and beat the pickup on with a hammer HARD. My hands are not happy with me as a result. It's definitely not coming out now! Melling M54DS from 2004 per the box (and made in the USA too it says). No dirt or debris was inside the pump, which made me happy.
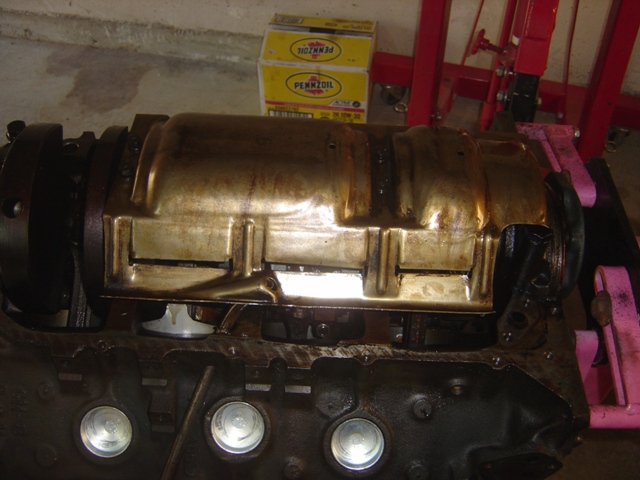
Oil pan gasket is laid down and oil pan tightened down. It's a cork gasket rear pan, which isn't *great* but I've never had one leak yet and I've done several. Would have preferred a 5-tab one, but we take what we can get. A little dab of sealer on the middle and each end was used to hold it together. Not a fun job by yourself, but before ANYTHING was tightened down I verified that the cork gaskets were all where they needed to be and once tightened down nothing slipped around (thank you tacked up sealer!). Note the rear seal metal pieces are installed to assist with sealing. Those were added for the 1971 model year and for warranty repairs on cars before that. People don't know what they are for and either lose them or toss them. For $12 from Ames, it's cheap insurance to assist in any way possible to ensure the pan doesn't leak.
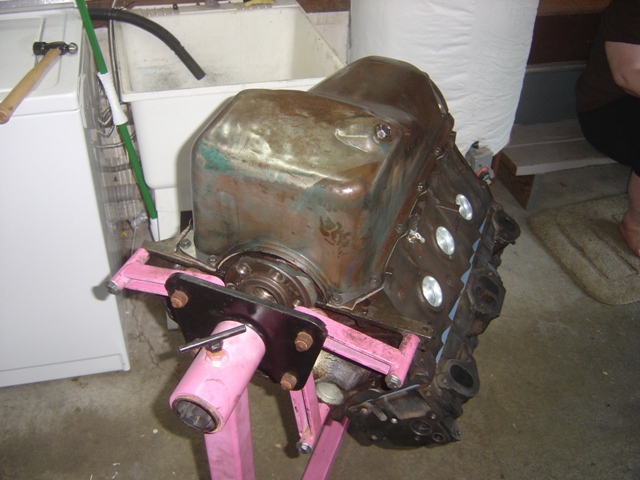
Timing cover is now ready to install! Engine is set at Top Dead Center (TDC) for reference when the balancer is installed to see how close it is to 0 on the timing tab. The balancer that came on this engine is almost brand new despite being dirty and ugly.
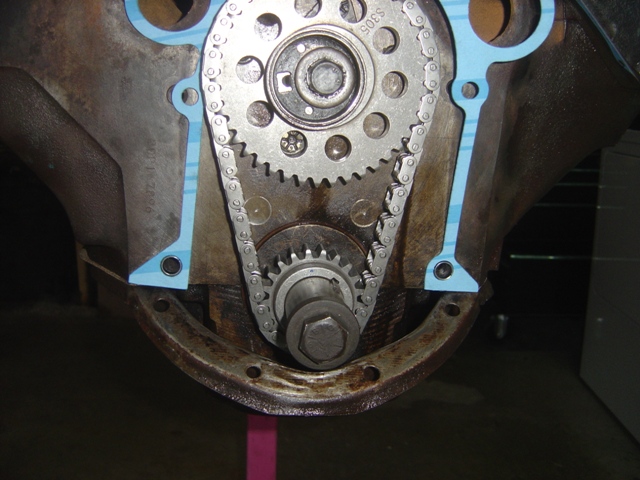
Block dowels are installed and used to verify the gasket fits and holds itself in place.
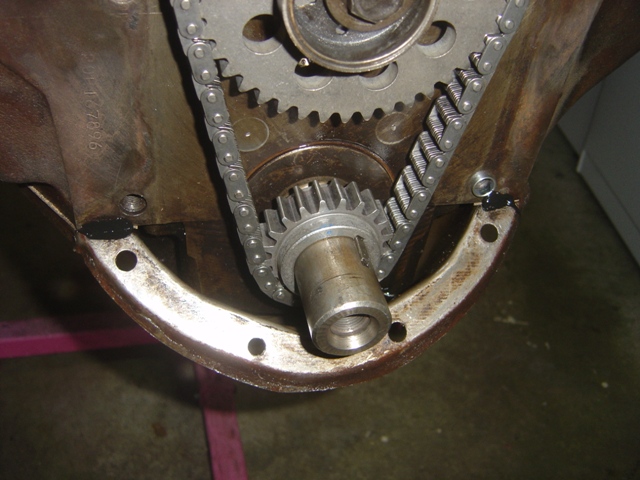
One of the few places I put a dab of sealer on. The cork gasket has a tendency to be a little too short here (as this one was) so a little extra help will ensure it doesn't leak at this joint.
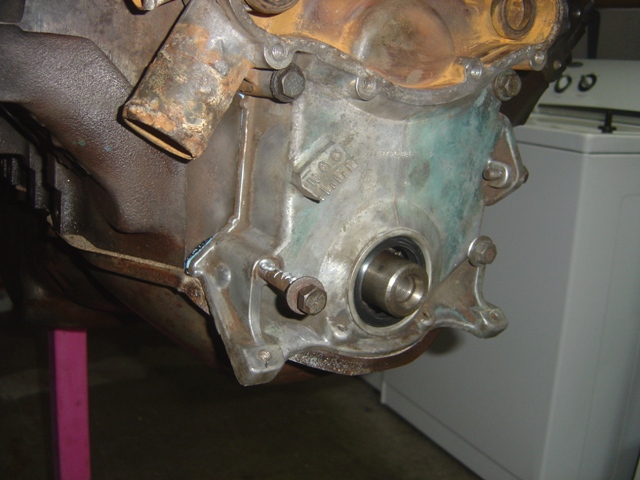
Timing cover goes on and the gaskets all line up. Liberal amounts of anti-seize are applied to each bolt threads and body. Two dis-similar metals will rust and fuse together over time, hence why I use anti-seize here to prevent that. Otherwise you get stuck bolts or snapped off bolt heads and THEN you've got a FUN mess to deal with. New harmonic balancer seal is installed. Some special person used a chisel to get the old one out at one time and left some nasty marks, but it still seals well with a new one installed.
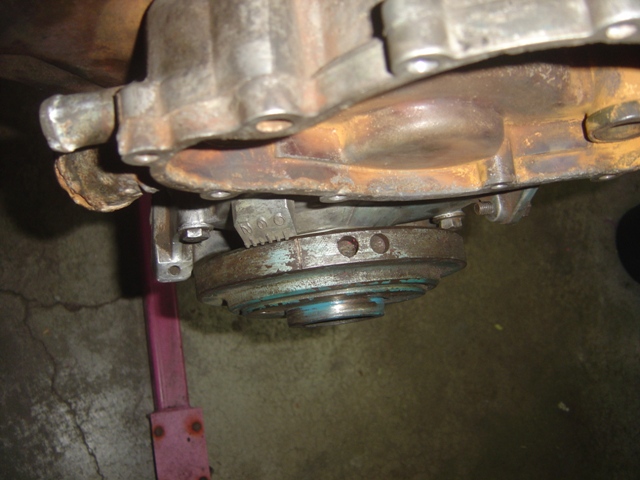
Harmonic balancer is installed. I lube the balancer shaft itself in addition to the rubber seal to prevent damage or ruining the rubber. Because if that seal goes you sling oil out the front of the engine and have a mess! And yet another reason to check the oil after every drive. Note that the balancer is almost right at 0 degrees. It slipped a tiny bit when I tightened the bolt down (it isn't torqued yet), but it's really close to 0, which is a good sign.
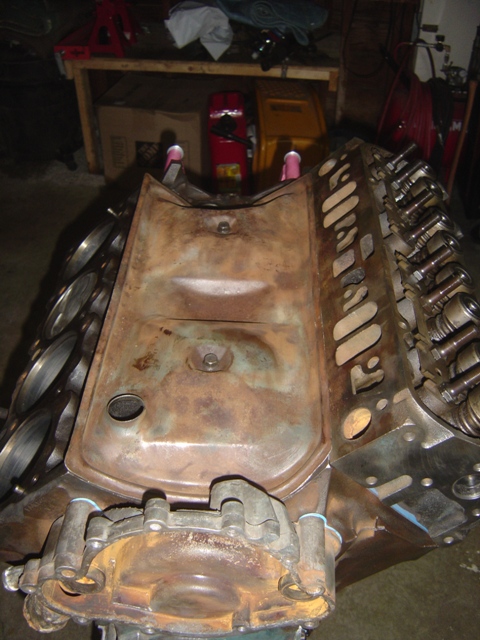
Test fit of the valley pan with new bolts provided by b-man over at Performance Years. Valley pan in good shape, won't need any love taps to seal up. I'm leaving this on for the time being to keep dirt and junk out of the valley area, but it will be painted off of the engine.

The instructions for the rockers say to soak them in oil for 30 minutes to ensure everything is lubricated. I always follow instructions!
Progress! It's great! Last thing left to do is torque down the heads and assemble the valve train. My most nervous moment since getting rockers adjusted is not the thing I am best at. Oh well! Need to find some valve covers and get an intake so I can put it in the sun after a good liberal degreasing and then paint it all nice and shiny.
Return to 1971 Catalina
Last updated August 15th, 2012