The Teardown - Part 3 - 09/27/2014
The teardown continues and makes considerable progress!
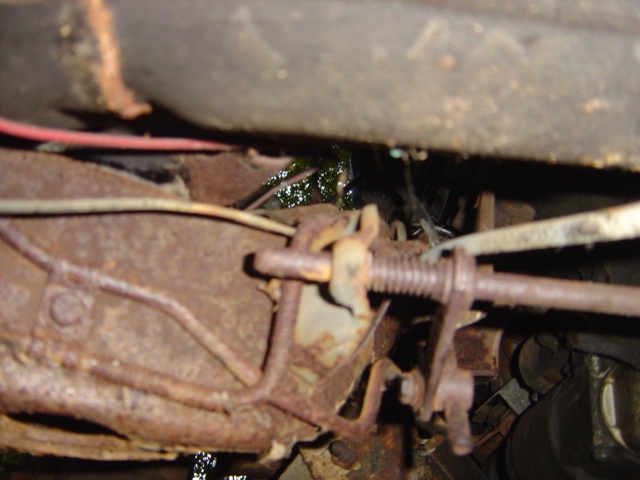
Backdrive linkage and shifter arm. Need to remove all of this...
Torque converter bolts removed, speedometer cable removed.

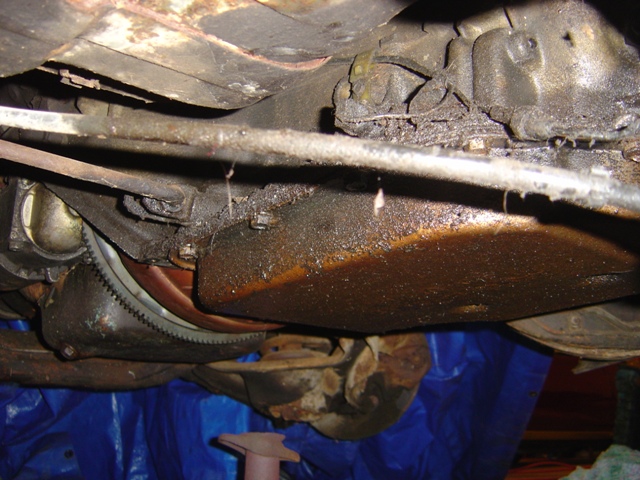
Dual hump crossmember and transmission mount bolt removed.
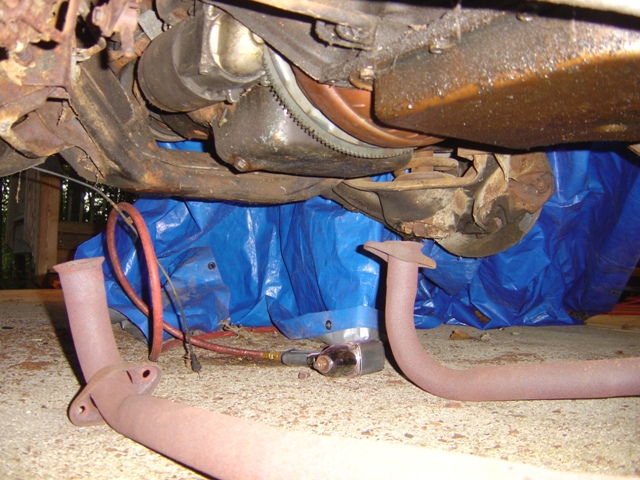
Exhaust removed. Snapped 2 studs off in manifolds, which is annoying but at least the downpipes came off.

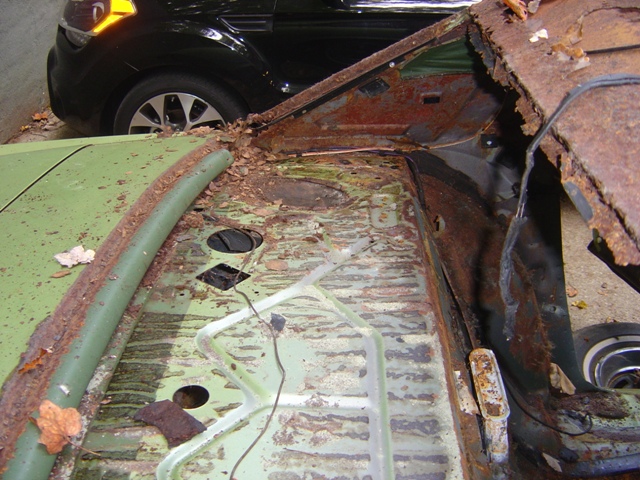
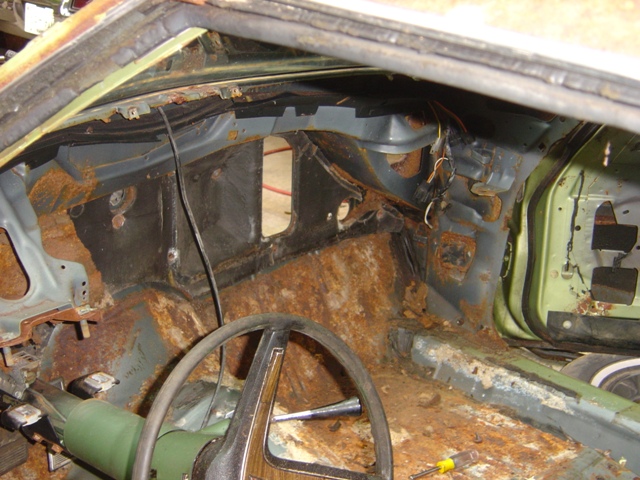
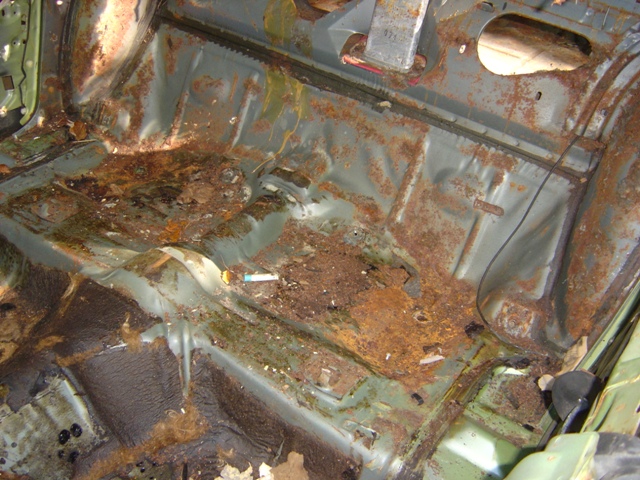
Sound deadener removed. Over 80lbs of tar paper and jute padding came out of this car. No wonder it's so quiet and smooth sounding, it's got a ton of weight to keep the noise down. Jute padding was in the front of the car too. It was glued down, which the last '71 Catalina I worked on didn't have, so it could have been a Grandville only thing. You can see how the water and moisture gets trapped in the jute and leads to surface rust. This car's windshield leaked like crazy.
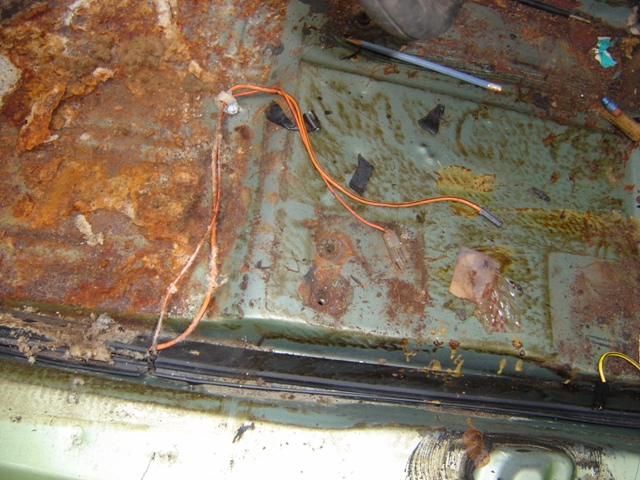
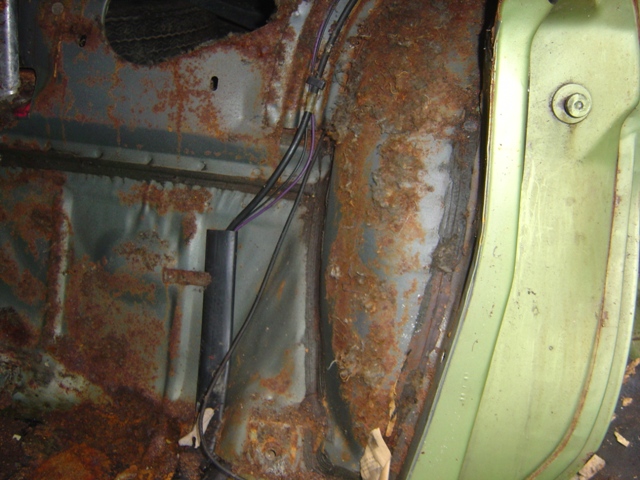
Where the jute ends and begins, almost night and day in the surface rust department. Power seat and cigarette lighter wires are mounted here.

Back seat area. I've never seen tar paper so well glued down in this area before, they used a TON of glue on the transmission tunnel area and back footwell area. Body harness in conduit shield is shown for reference, exposed wires are solely for the doors - power windows, locks, and door courtesy lamps.
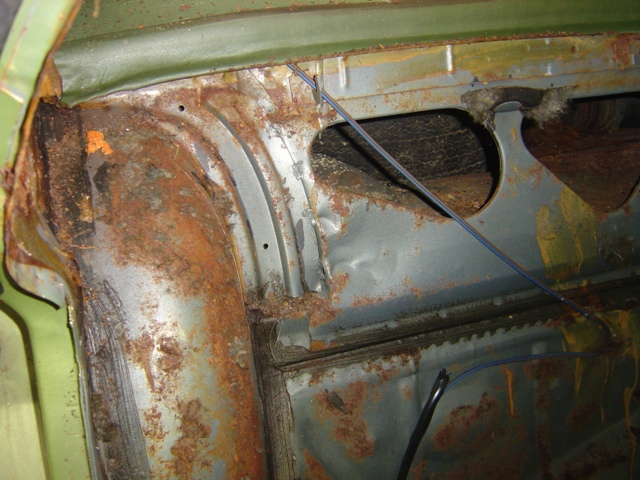
Rear body harness comes through here along with trunk release (black wire) and rear window defroster (purple wire). Two separate options that required extra harness running. The extra black wire running wild is the former owner's CB antenna.
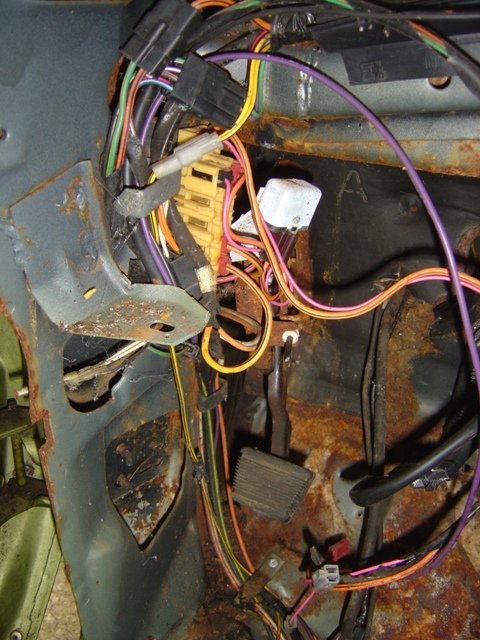
Junction block for switch (pink) and always hot (orange) terminals on this car. B-bodies used this to feed power seats, windows, and other accesories from the fuse box (grey 2 terminal wire on lower part of photo). Power window relay is visible next to junction block. Wagons had their own relay here for the rear window\tailgate as well. Black plugs on top left are for the driver's door wiring and the cross-body conduit above. This area is a mess of wires.
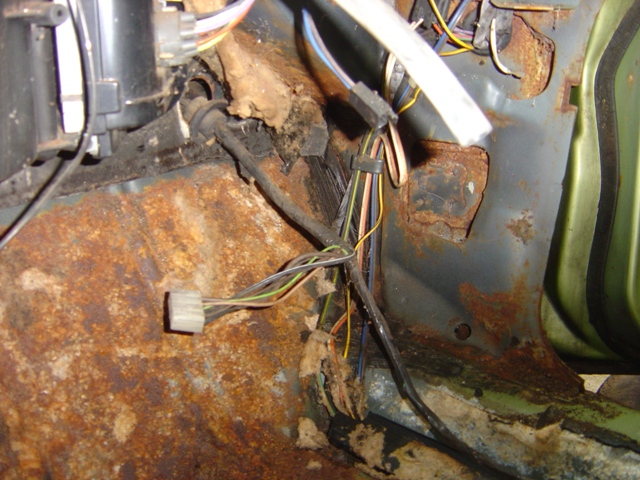
Passenger side body harness. AC harness comes out grommet in firewall (comes out passenger compartment), wires in shield coming down are for the passenger rear door, rear speaker wires are the blue and brown combo, passenger front door comes down out of cross-body conduit as shown above.
Passenger door wiring runs in shield along channel. White and yellow\black stripe wire runs under seat and wasn't plugged into anything, part of the seat belt warning light system? Orange with clear plug is for the passenger side rear cigarette lighter.
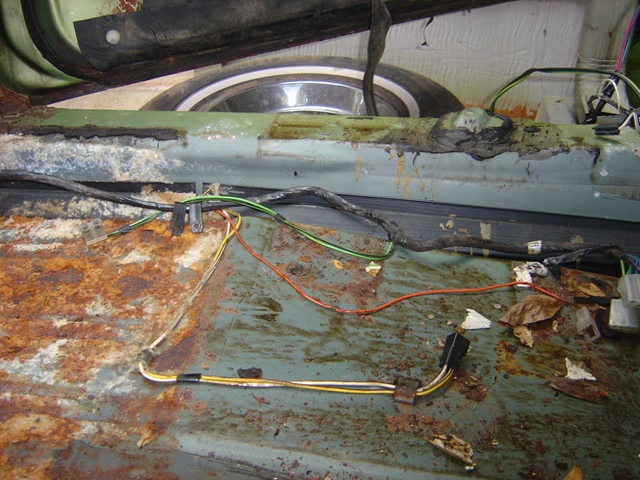
Rear speakers come out here. Two wires because GM used the body as the return line for the ground.
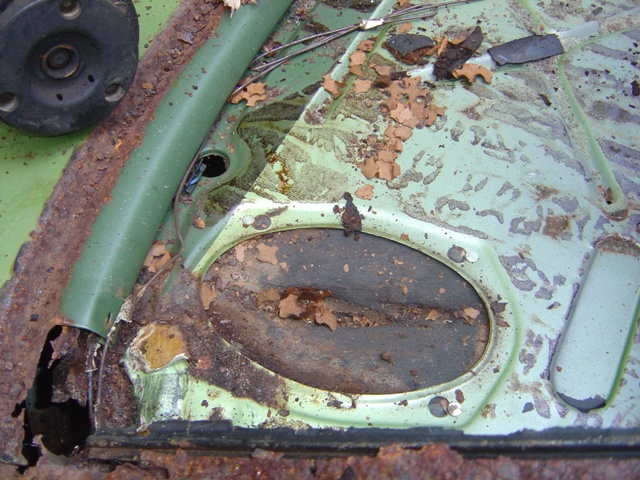
Blue is passenger side and drops into the hole as shown. Brown is driver's side and obviously the factory ran the extra long wiring however they felt. Package tray with jute backing covered it all.
Brown rear speaker wire. Drops down into hole. Plastic clips retain everything.
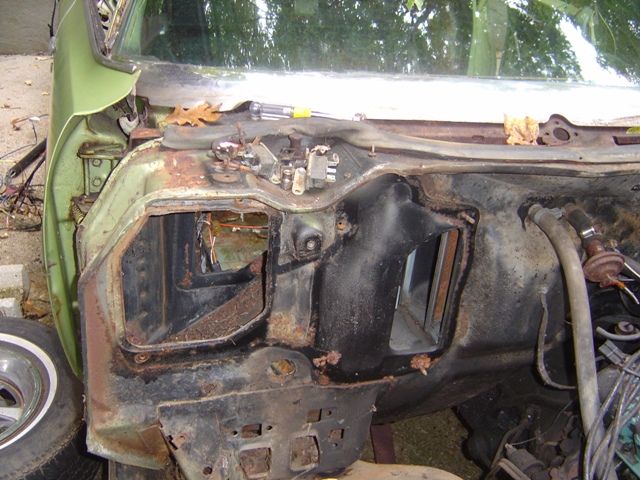
Outer AC box removed. Easy without fenders in place!
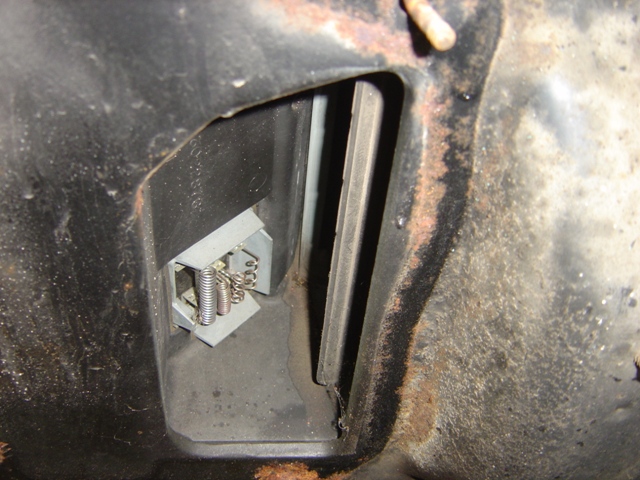
Resistor block inside AC evaporator path.
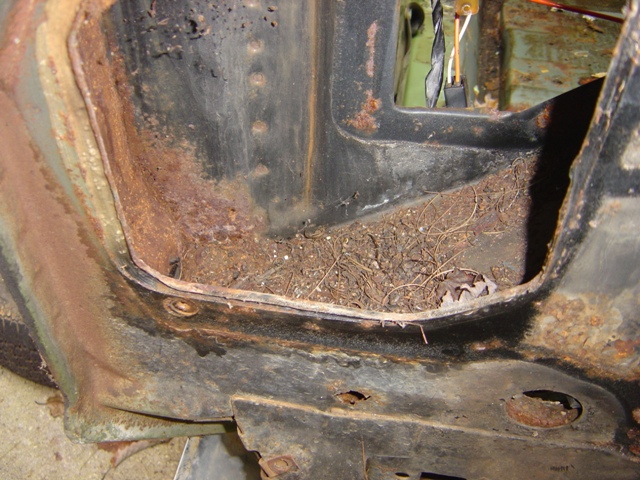
Parking under trees and not keeping your car clean is bad. The cowl is rotting from all the decaying plant matter. Lots of holes here under the leaves and debris.
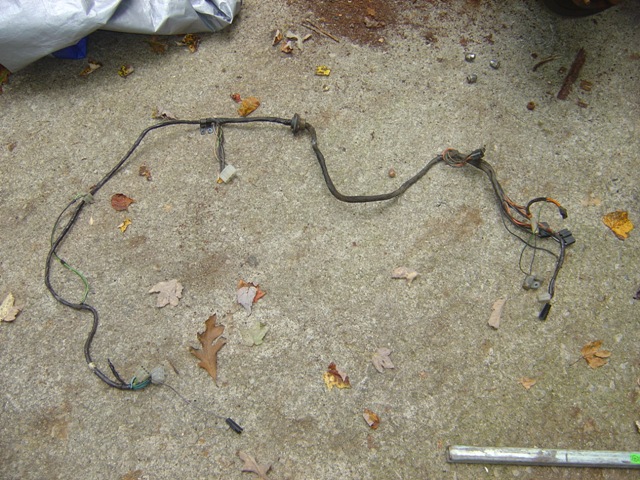
AC harness is removed. This is an automatic temperature control (ATC) harness.
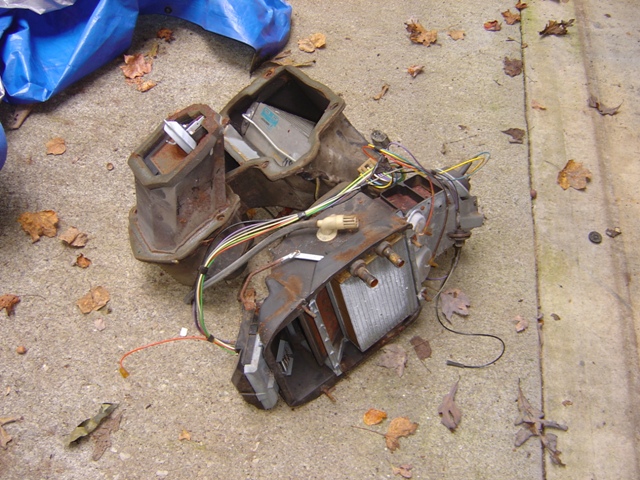
The two boxes. Note there is no temperature slider for the heater door. It does everything electronically and with vacuum servos. The rubber line on top of the box blows cold air on a spot in the dash where the inside temperature is sensed.
Evidence of leaky windshield revealed. Seal your window glass kids!
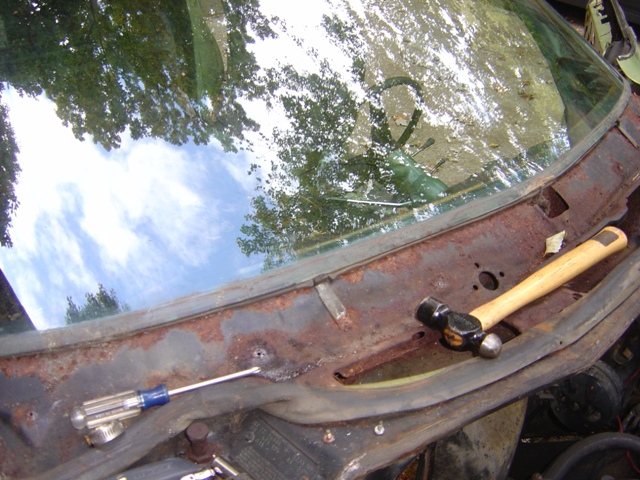
Bright work all removed. Cowl is full of holes.
Windshield removed. The bright work had its screws held in with body sealer glue - must be another luxury car thing as A & F bodies never saw such a thing in all of the ones I've taken apart.
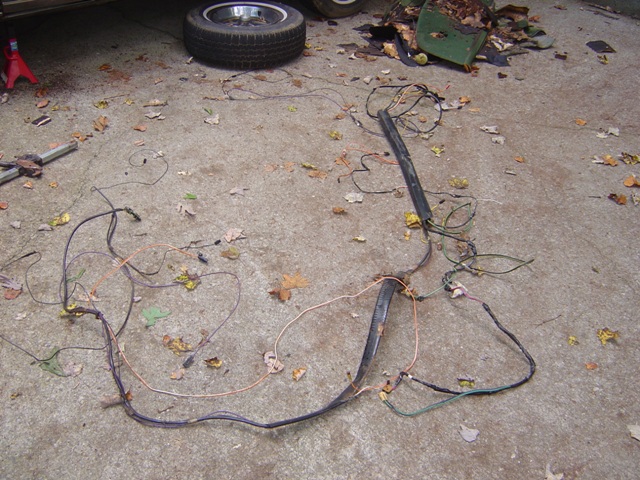
Driver's side harness is completely removed. Probably 20 feet of wire here.
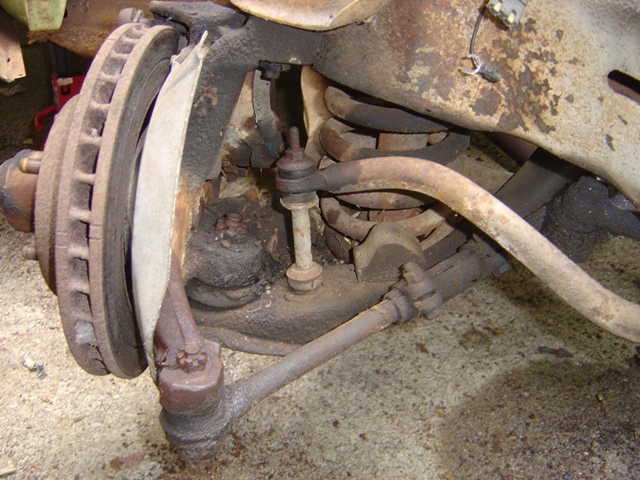
Now we move on to the suspension! Someone wanted the control arms (upper and lower) so I removed them. Start by removing the cotter pins - all of this is factory. 42 year old rusty hardware.
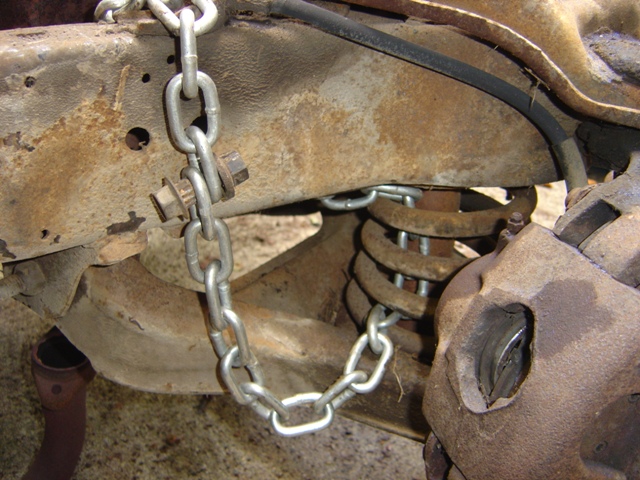
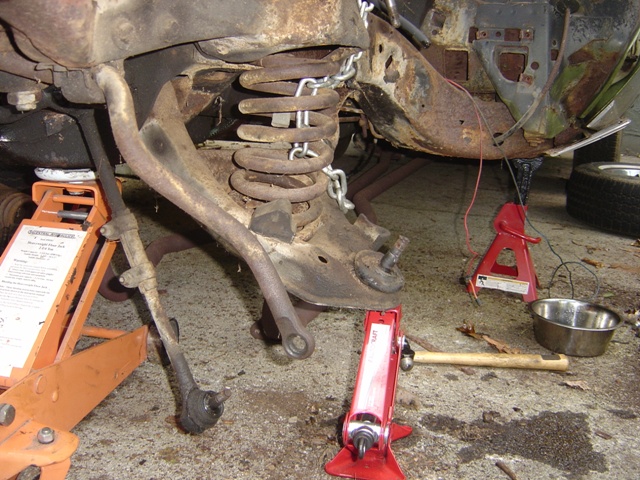
No spring compressor? Hefty chain will save us! It's the poor boy method, but it works effectively. Chain spring to frame so it can't swing loose.
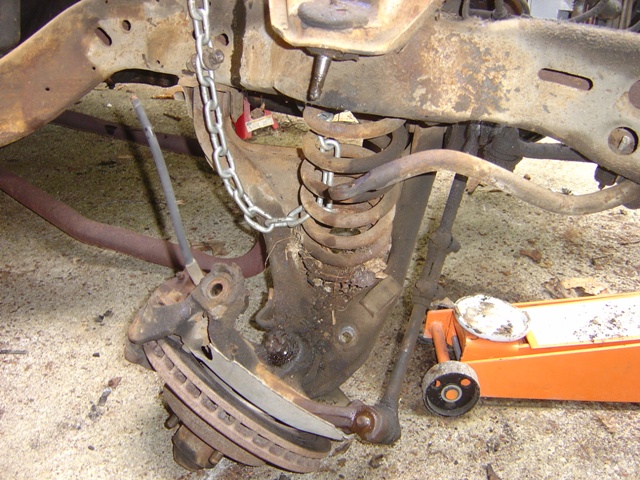
Shock is removed - 3 out of 4 bolts on both shocks snapped their retaining hardware so it was extra fun. Factory shocks too. A big hammer causes the spring and control arm to free up, sounds like a shot gun going off.
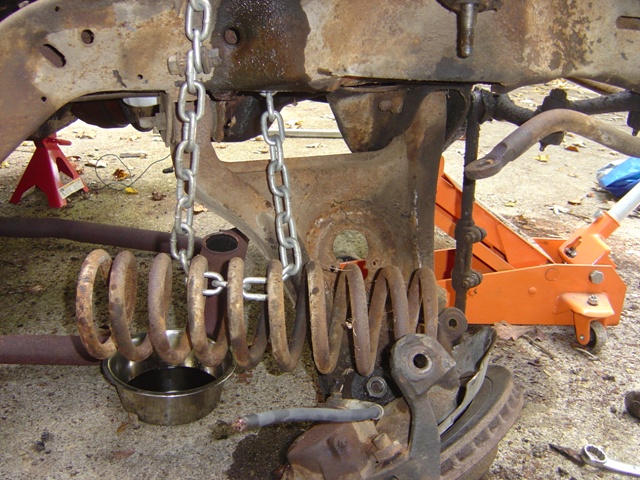
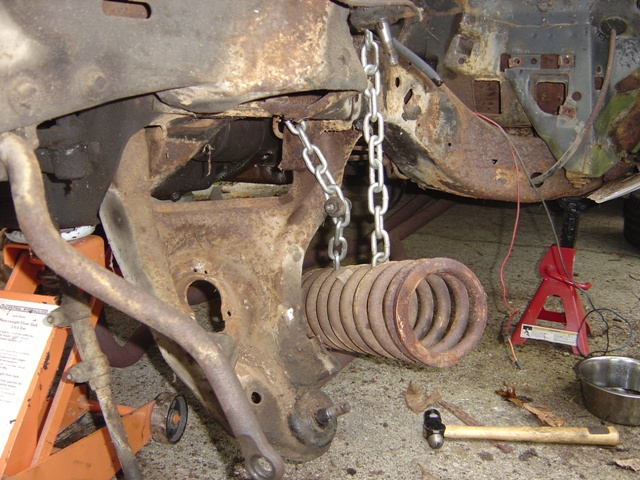
Pop out the spring with a large pry bar and here it lays. 42 year old factory spring! Could probably still be used, the factory overbuilt everything on these large cars and the spring still has life left in it.
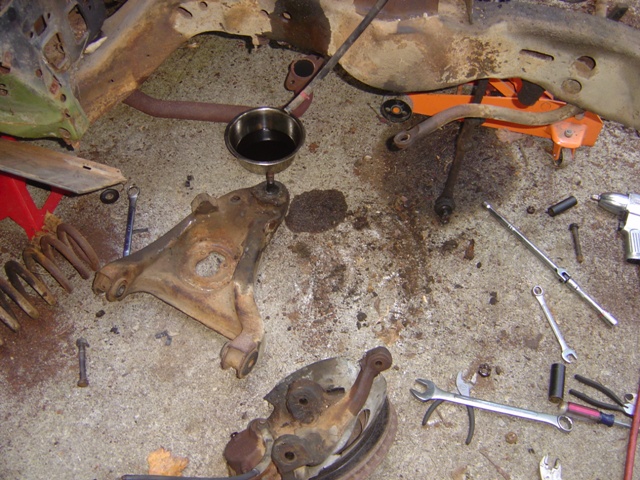
Lower control arm finally removed. 50lb rotor & spindle assembly hangs out.
Do the same to the driver's side!
Spring goes nowhere. Don't stand in front of it when you're breaking it free regardless...
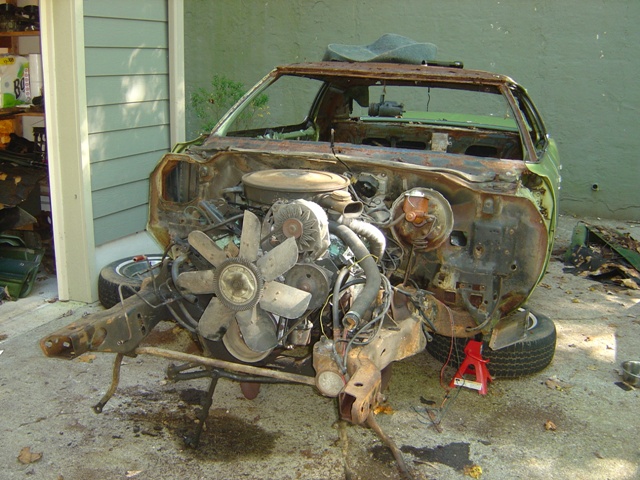
Not much left on the front end. Engine and transmission are almost ready to pull out - power steering pump and fuel lines are all that remains.
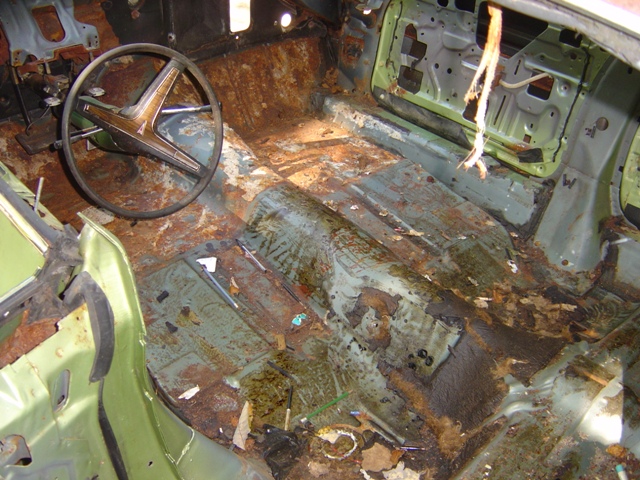
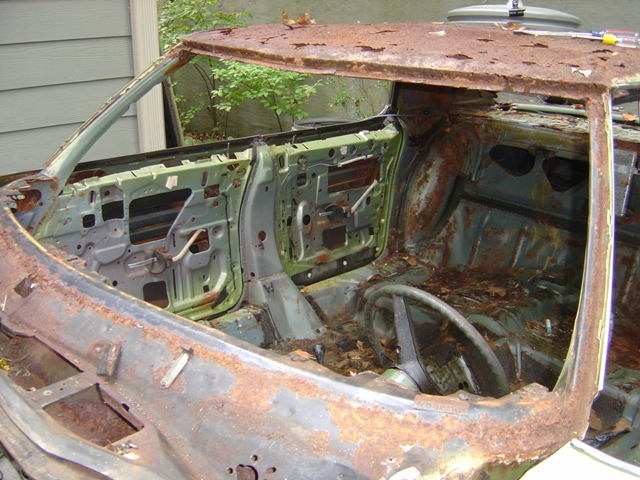
Passenger compartment empty except for steering column.
Rear seat area empty too.
That was some serious work. Took almost 8 hours. Sure, I could go faster but I'm trying to save every piece on this car in case someone wants it (or I want it in the future). It's more effort but more satisfying in the end as I get to take the car apart correctly and gain experience how it was put together for the future. You can definitely see that the tarp and vinyl top took their toll, the front windshield channel and cowl are practically rotten away. Last thing left to do is remove trunk lid, rear bumper, rear end, steering column and engine\transmission combo. Then whatever else is left that someone may want (trunk and floor pans are both requested).
Return to 1972 Grandville
Last updated September 27th, 2014