Timing Cover Saga - Part 1 - 08/24/2014
Since the timing cover is leaking, it's time to change the seals out and put a new timing chain and water pump on. I suspect the engine hasn't been apart in a very long time if ever, so my work is cut out for me. PB Blaster is my friend as is patience. Little did I know...
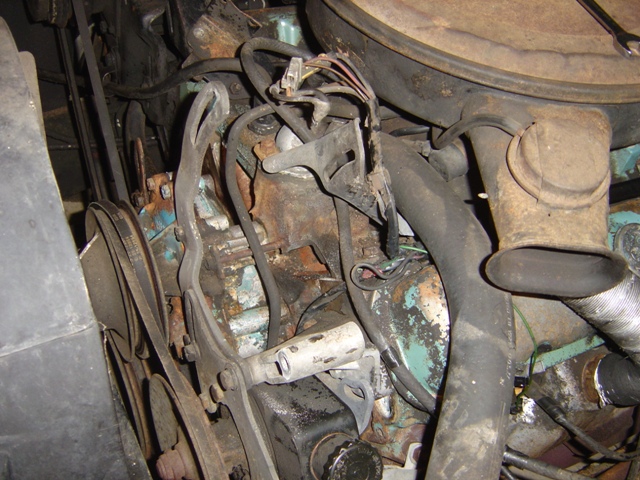
Start by removing the alternator.
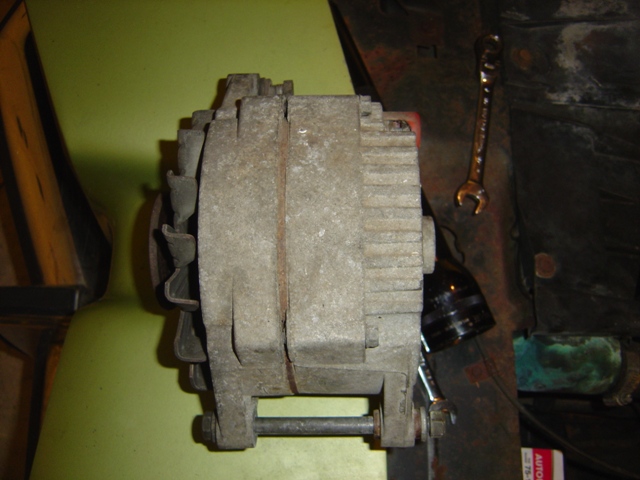
HD 80A alternator, January 24th, 1972 date code. Pretty early for an April build car.
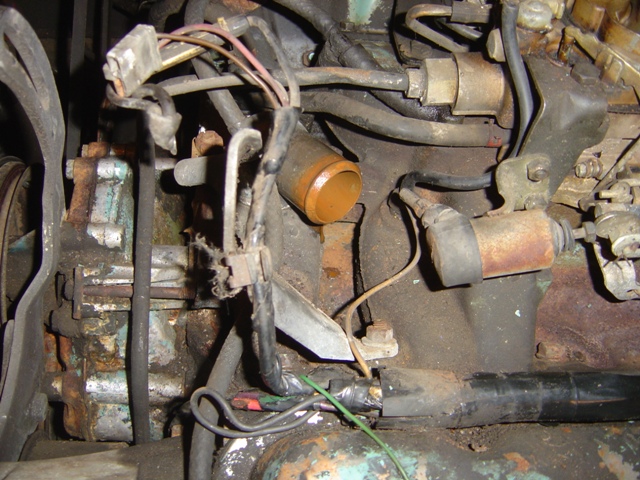
Pull off upper radiator hose to get out of way. Rusty color of coolant is staining everything inside.
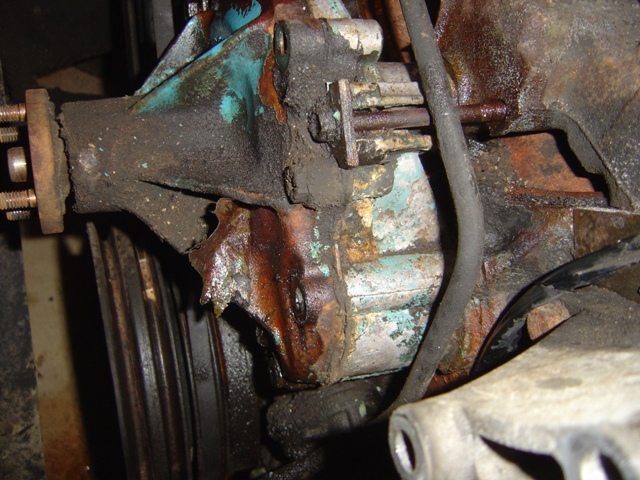
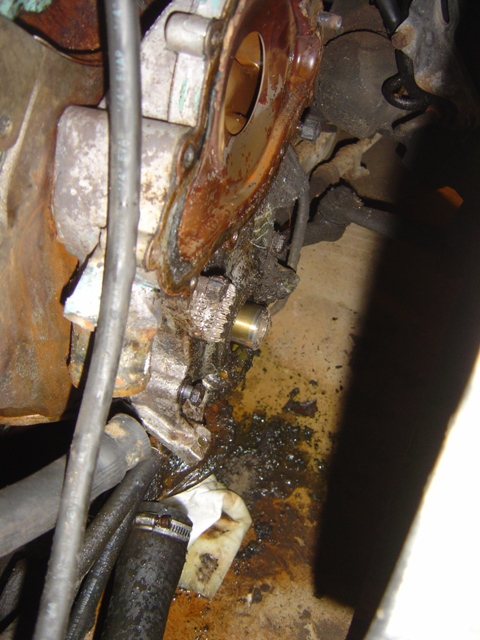
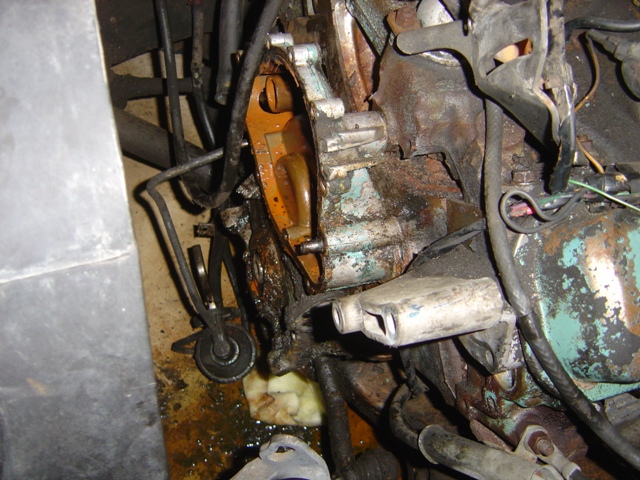
First "uh oh" moment.
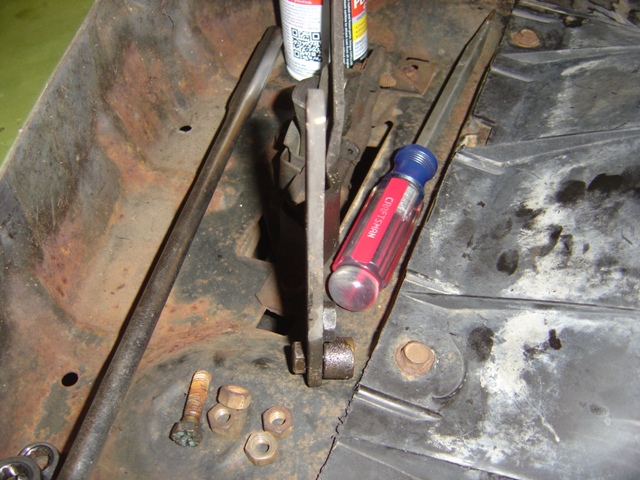
That screw should be a lot longer...
Compressor and associated hardware removed. All of the lines were open to the air and full of rusty brown gunk, this AC system hasn't worked in decades. Compressor was from a 1965 Buick too...
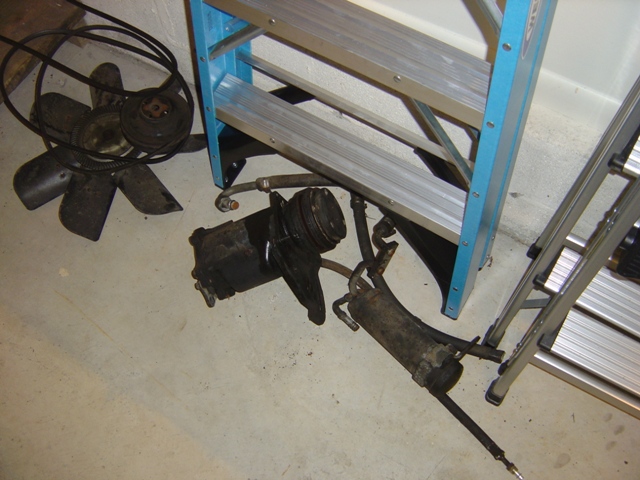
Anyone need AC parts?

Stamped impeller, that's good news.
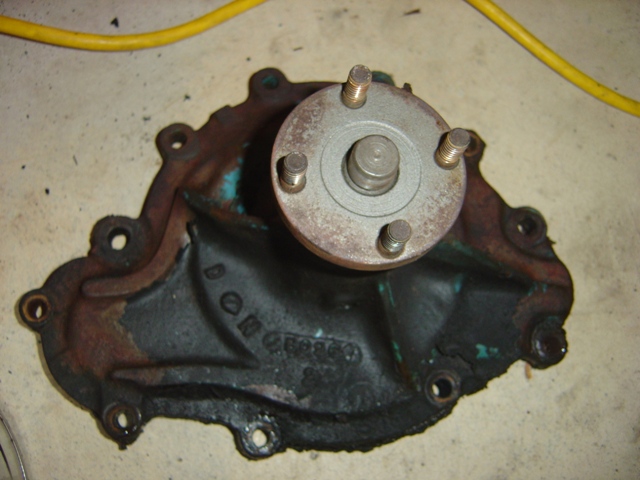
Date code of February 8th, 1976. So it's not original, but was replaced around 4 years after the car was made. Still a long time ago. It is painted the psuedo robins egg blue that Pontiac engines were painted in that era, making me think a dealer did the work.
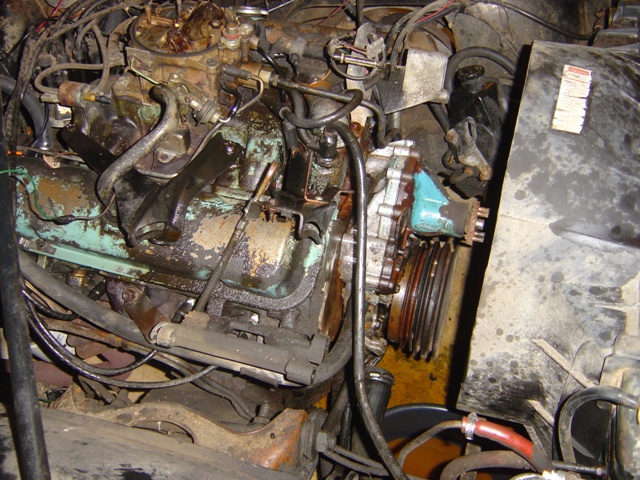
Normally this would have been an easy jaunt to get here, but we snapped off 2 heads, so it's been ugly.
Harmonic balancer pulleys were full of sand.
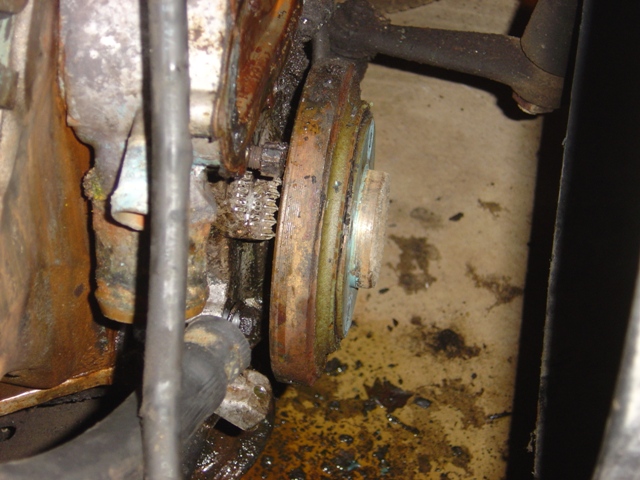
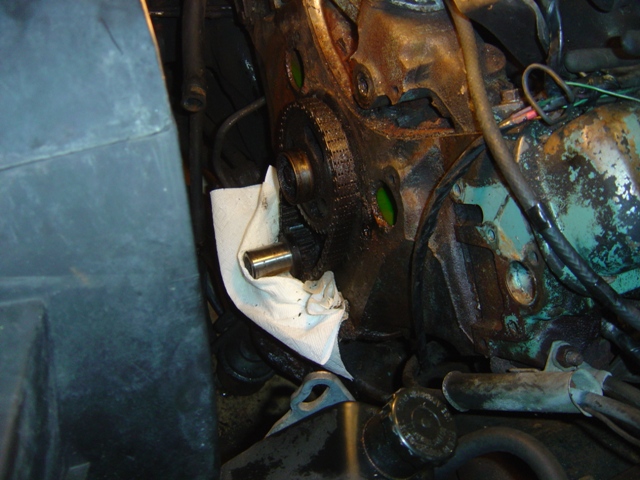
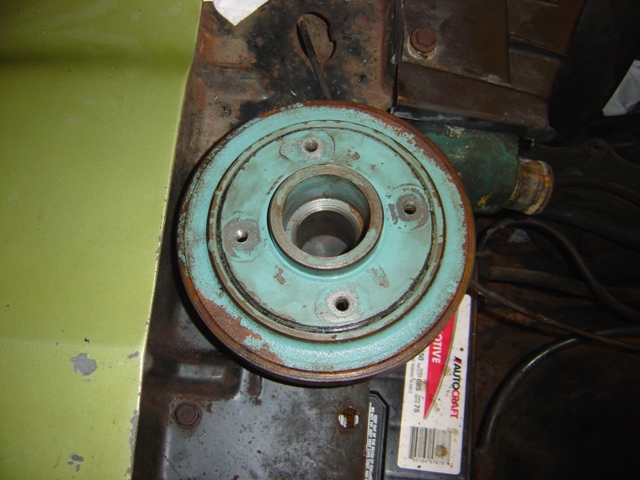
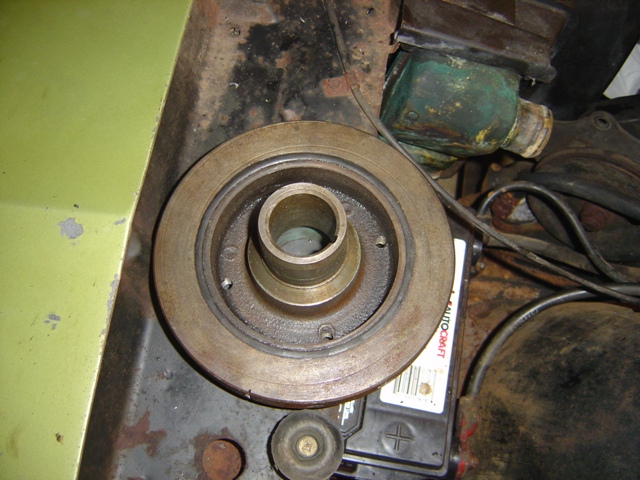
Harmonic balancer ready to pull off. It's very gooey and oily down here.
Pulled off. Such a mess down below. Crank snout and balancer itself in good shape though.
Fuel pump removed, all bolts and studs removed. Timing cover refuses to come off. Get out the heat torch and LOTS of pentrating coil. This took almost 5 hours over 3 days to get off...
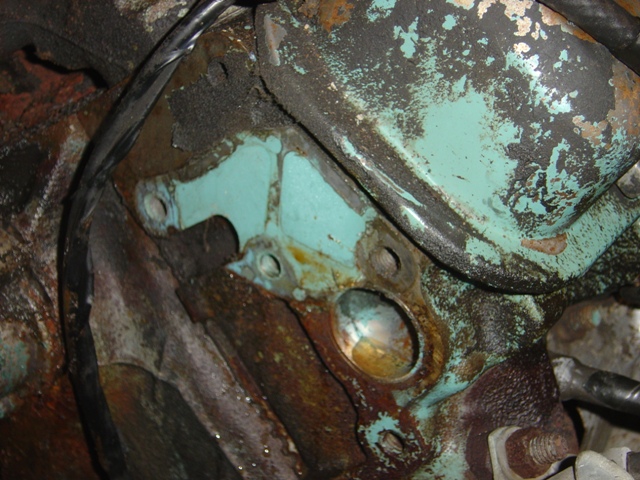
Just a reference picture of untouched 1972 engine paint on the head under the alternator bracket.
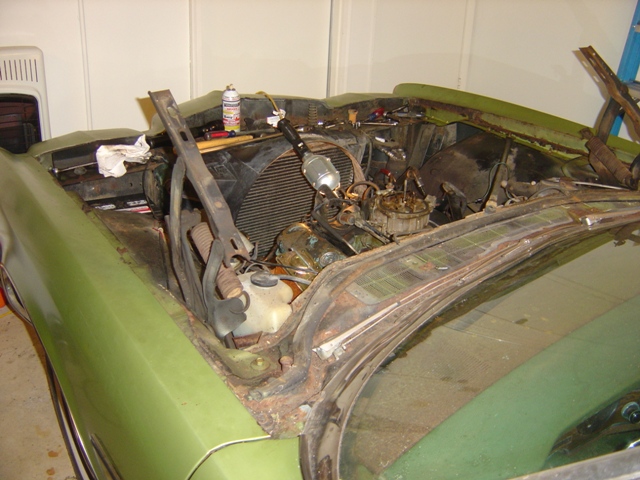
Big guns are out, hood off. Hinges were removed too.
It FINALLY came off. But not by removing the broken stud, I had to bend and pry it back numerous times and it only finally snapped off. Fortunately I knew this would be ok because the stud would rotate back and forth in the block, meaning it wasn't frozen to the block but the timing cover. Get cover off, dig out remaining bolt with pliars.
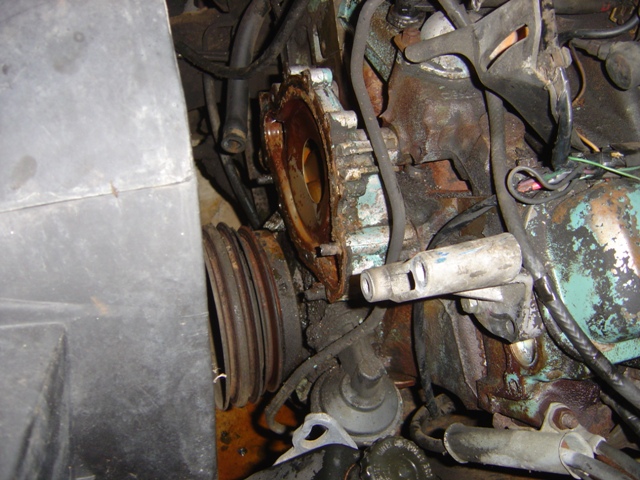
And here we are! Everything off.
Stupid stud. Going to try and save this cover.
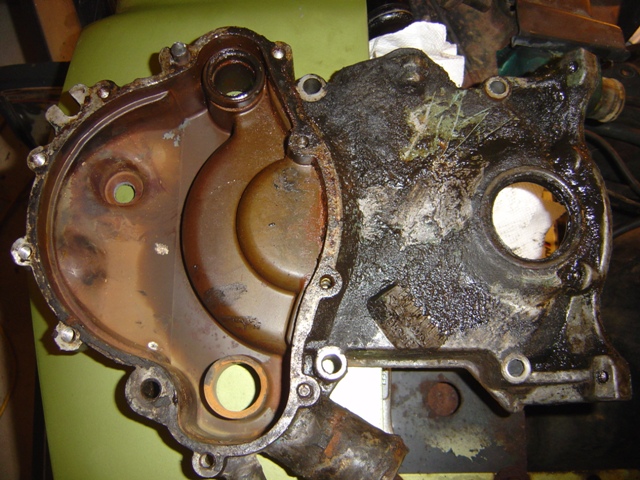
Other broken bolt is visible too.
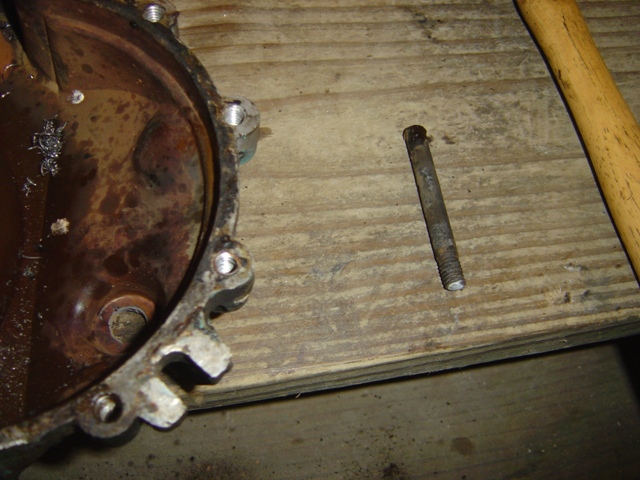
Hammered it out!

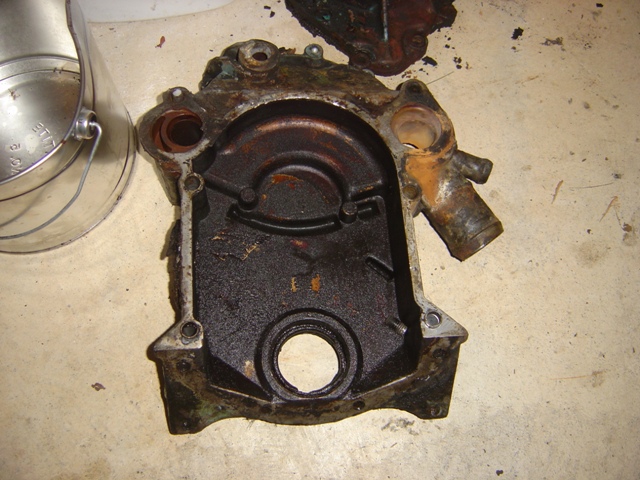
Timing chain is quite gooey... Razor blade scraped all of the old gasket material off.
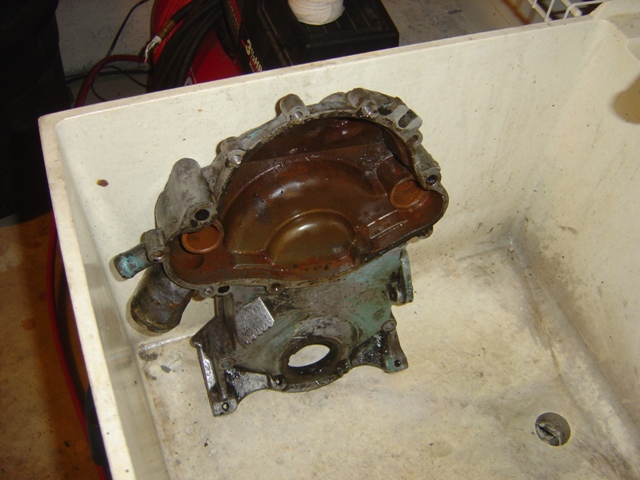
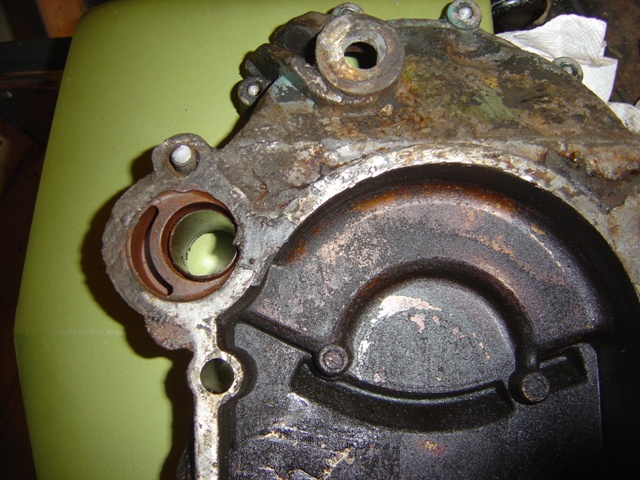
Timing cover cleans up ok...
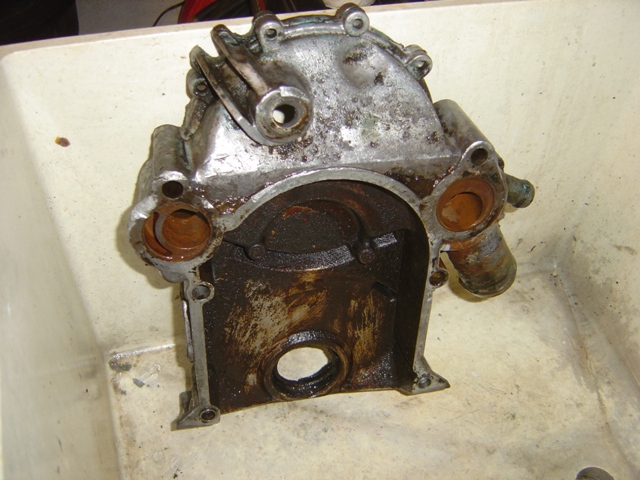
But it doesn't pass the test! A chunk came out of it when removing the old gasket material. Oops. Right at the pressure spot for the driver's side of the engine. Oh well. Time for a new one!
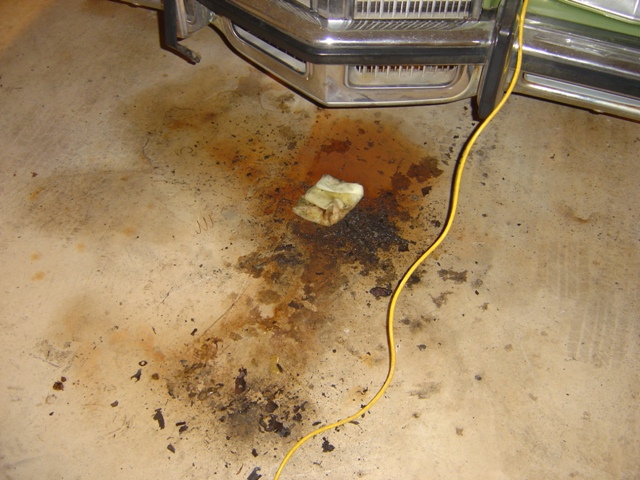
Quite a mess. I decided to clean this up before progressing...
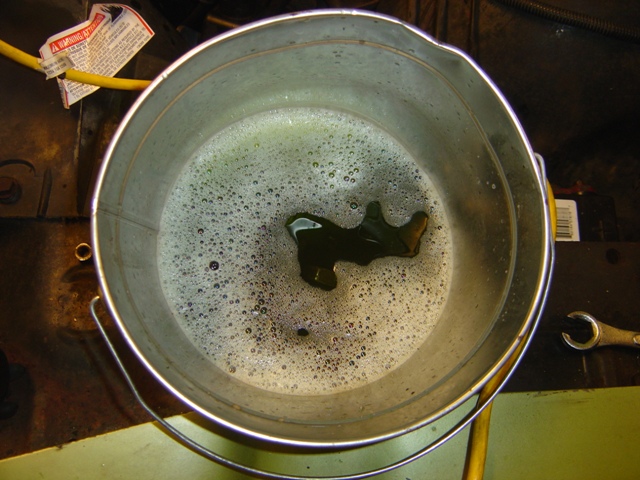
While I clean I put all the hardware in a bucket of Simple Green for cleaning and degreasing.
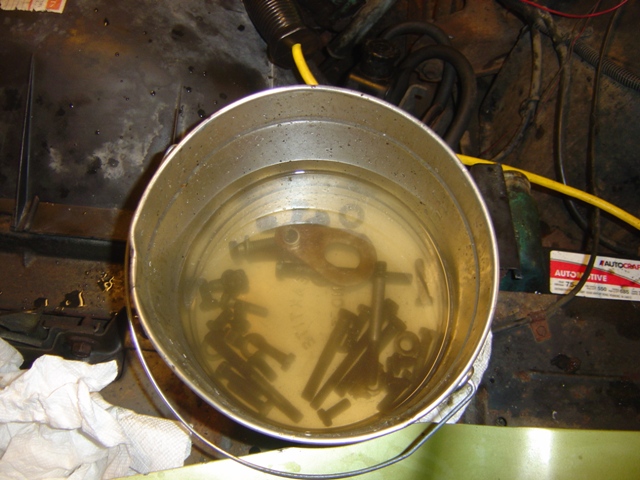
Hardware being washed in water after being scrubbed.
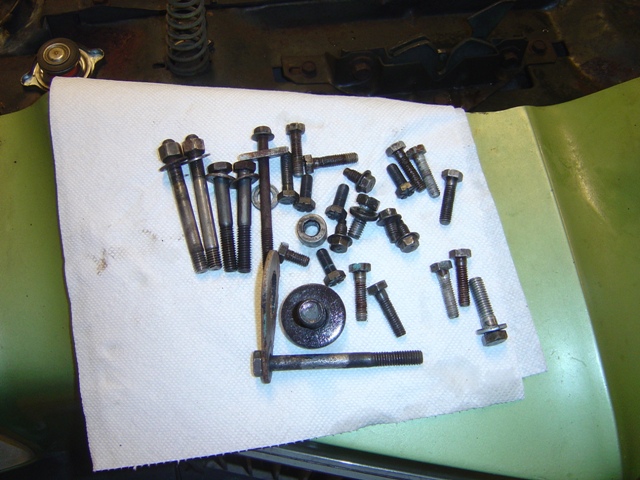
Hardware all clean and ready to go. Several are discolored from years of grime and gunk, plus a few weak spots due to rust on some threads.

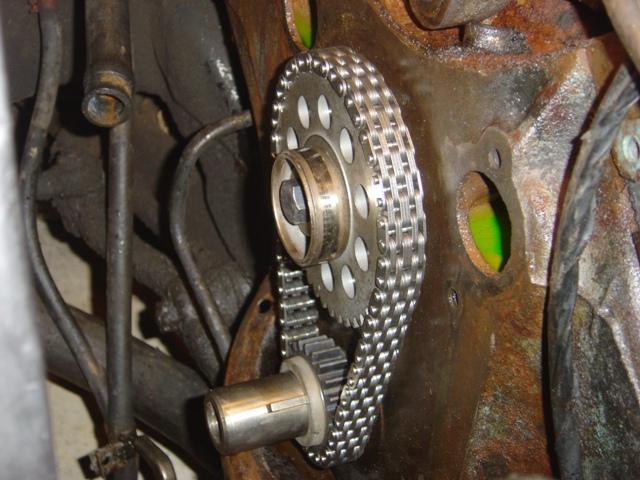
Old timing chain is GM date coded March 2nd, 1972. It's original. And was almost half a tooth off because of slack.
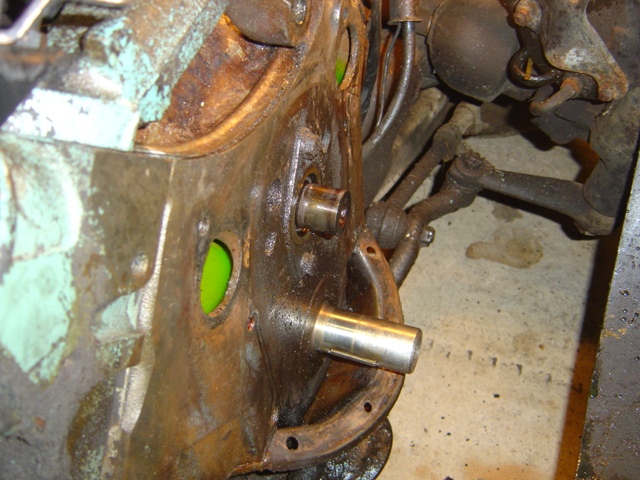
Chain removed. Need to clean up some of these passages and the cam plate cover.

New Cloyes timing chain set.
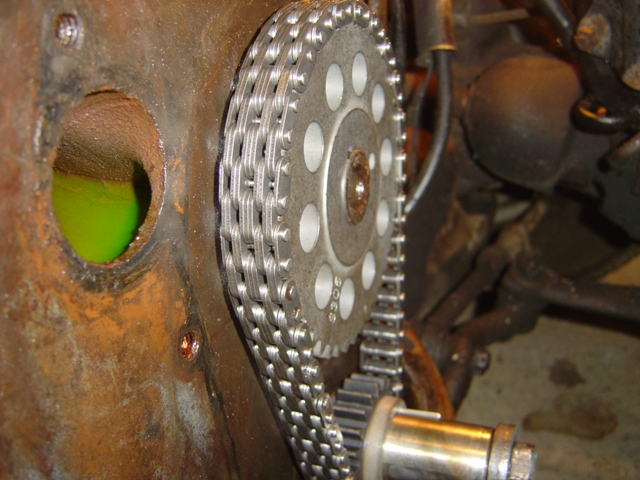
And it's on. Installed dot to dot, which required a bit of coordination to get everything on.
Fuel pump eccentric hardware is all degreased and cleaned up.
Installed, torqued to 40 ft-lbs.

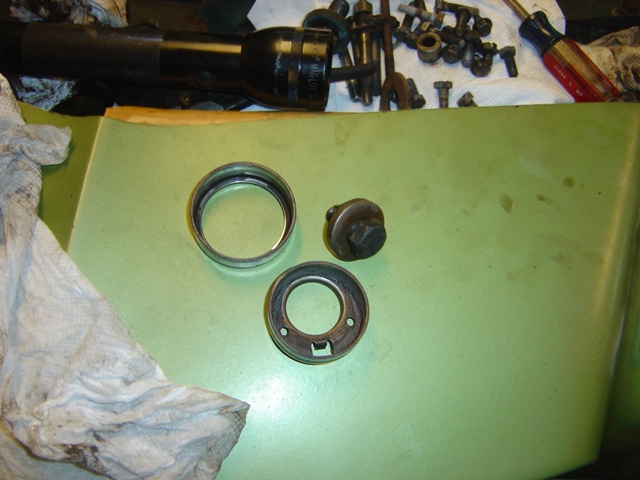
Water pump divider plate is scraped off and wiped clean for install.
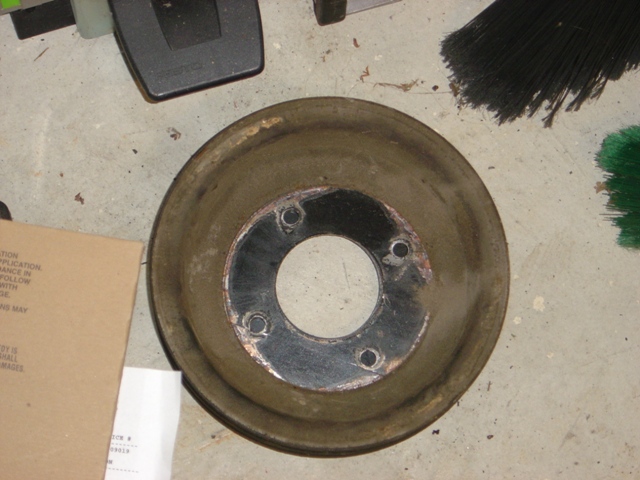
Harmonic balancer is degreased heavily and cleaned up. Note paint all over it, indicating that the factory assembled the engine and painted it, then put accessories on.
Back is cleaned up and ready to go. Rubber ring is in very good shape, likely has not slipped a bit.
Finally this trail of tears is nearing an end. Once the timing cover arrives from Ames later this week it will be time to put it all back together. As stated, to get to this point took 5 different days, a dozen different tools and much hammering, beating, heating, and bruising. But I am still victorious! Audrey really puts up with a lot from me...
Return to 1972 Grandville
Last updated August 24th, 2014