Timing Cover Saga - Part 3 - 09/11/2014
Now we get down to it and finish the job.
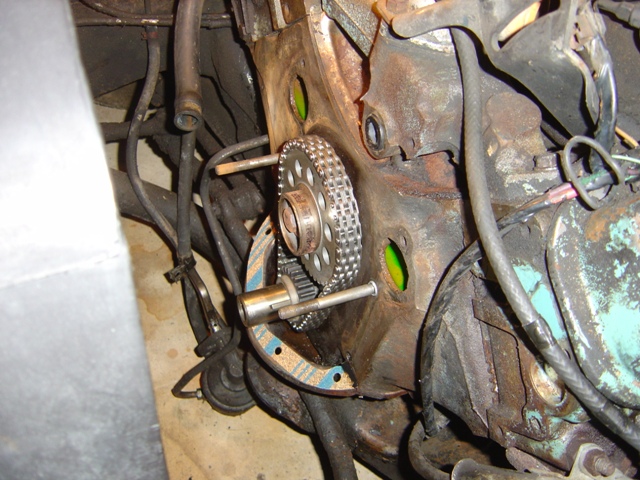
Studs installed, oil pan gasket, and a little sealer on the edges of the block.
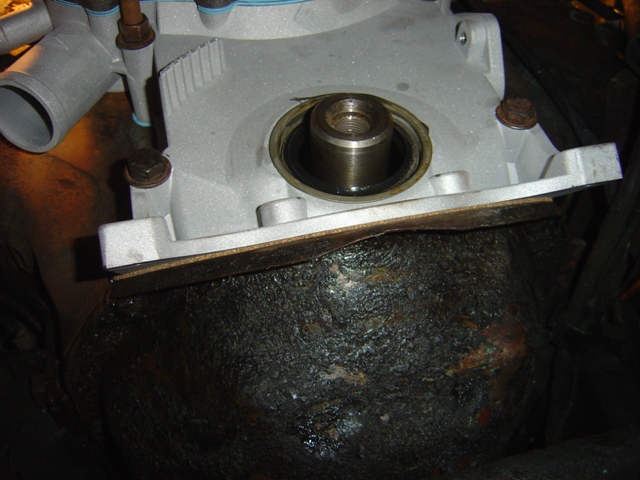
Timing cover and front oil pan seal tightened down.
Long bolt installed.
Fuel pump in. Engine is now sealed up!
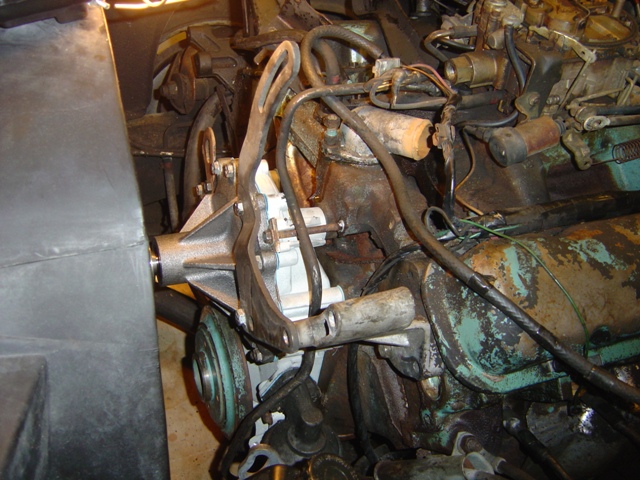
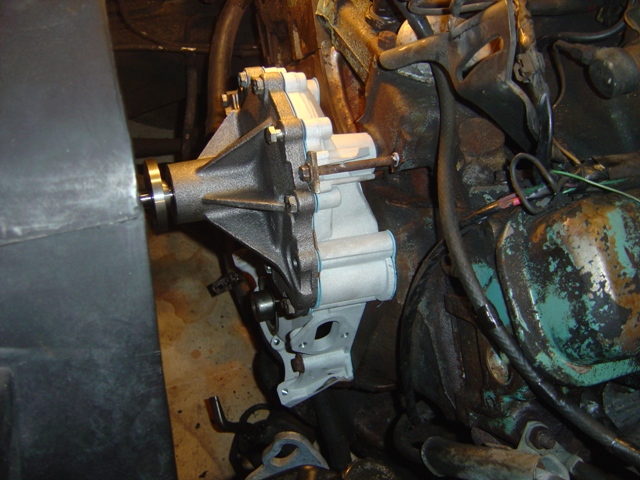
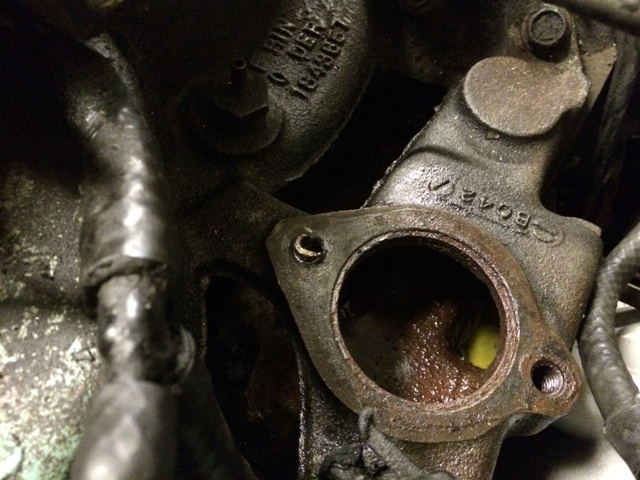
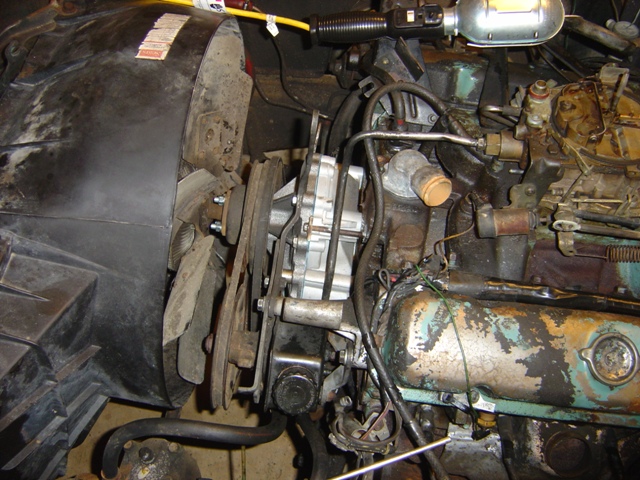
Alternator brackets go on. Thermostat housing is leaking and the thermostat needs to be changed, so that's next...
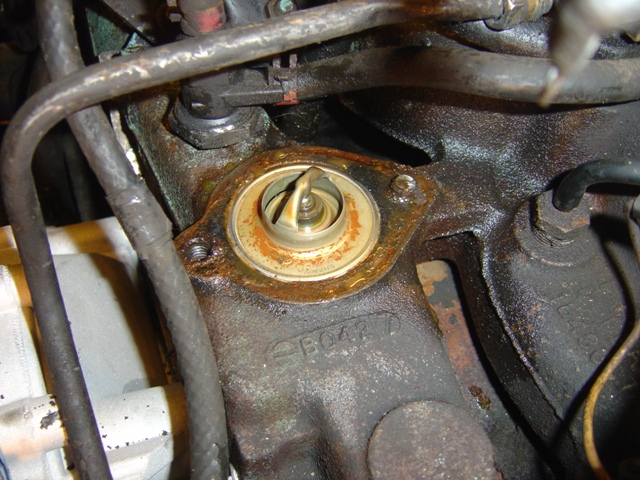
...and that didn't go well.
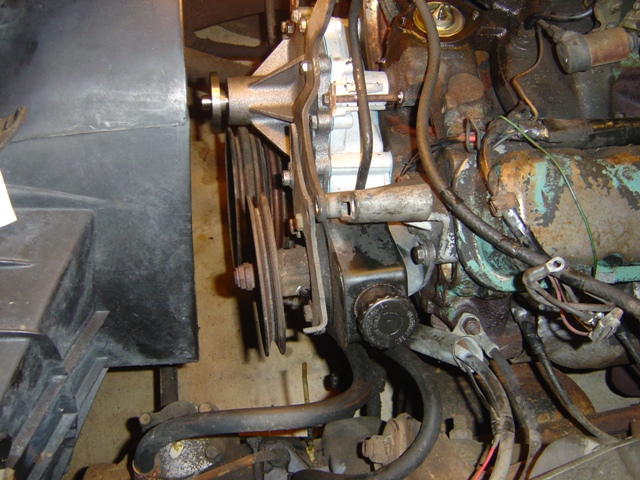
Put power steering pump on to take mind off of the task ahead...
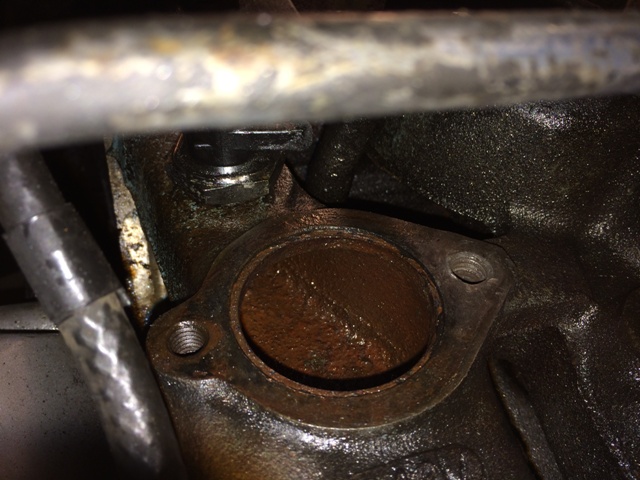
Center punch stud, drill out. Easy enough right? Until the remains crack in thirds...
Heat did nothing, candlewax did nothing, penetrating oil did nothing... What a mess...
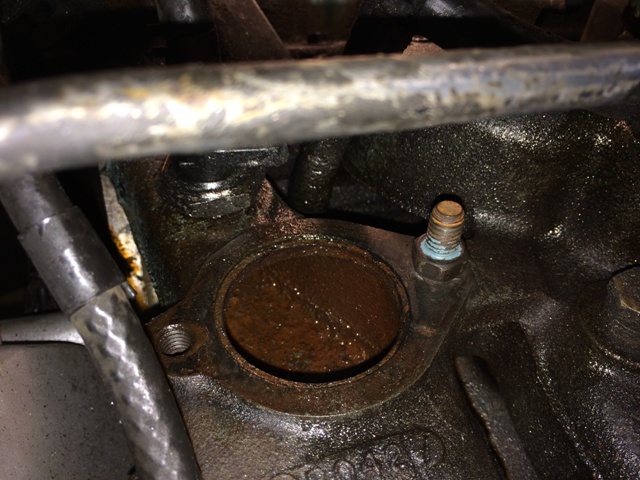
And it's out! Used a 1/8" carbide bit for my Dremel. $9.95 from Home Depot but worth every penny. Grind away at the bolt with lots of oil on everything until you can JUST see the threads in the intake, then use a 3/8-16 tap to grind away what is left. Repeat until all of broken stud are gone. This took about 2 hours to do...
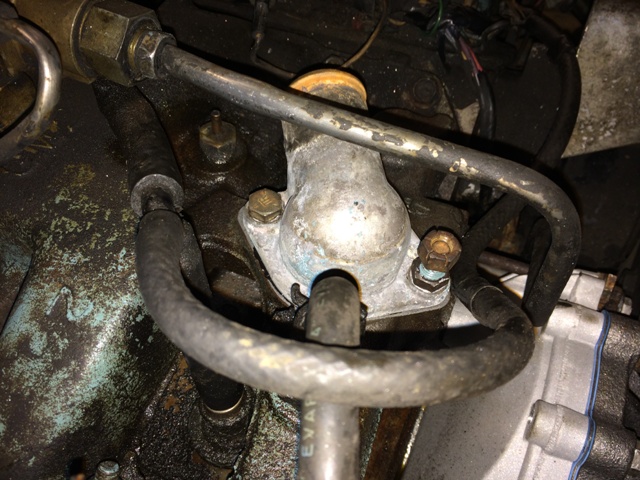
Important test to verify the bolt will go all the way down solid... and it does!
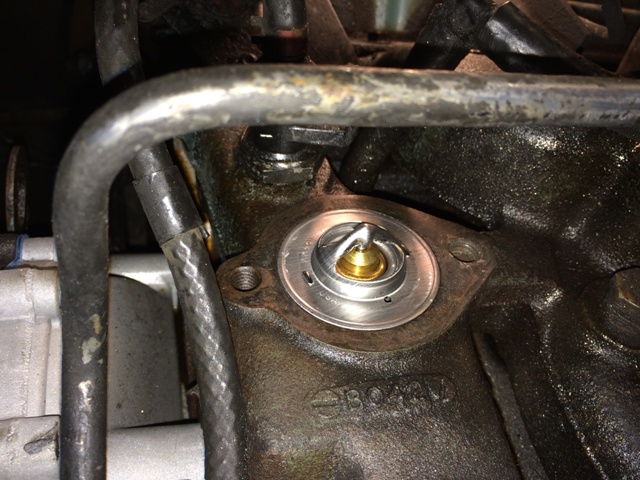
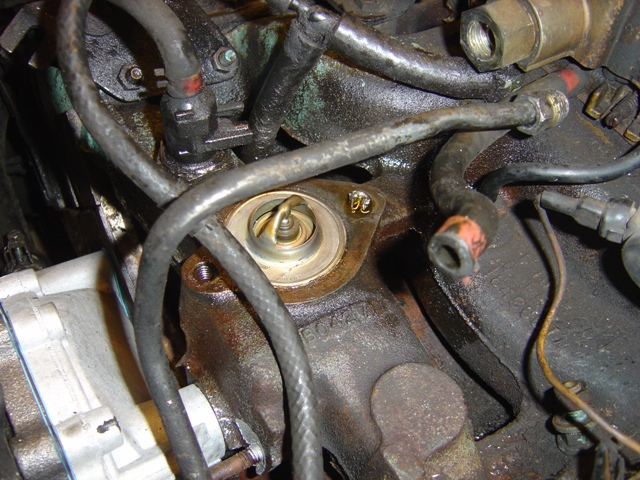
New thermostat installed.
And back together with liberal amounts of anti-seize applied! I'd say this wasn't frustrating and I made it look easy but I'd be lying...
Fan and belts on after fighting THEM for 45 minutes...
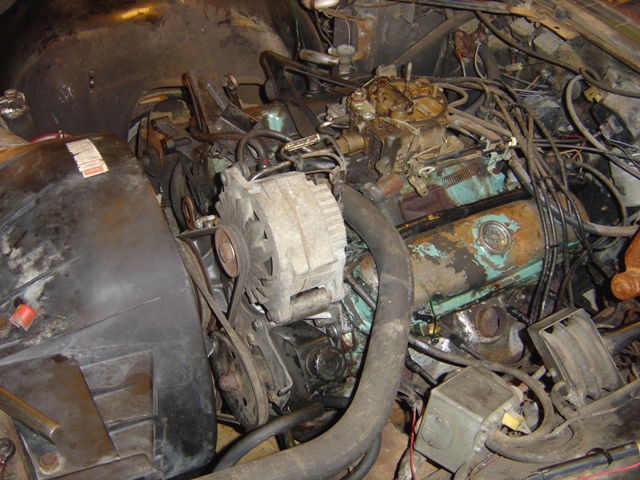
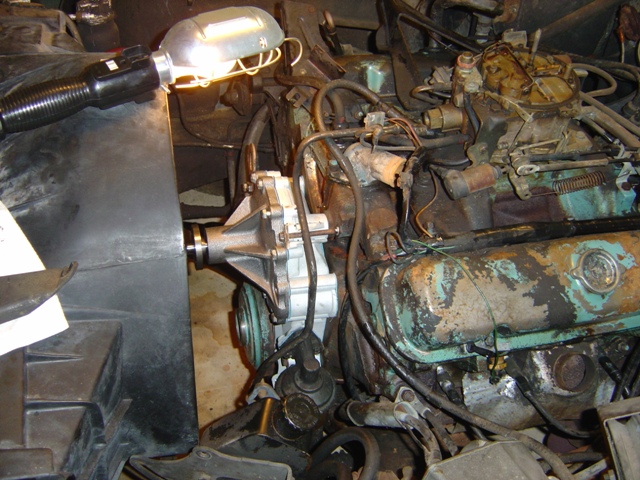
Engine is back together and running (not that you can tell from the photo due to the flash).
Have a video of it running:
Right here.
Sounds pretty good. Timing nice and steady and no leaks (at the moment).
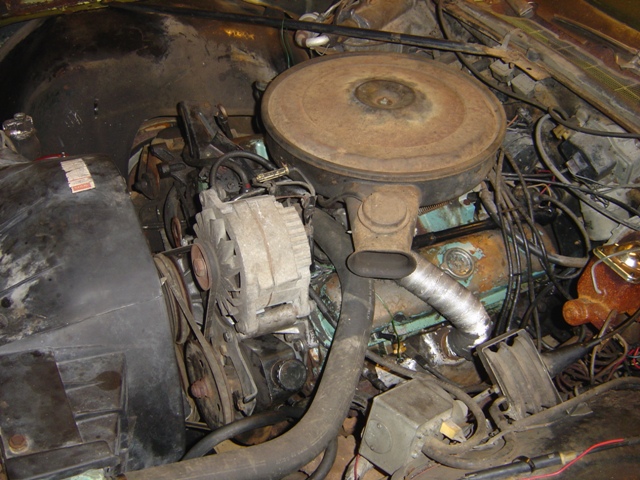
Put back together and covered! The radiator started leaking like crazy after it had run up to temp, burst at the middle of the core down below. Oh well, scrap radiator!
That was not easy. Let's not do this again soon...
Return to 1972 Grandville
Last updated September 11th, 2014