Heater Core - Day 2 - 06/21/2008
The big day. Old heater core comes out, new one goes in. Water shut-off valve and controls get installed.
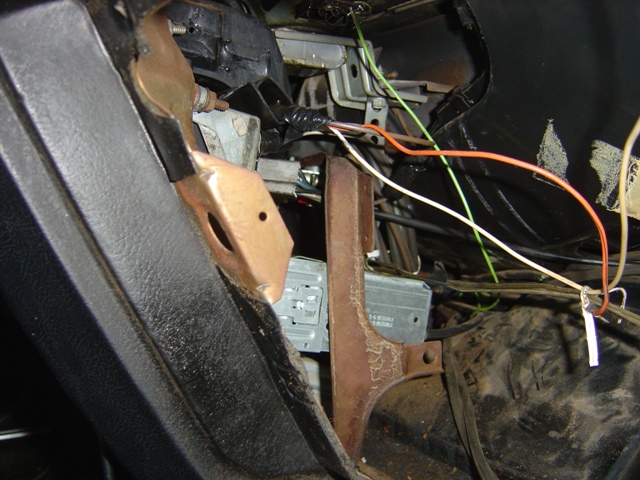
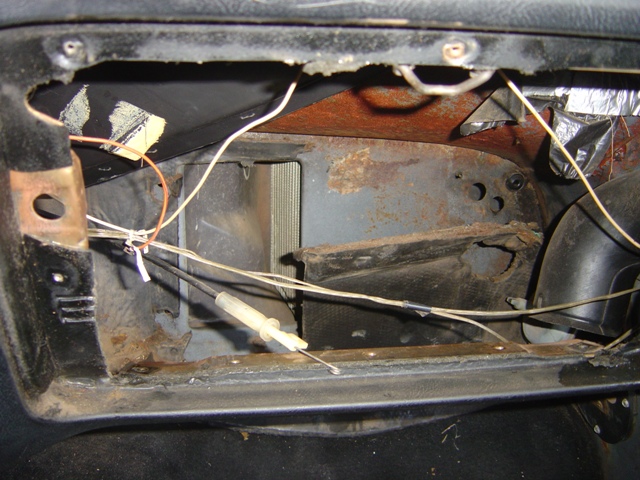
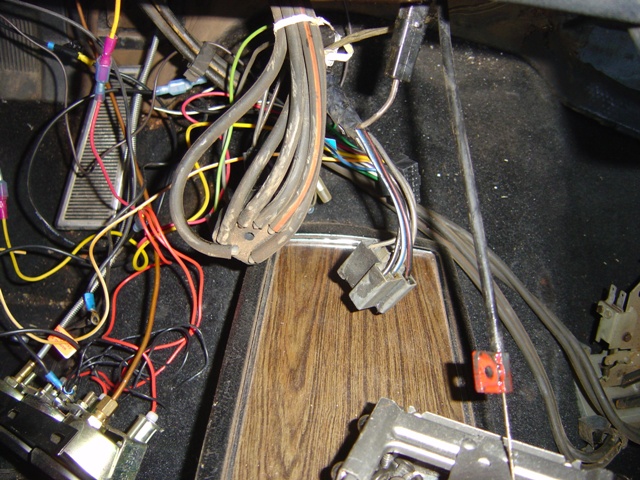
Glovebox is removed to get a better view of what needs to be done.
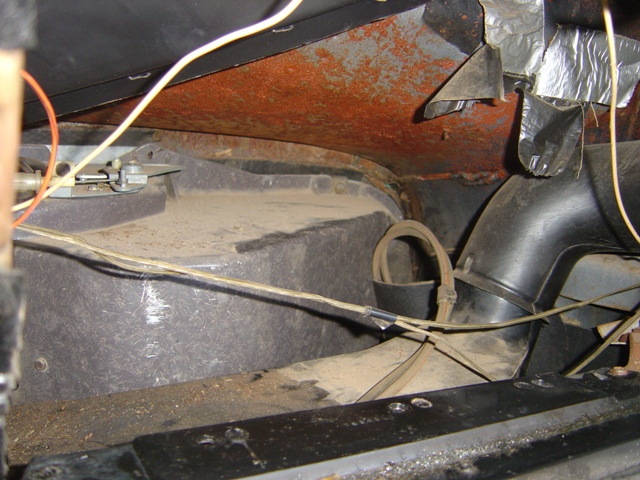
The main ductwork has to come out to get the box out. I've done it a million times, so it isn't any big deal, 3 bolts and it comes out.
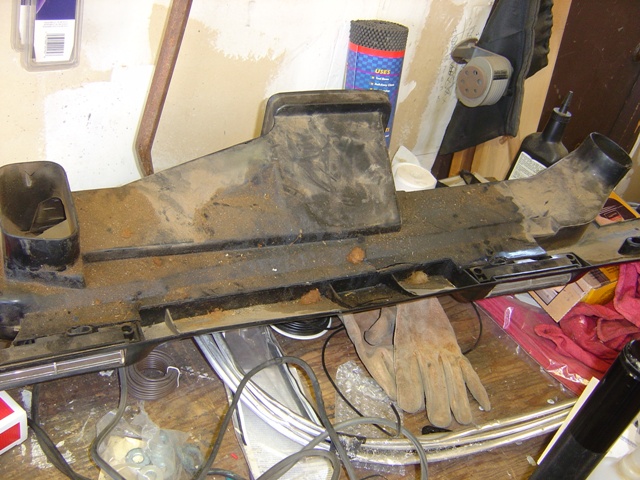
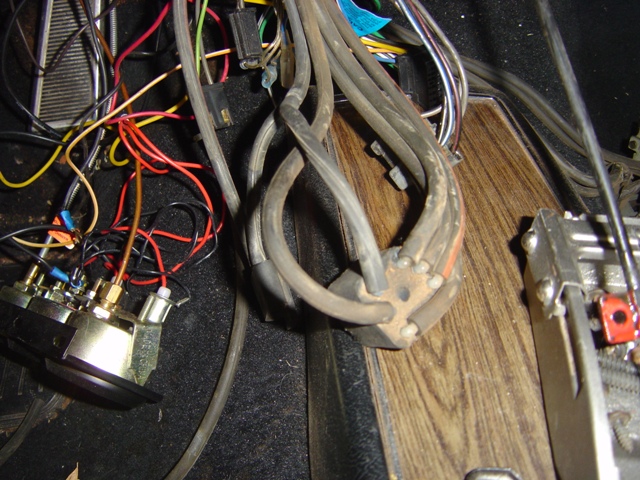
Main duct piece. Hard to tell from the photos, but this thing has like 4 serious cracks in it! That's not good!
I paid something like $10 for this thing 7-8 years ago. It's still nice despite being moved across the country and getting stuffed in a box for most of that time.
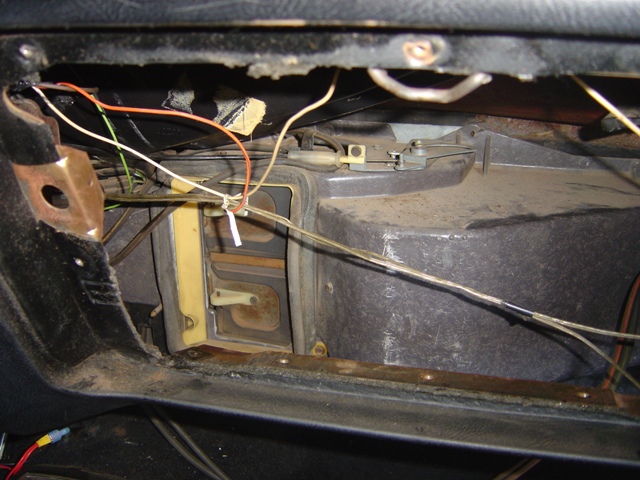
Box is there, ready to come out once the bolts are removed.
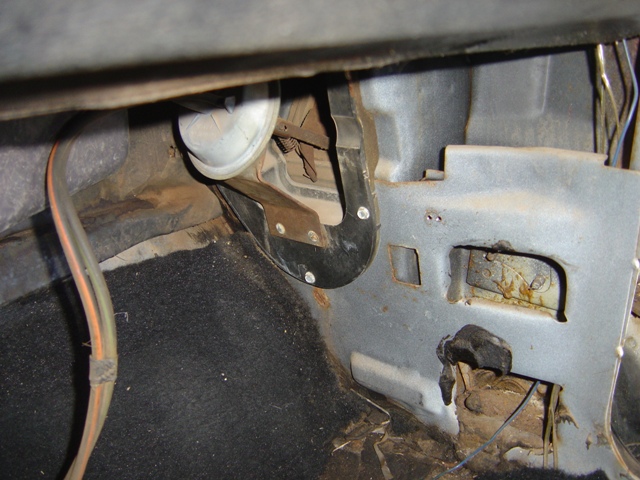
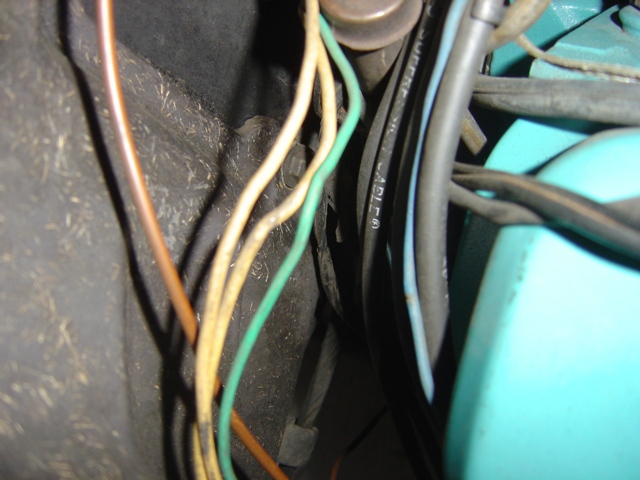
Kick panel needs to be removed (1 screw) to get to the fresh air intake diaphragm and remove the vacuum lines to it.
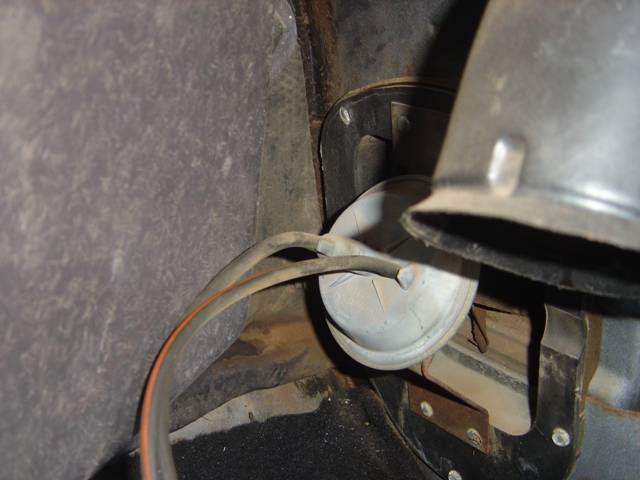
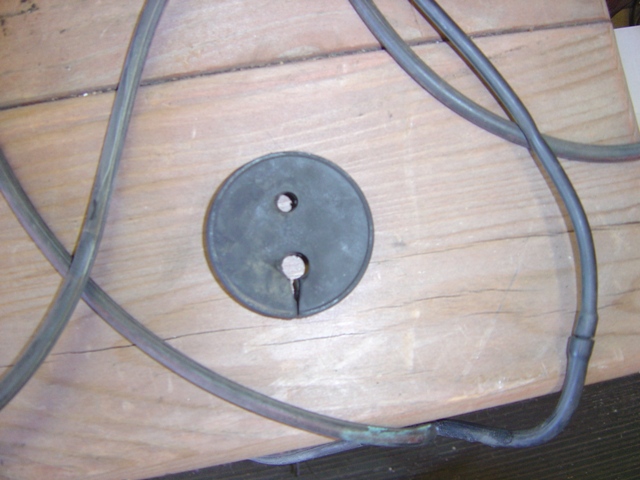
Reference picture. Orange goes on the right. This diaphragm changes the airflow from fresh to recirculated.

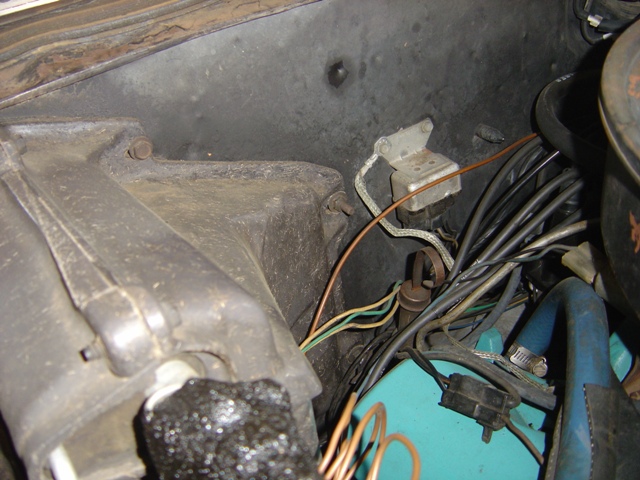
The crusty heater hoses came off with relative ease. I was expecting a battle. One of the nuts to be removed is just to the right of the upper hose covered by the AC lines.
Easiest bolt to get to.
Not so easy bolt to get to.
Box comes out! Total time to get to this point was 25 minutes...
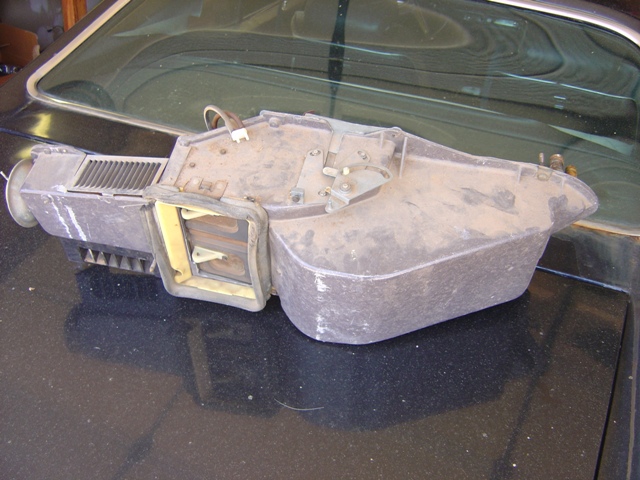
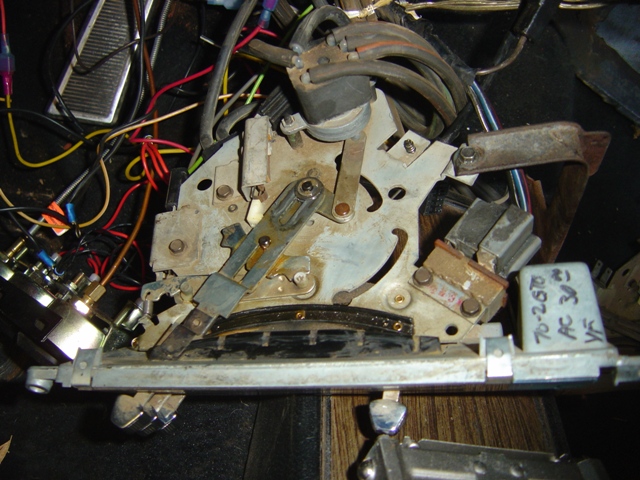
Forward facing side of the heater box.
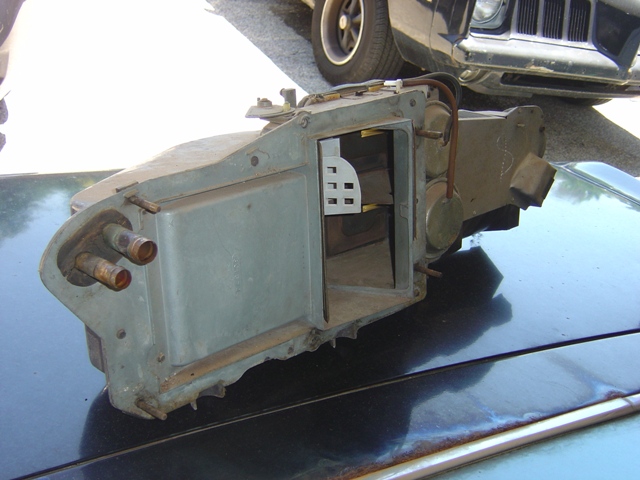
Side that faces the firewall. All diaphragms work and are in good shape.
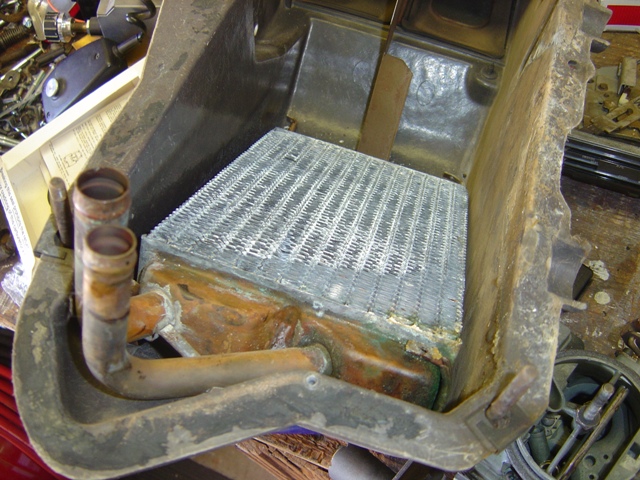
Nasty old heater core. There is the leak right there at the bottom right closest to the tubes. Nice and crusty.

The separator plate between the heater box and AC box.
Nice and green where it leaks. Some really nasty brown gunk came out of this thing.
The temperature slider arm assembly is required to be removed to get the separator plate out.
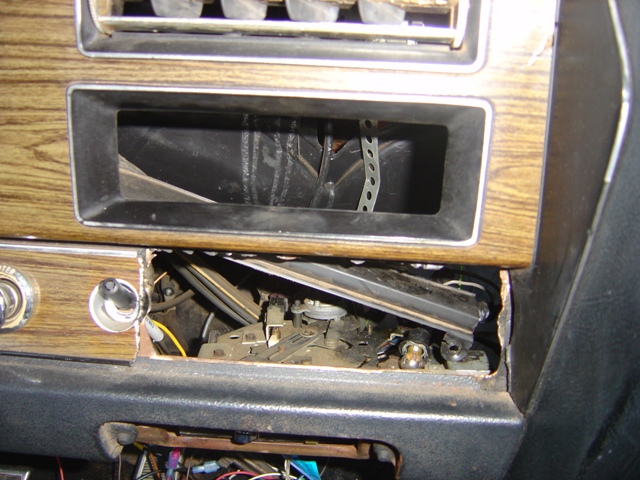
Controls are lowered (upper AC duct falls at same time).
Controls are disconnected from the vacuum lines and electrical connectors.
Grommet in firewall is removed. A new hole needs to be created to pass the vacuum line for the heater valve through.
Harness installed in grommet and ready for reinstallation.
Everything ready to be reinstalled. As you can see, the far left vacuum line was replaced with the one from the heater valve car harness. It essentially just tees off the vacuum from the engine and routes it through a vacuum switch controlled by the temperature slider -> vacuum absent when fully cold (no water flow) and vacuum present when coolant flow is expected (remember that, this is important for later!).
Controls are installed and connectors are plugged in.
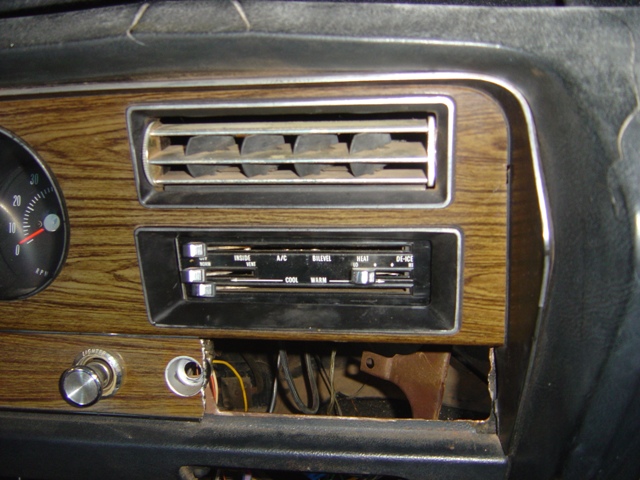
Controls are installed. The ductwork that just hung out is fixed and screwed in on the right side to a metal tab on the back of the dash (not obvious at all). 1970 said "De-ice" instead of "Defrost" (which is technically what it does). 1960's and earlier cars said "de-ice" and it wasn't until 1972 apparently that "defrost" was the new term. This temp control setup is pretty nice.
Well I tested the thing out. The temp slider works! I hook vacuum to it and it passes when not slid all the way to the cold side! Except... the water valve does the exact opposite logically (passes water unless vacuum is present). This means that I will have heater flow ONLY when it is slid to the coldest position possible and won't have any heater flow when it is set at hotter temperatures. Ruh roh! What went wrong? Heater valves operate this way on cars from 1973 and newer. 1971 and older use a different heater valve that operates the correct way. Doh! Gotta return this guy and buy a new one.
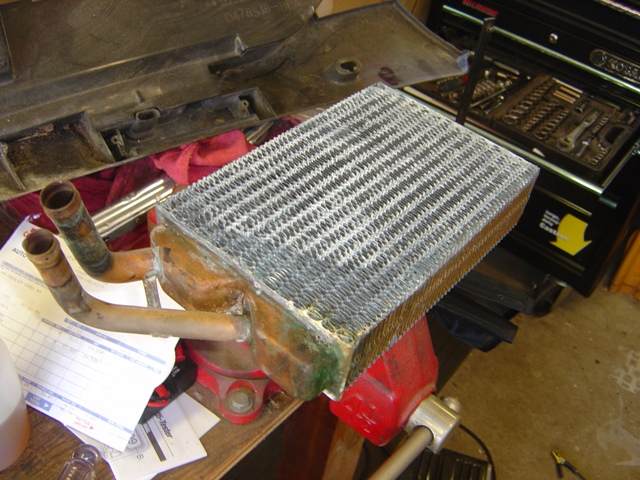
Since everything went so smoothly, I decided to test out the new heater core since I would hate for it to leak in the car... an guess what it did! It leaked like it was going out of style! Not enough solder on the supply side tube joint. Great. Take it back and they will have me one Monday. I'll also get a new water valve then too... Still not a bad project so far. Hopefully everything will work out just fine.
Return to 1972 Lemans Page
Last updated June 21st, 2008