Intake Upgrade - 01/07/2012
I'm tired of the crappy 2bbl carburetor. I've tried multiple ones, different rebuild kits, they all end up working like crap. Either no throttle response, loads of flooding, lack of cold choke, and always like 11-12MPG in the city. So why bother continuing down this road? I can modify and use quadrajets and they have smaller primaries, so this seems like a no-brainer to me. I will need to change over to a 4bbl intake to do all of this. Rather than just open the Summit catalog and drop $400, I want a '72 intake that will fit on the engine with no EGR (since I have a '72 valley pan so the EGR intakes are hit & miss regarding fitment) and the engine has +72 heads, which means the '71 and earlier intakes don't fully fit without work I am too lazy to do. My good friend Steve has a spare '72 intake he says he'll never use, and he even has a carb and air cleaner to go along with them! I ask him how much and he says he'll think about it since these are quite sought after intakes. He ends up delivering my '75 this past August, and brings a present along and doesn't even charge me for it! I'm happy because now I've got a '72 intake, a '71 Pontiac 400 quadrajet, and air cleaner to go along with it! The ONLY problem so far is that the '71 carb uses a cotter pin that is pressed and hammered on to the throttle bracket for the accelerator and my '72 uses a ball-stud attachment assembly. Neither are compatible with the other, and I can't just remove it and put a new one in its place. I need a machine shop to drill it out to allow the attachment of the proper part, something I have no access to. So until Christmas time the entire assembly sits on the shelf in my garage waiting for someone with a grinder and drill press to come into my life. My dad says to bring it with me when I come home for Christmas, and I do! Yay! All fixed and ready to go! Now I just need to find a nice weather day to get it all done...
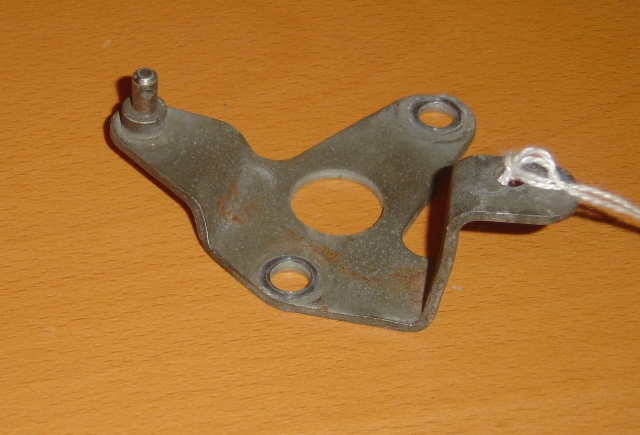
Yeah, the source of the problem.
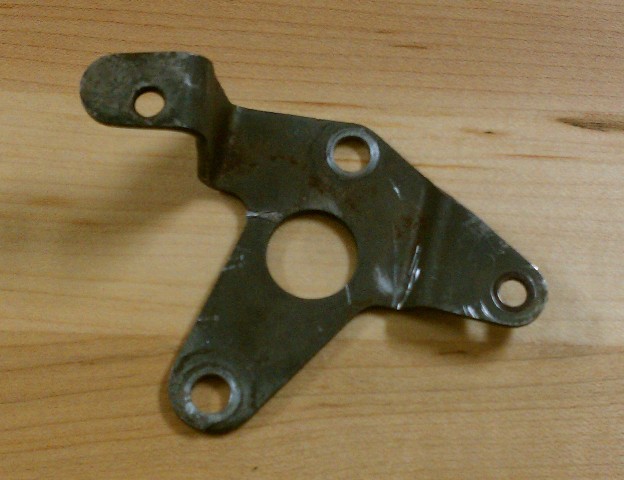
Thanks to my dad's machine shop, the stud was removed and enlarged the hole for the throttle piece.
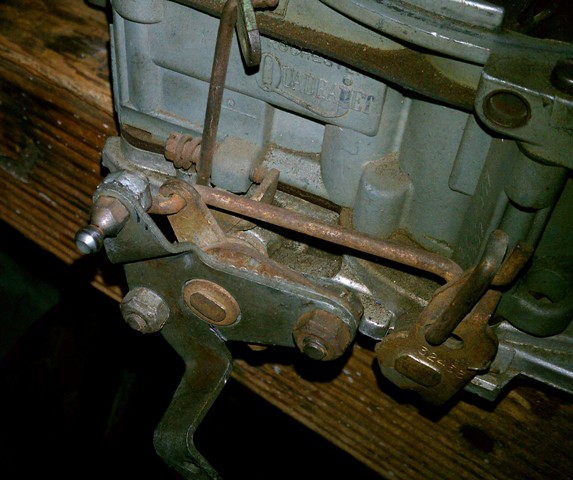
Bracket installed, mocked up, and checked for fit. The nut interferes slightly with the secondary rod connection, so it is slightly bent out of the way without impacting performance. Functions as it should! Time for the intake swap!
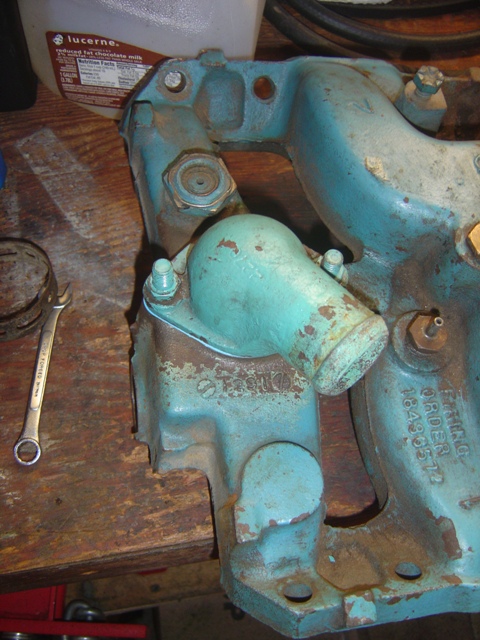
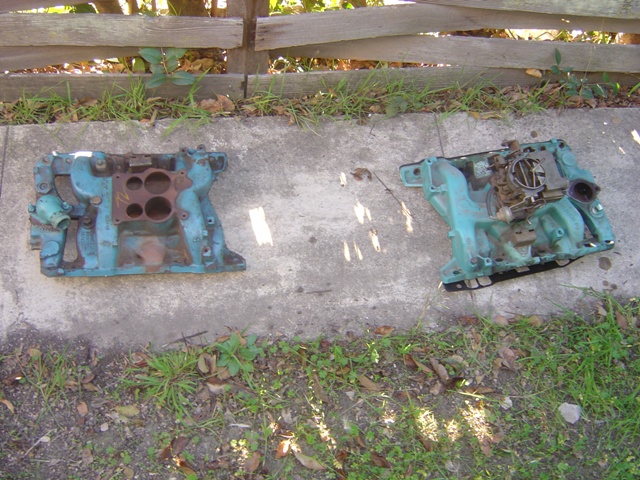
Intake has been cleaned and grit and gunk removed, 2 frozen thermostat housing studs removed, holes cleaned, and blown out passages ready for install on a car!

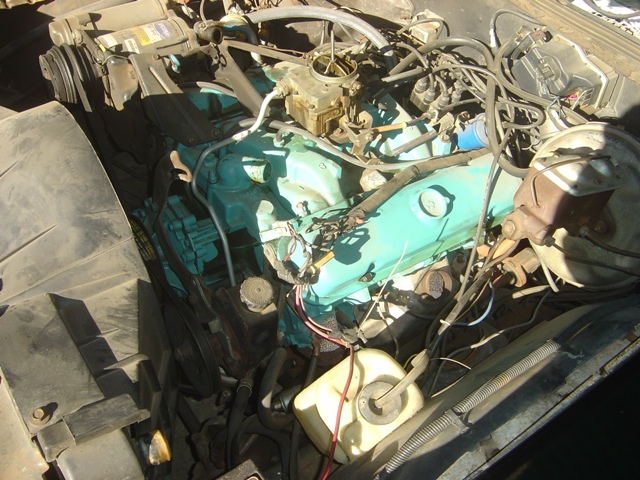
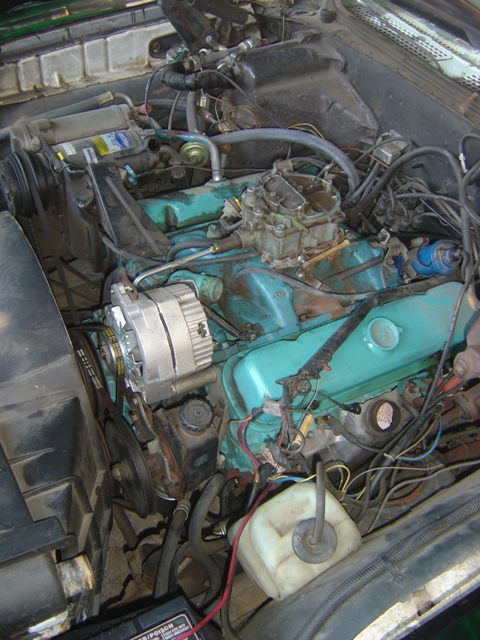
Stupid 2bbl. Good riddance. Engine is dirty, blowby and 5 years of driving will do that!
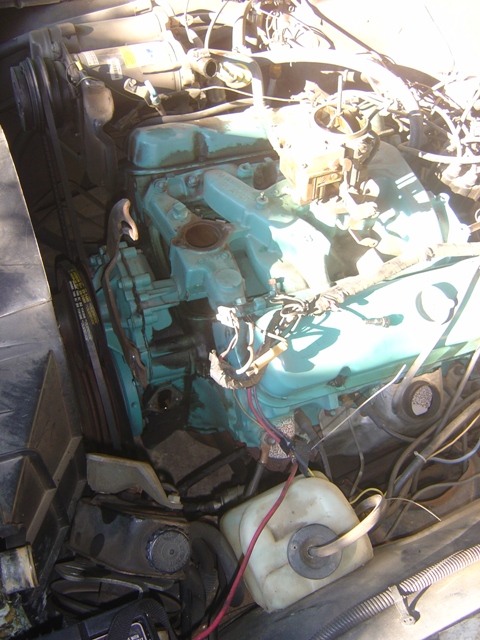
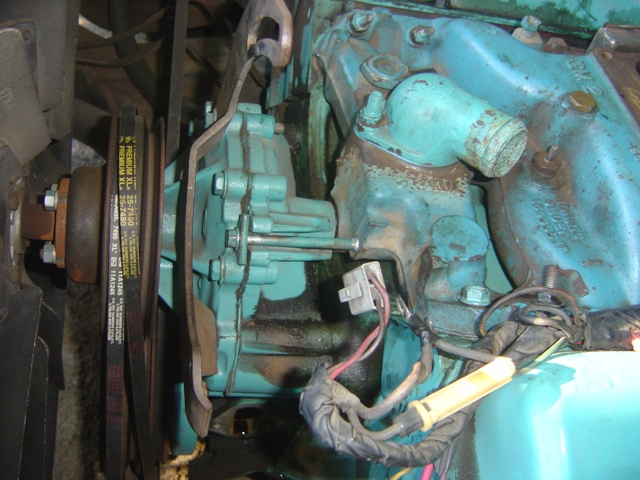
Alternator removed, radiator drained\lowered, the stripping has begun!
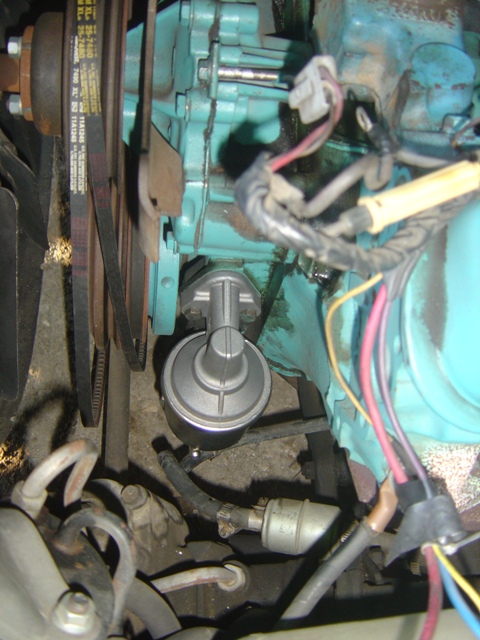
Being a 4bbl, the fuel pump line is different and thus requires a new hard line AND a new fuel pump. With the power steering pump out of the way, I can change the fuel pump from up top! No lying in the dirt having to fight bolts and snake tubing. Workin' smarter, not harder!
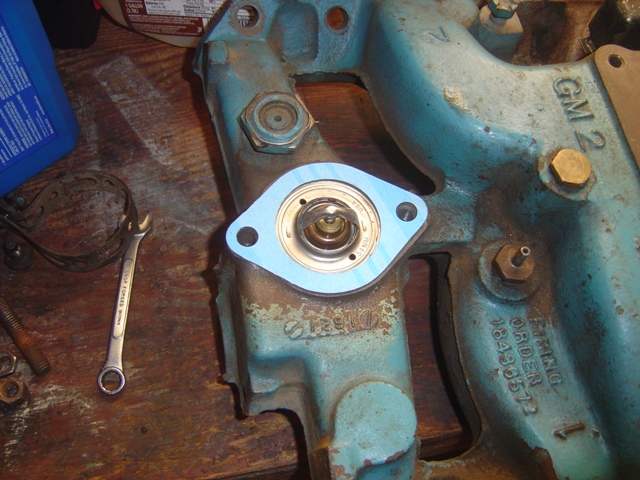
Thermostat is removed, cleaned, and installed on the new intake. Yeah, I re-used the old thermostat. Why? Because it works great, and has that nice little saying "Made In The USA" stamped on it.
Thermostat housing installed. Anti-seize is your friend! Don't even THINK about installing an engine without it.
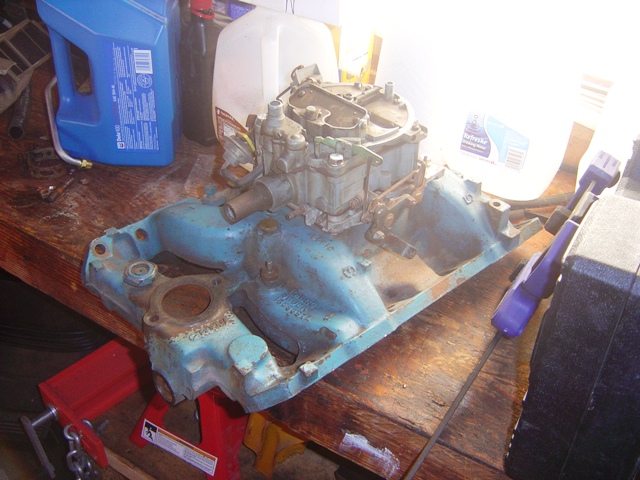
The staging grounds!
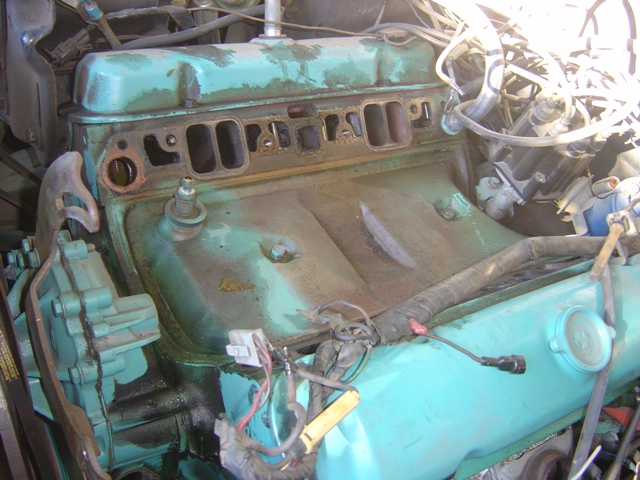
Dirty! The gaskets came right off without a fight or mess. I took this opportunity to re-tighten down the valley pan since the bolts were loose and I could move them with my fingers. Evidence of oil leaks in the old intake due to loose bolts, probably contributed to oil consumption issues.
Intake installed, lined up, and the alignment and tightening bolt is installed and tightened down. I got to do this twice since the hole in the intake needed chasing and rather than risk breaking the bolt off, I pulled it and spent 30 minutes chasing some REALLY nasty rust out of it. Anti-seize is once again my best friend, had someone ELSE used it, this would have been easier.
New fuel pump installed. Doing this from above was great. Audrey helped me hold things in place for the time I had to tighten down the 2 rubber lines!
Hardline run, power steering pump installed, alternator installed, brackets, etc. Progress! The '72 2bbl cable is just *slightly* too short to mount in the factory bracket, but it doesn't move with the studs up slightly. Going to look into a way to make this fix permanent, but I'm not too worried now.
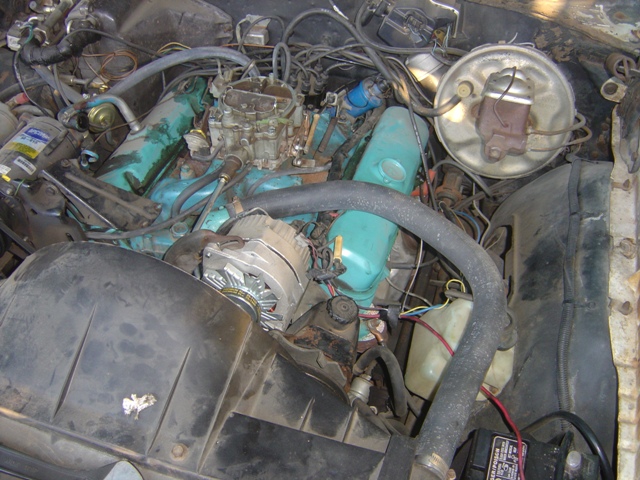
Everything installed and ready to fire up!
Firing it up for the first time was almost anti-climactic. I had to give it 3 good cranking sessions to get the fuel pump primed and the bowl filled. Once I did it fired right up and went to 1300RPM almost instantly. It had some minor vacuum leaks due to a loose bolt or two and the choke is still slightly wonky, but once the choke opened up fully, the RPMs settled down to 1000 and I was able to do some tuning. After the engine fully warmed up, it only leaked from the rear-most thermostat housing bolt, so once that was tightened down it appears there are no leaks! Engine was set to idle at 800RPM with the AC on and in drive, which translates to ~950-1000RPM out of gear. Slightly higher than I wanted, but the carb IS set and tuned for a 400 and this IS a 350, so not going to lose too much sleep. I'll have to see how it performs on the road when warmed up and everything is going.
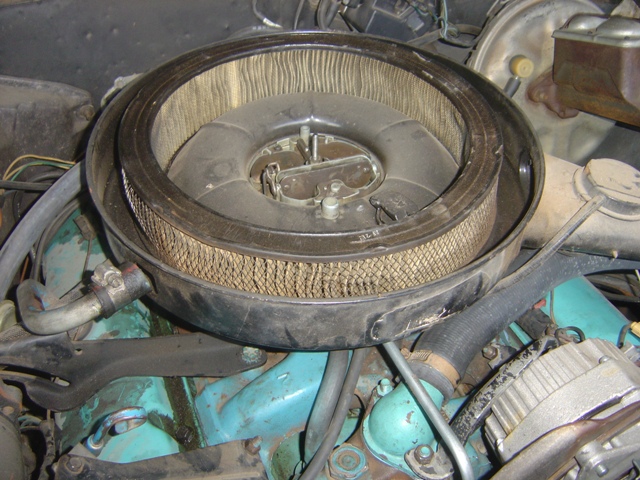
Note that the air cleaner stud is 3" too short... oops. Going to have to remedy that tomorrow at the parts store before I can take it for a test drive...
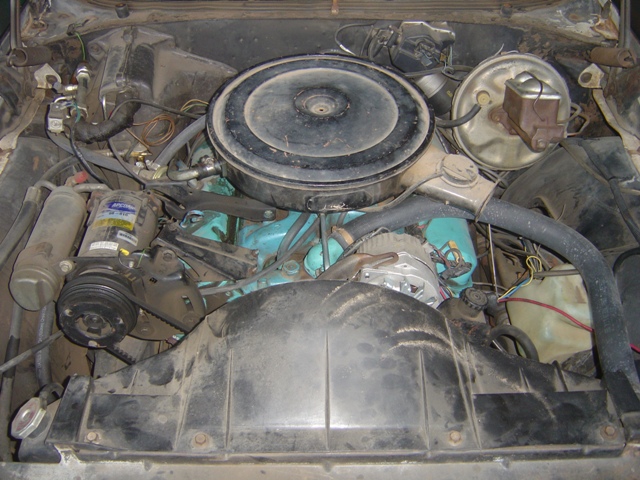
Pretty sweet looking. Just needs a wingnut to hold it all down...
I'm pretty happy! Job was downright smooth, even if it did take 3 hours for it all. Obviously the road test will reveal everything. Just need some all-thread!
Return to 1972 Lemans Page
Last updated January 7th, 2012