The New Engine! - Part -3 - 03/23/2019
An entire month of cleaning, degreasing, disassembling, verifying, and preparing to assemble. It's a full life. With lots of photos!
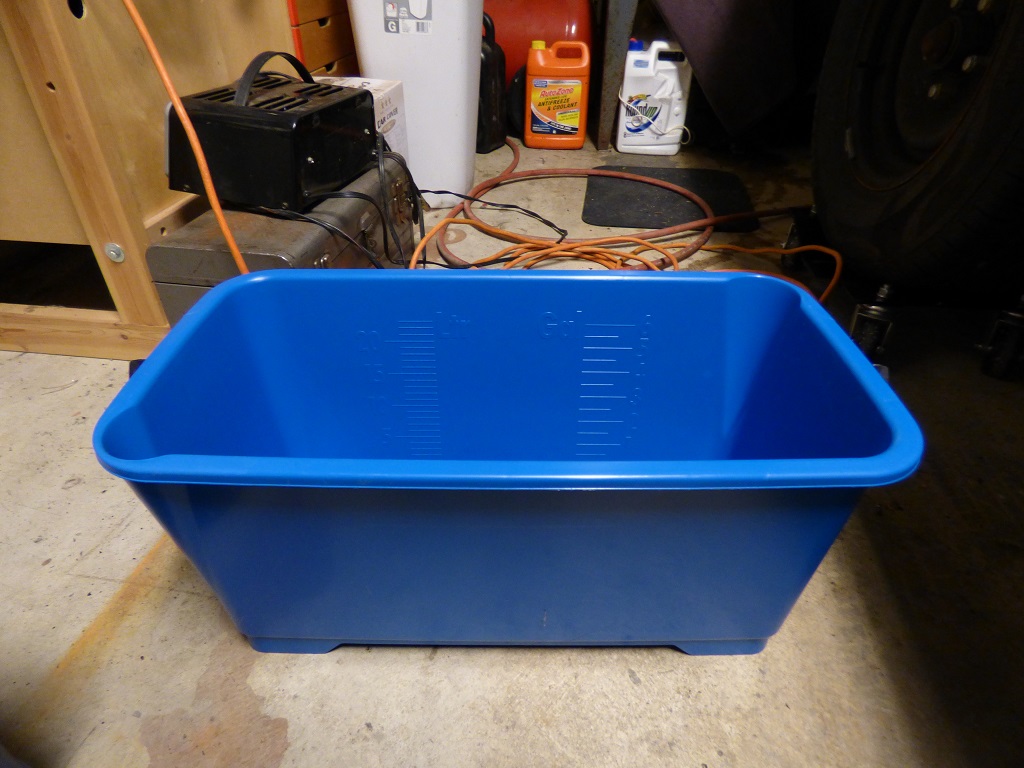
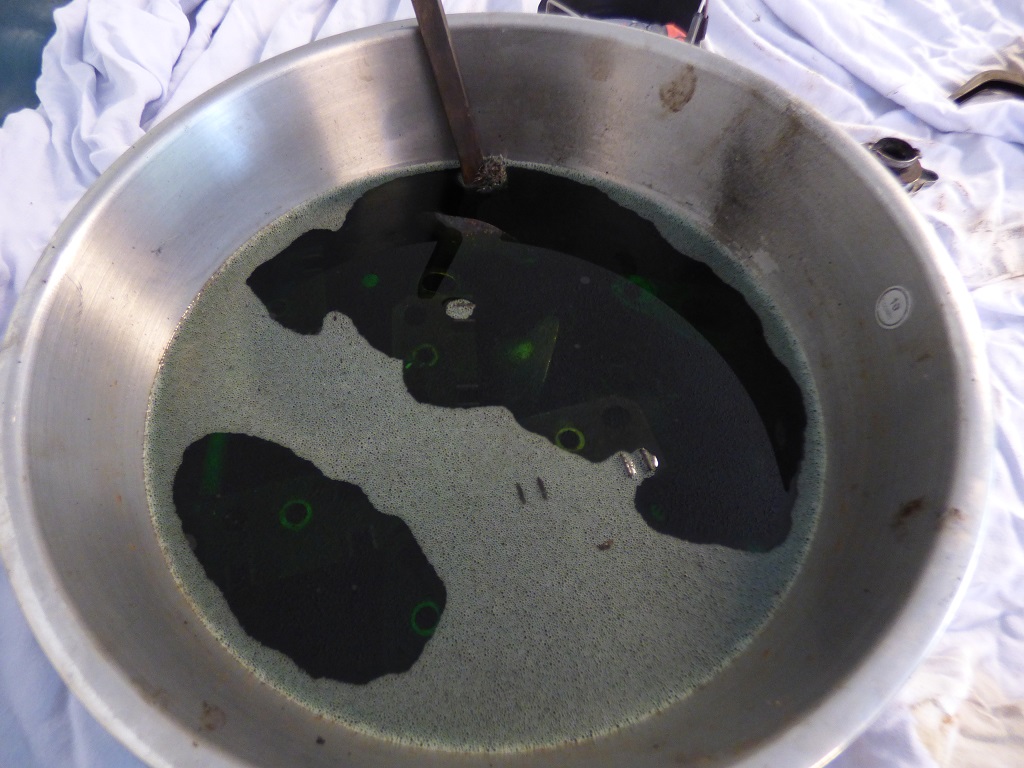
In order to make progress, gotta get a large bucket.
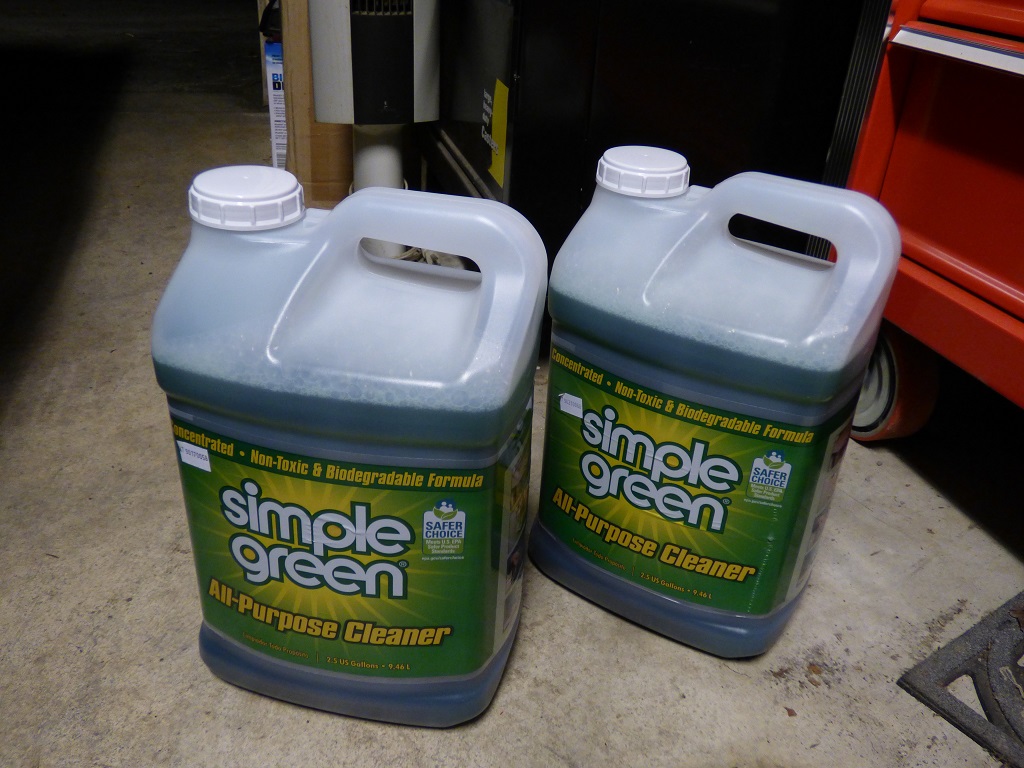
And some jugs of your favorite cleaning solution.
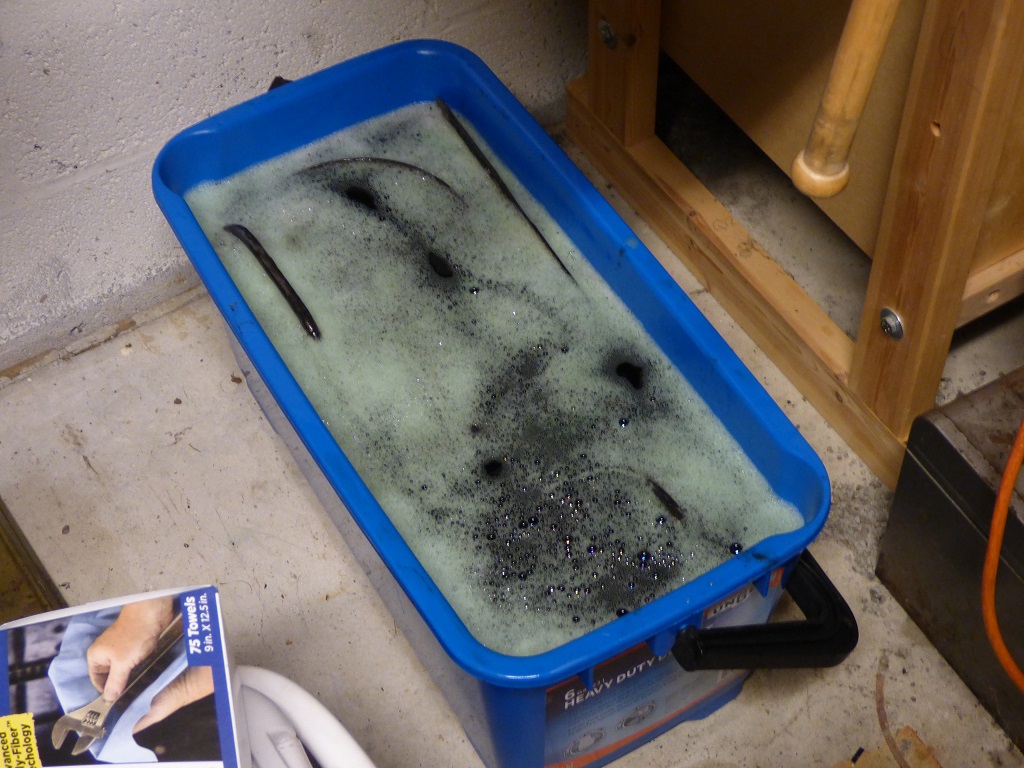
To make Simple Green soup! The majority of time is spent getting parts off the engine, cleaning them off somewhat, then dunking them in the bucket for a day or 3 at a time with washes to clean off the goop and grime.
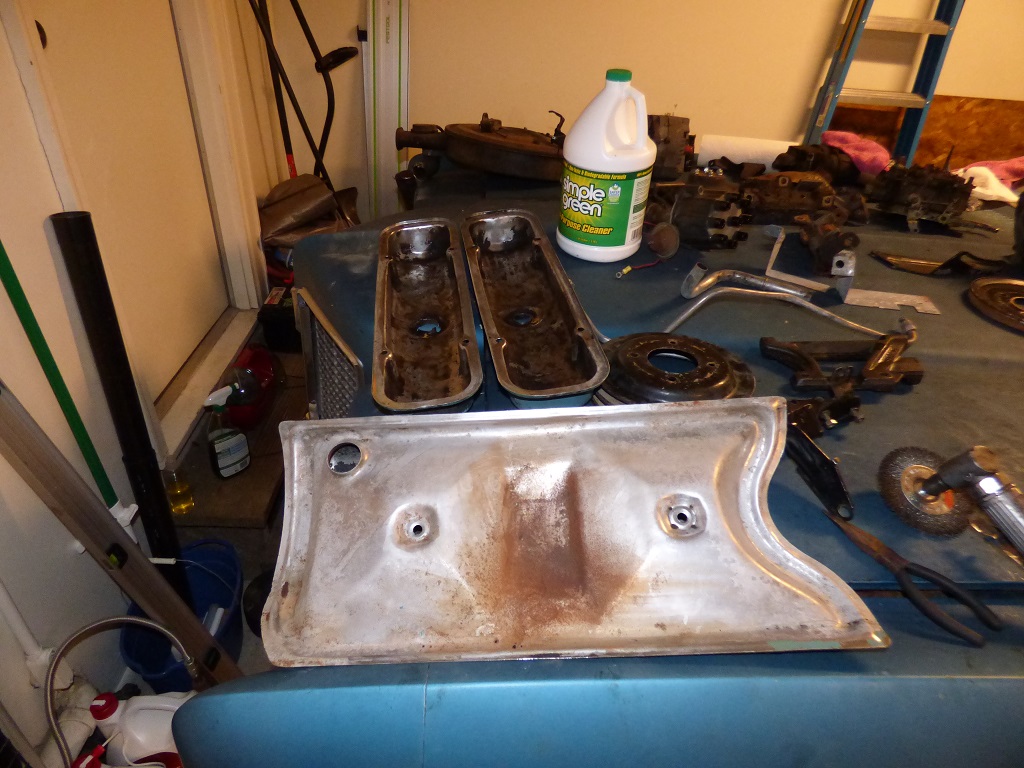
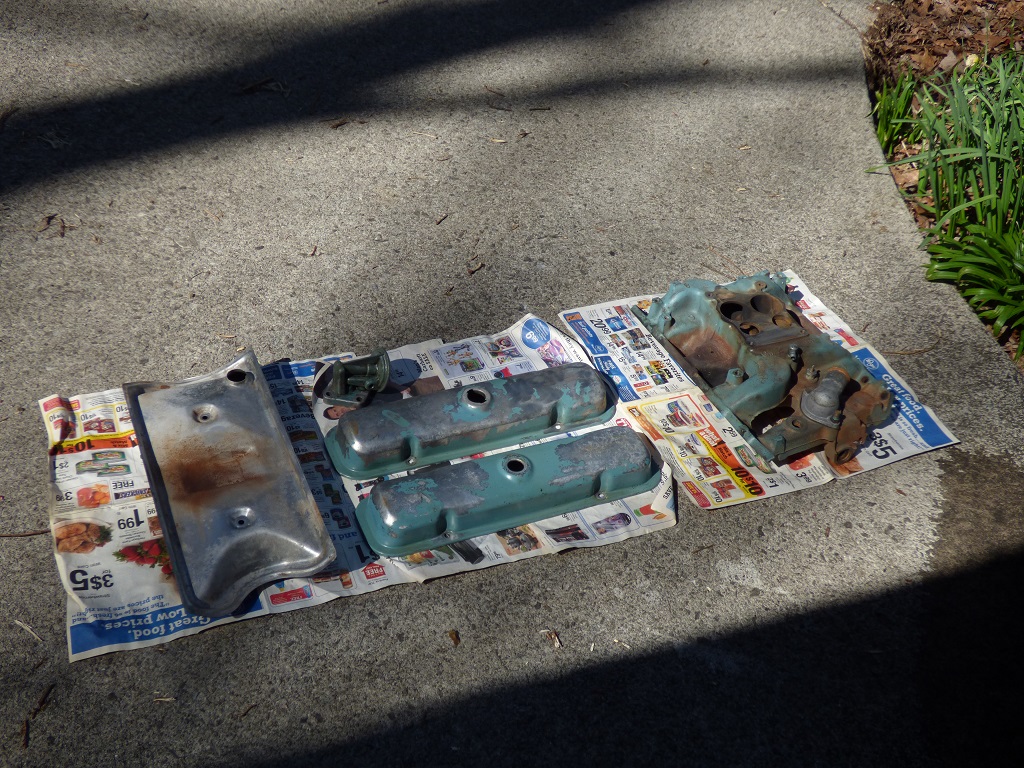
The valve covers and the valley pan came out really nicely. The gunk inside the valley pan even came out easily too.
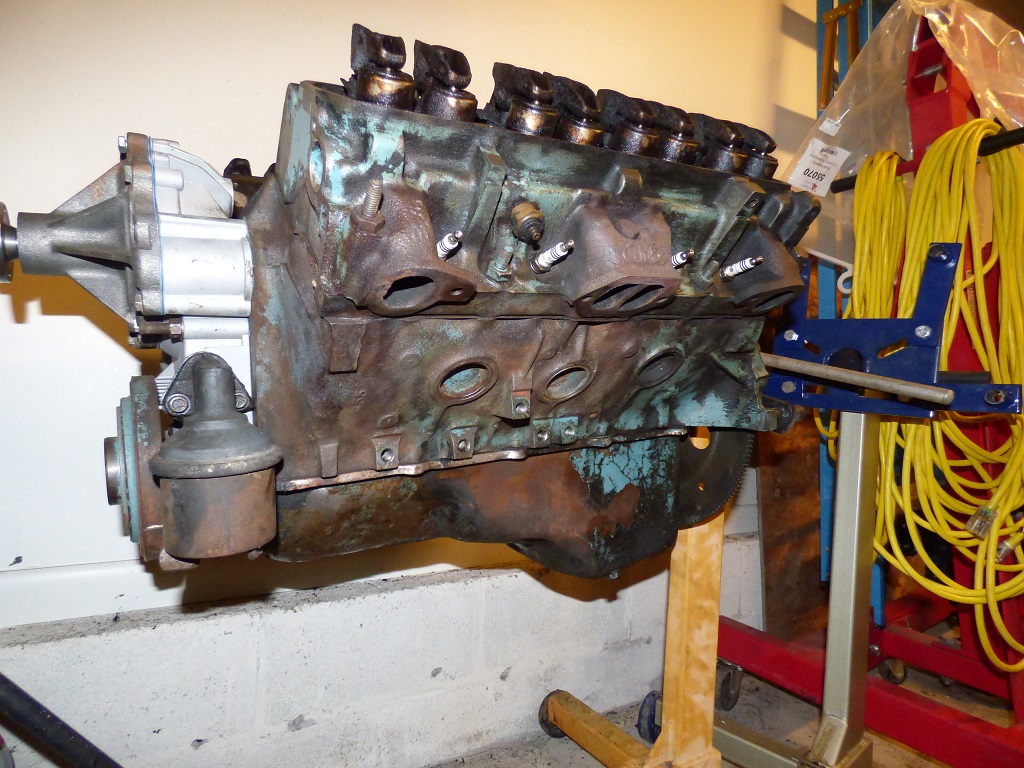
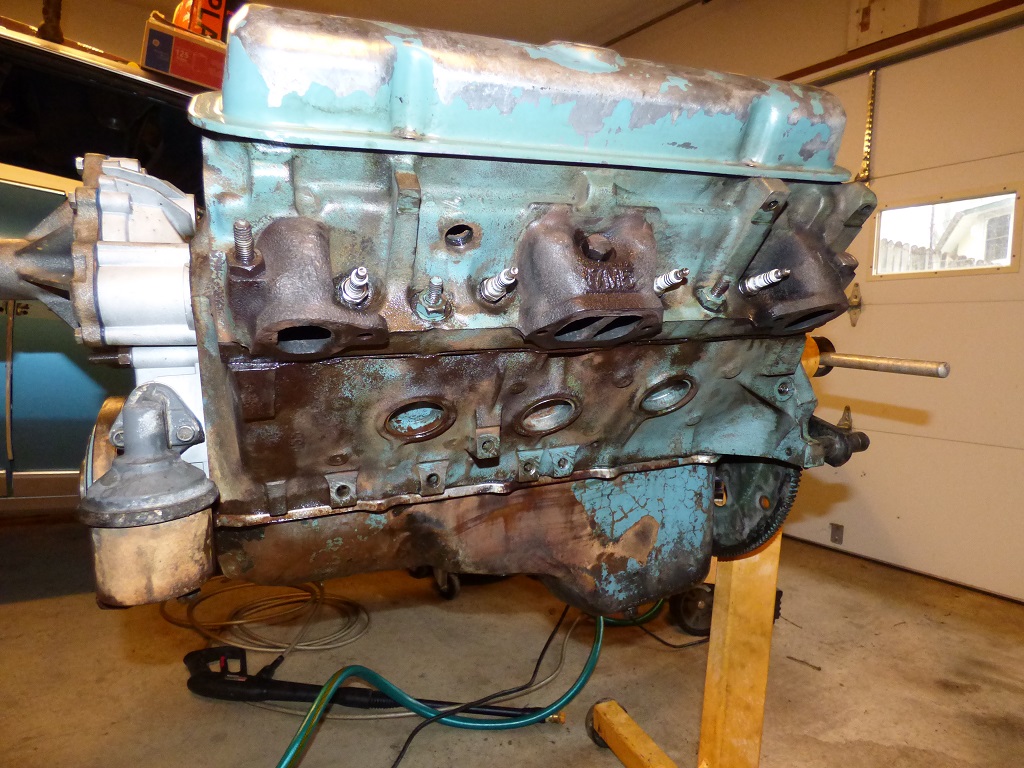
So I spent a day spraying Simple Green and using a wire brush and small screw driver to clean the engine up. It's a slow process.
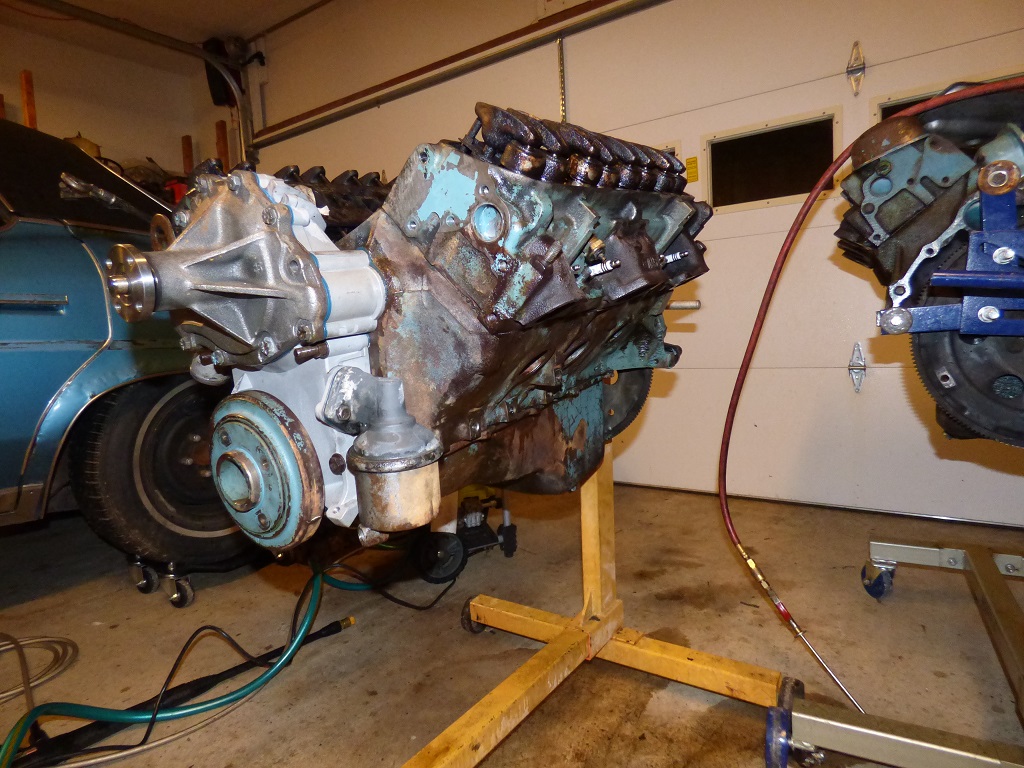
The back side of the engine gets cleaned.
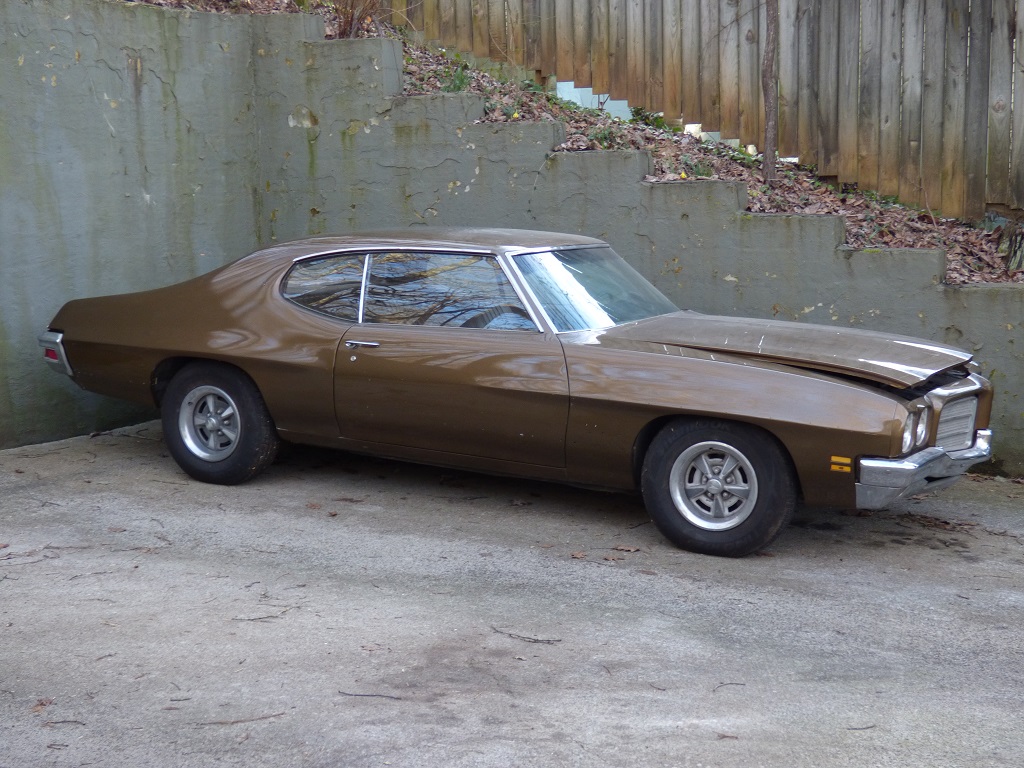
The Lemans goes outside to facilitate speeding this process up.
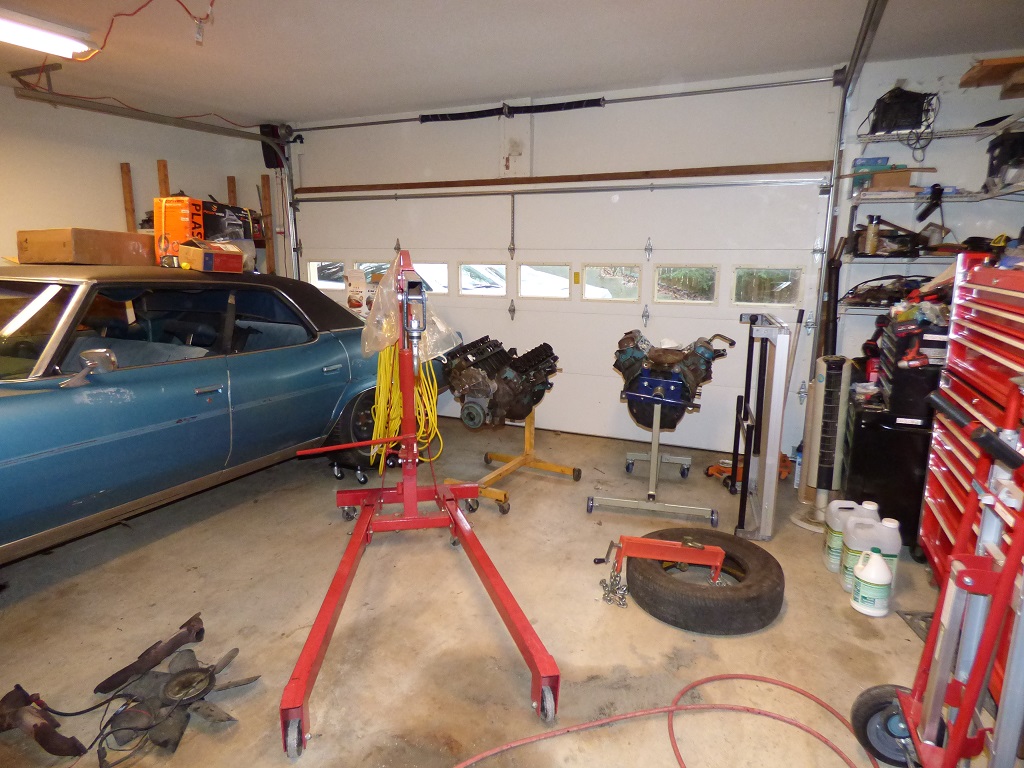
Space is now something I have. Sorta.

The valley pan is test fit on the block to ensure it isn't bent or needing of a mallet whack or 3. Always smart to do this before paint and assembly...

Yet more cleaning. WD-40, Simple Green, brake cleaner in various orders to break down the gunk.
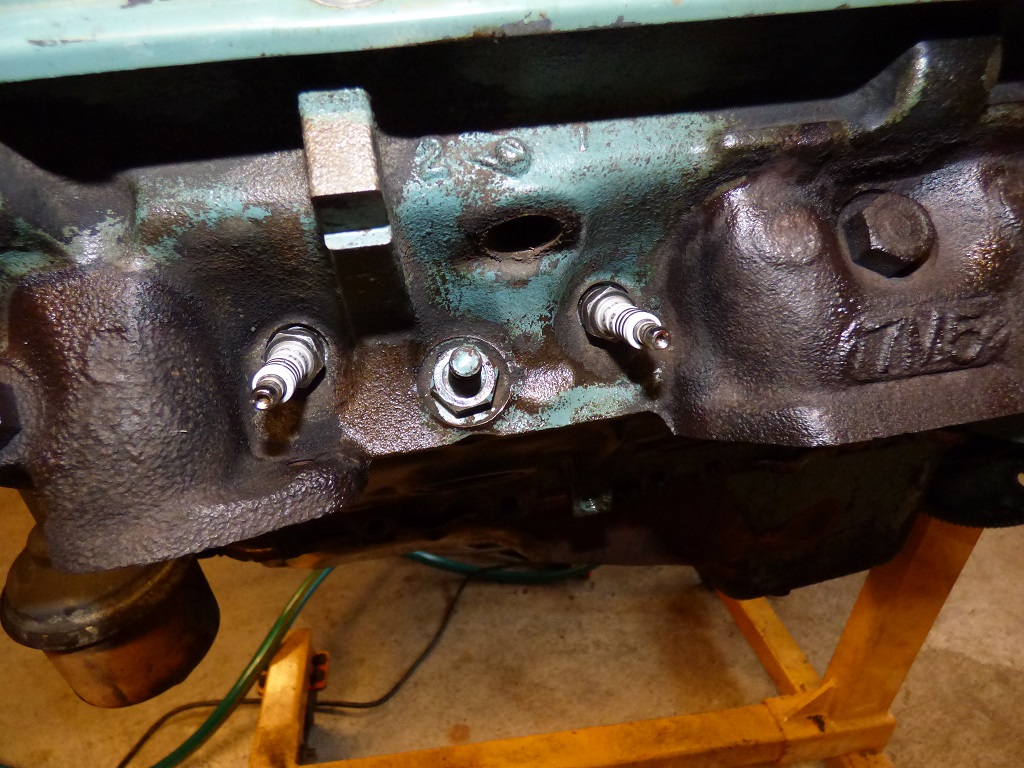
Nice views of the factory blue paint...
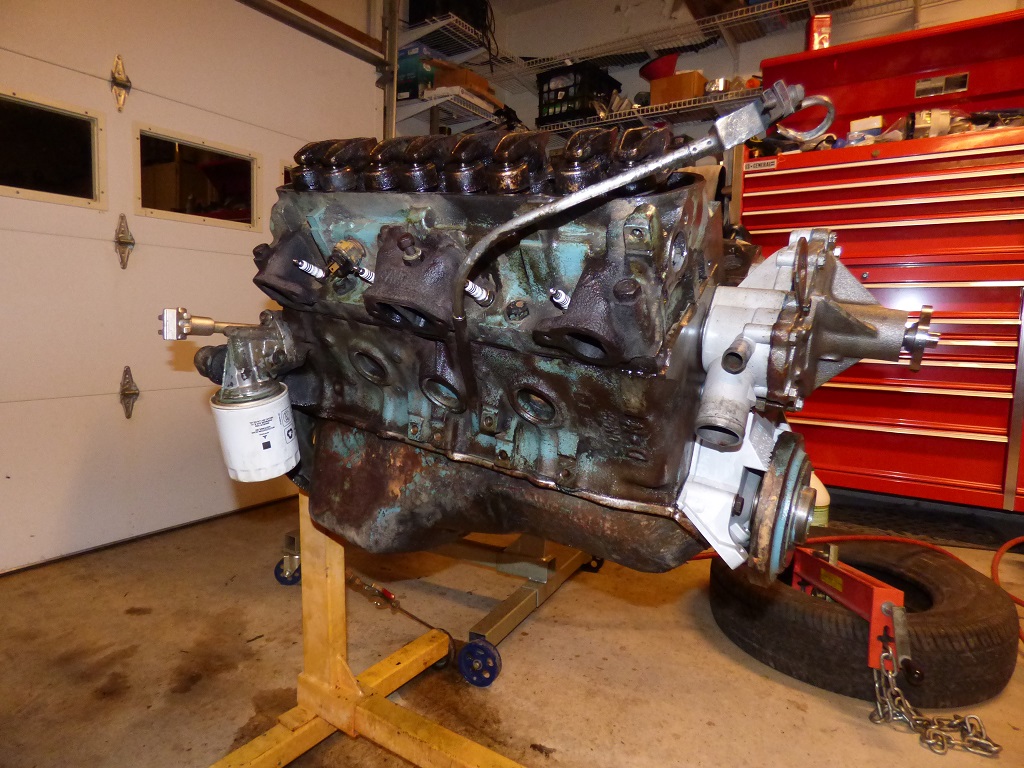
This side is a bit gooey-er and grimy-er than the other...
It IS coming cleaner at least.
So much scrubbing and cleaning. Probably 8 hours so far.

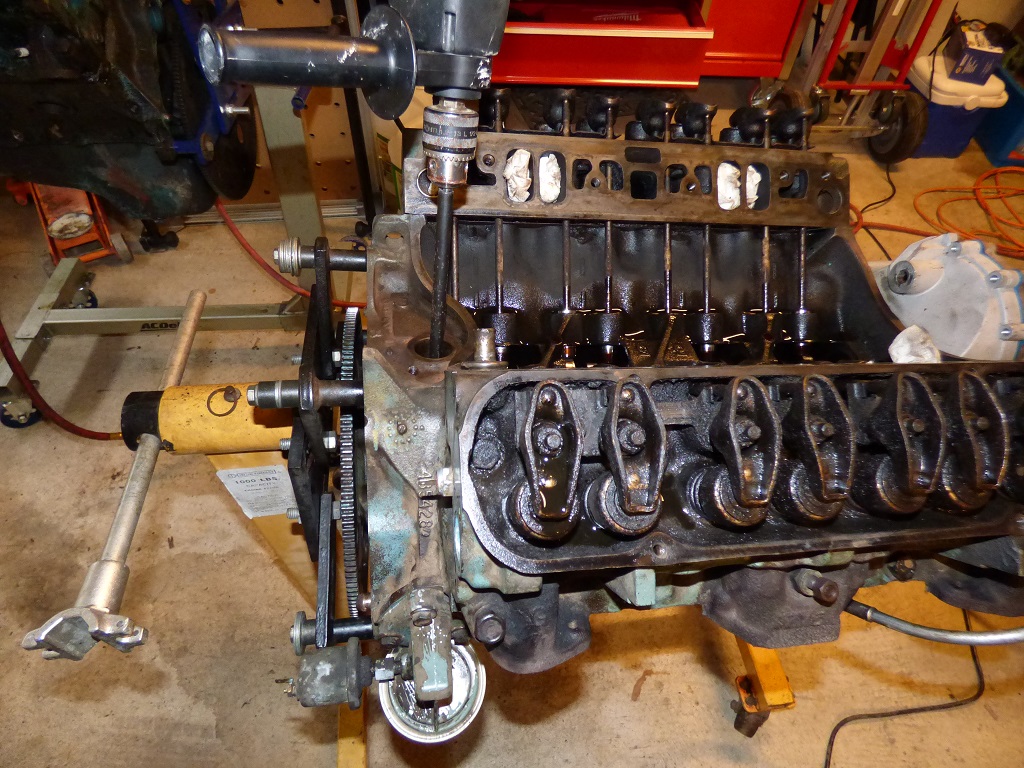
Time to verify that the oil passages are clean. A fresh oil and marvel mystery oil mix is used with a 1/2" drill to run the oil pump.
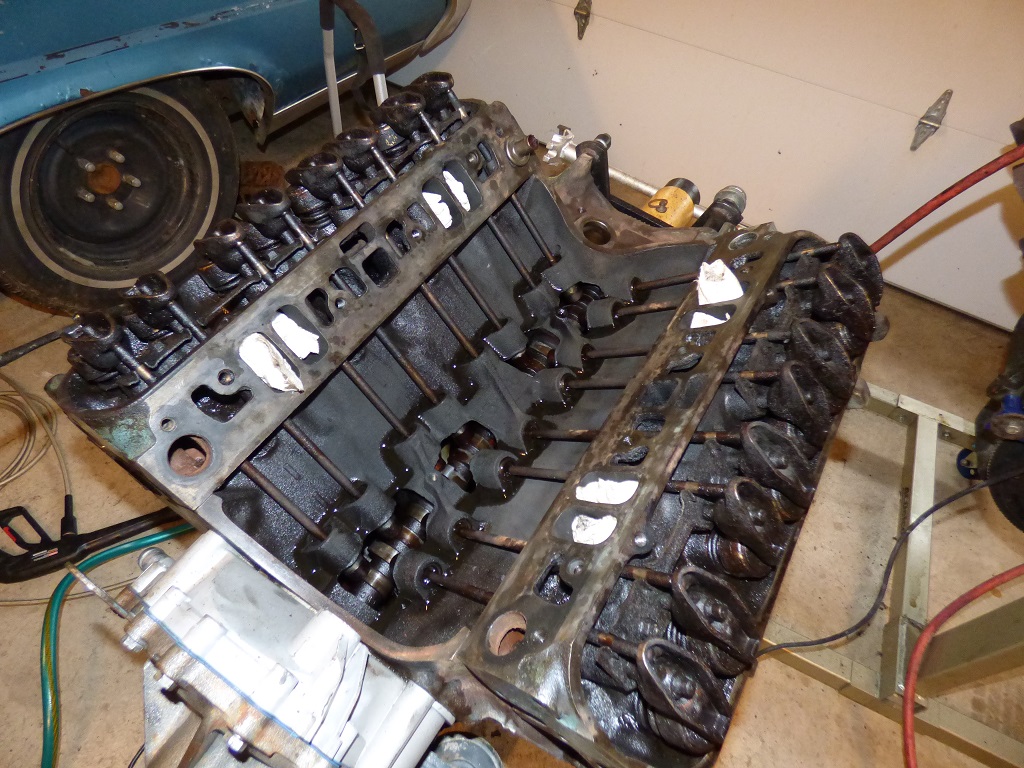
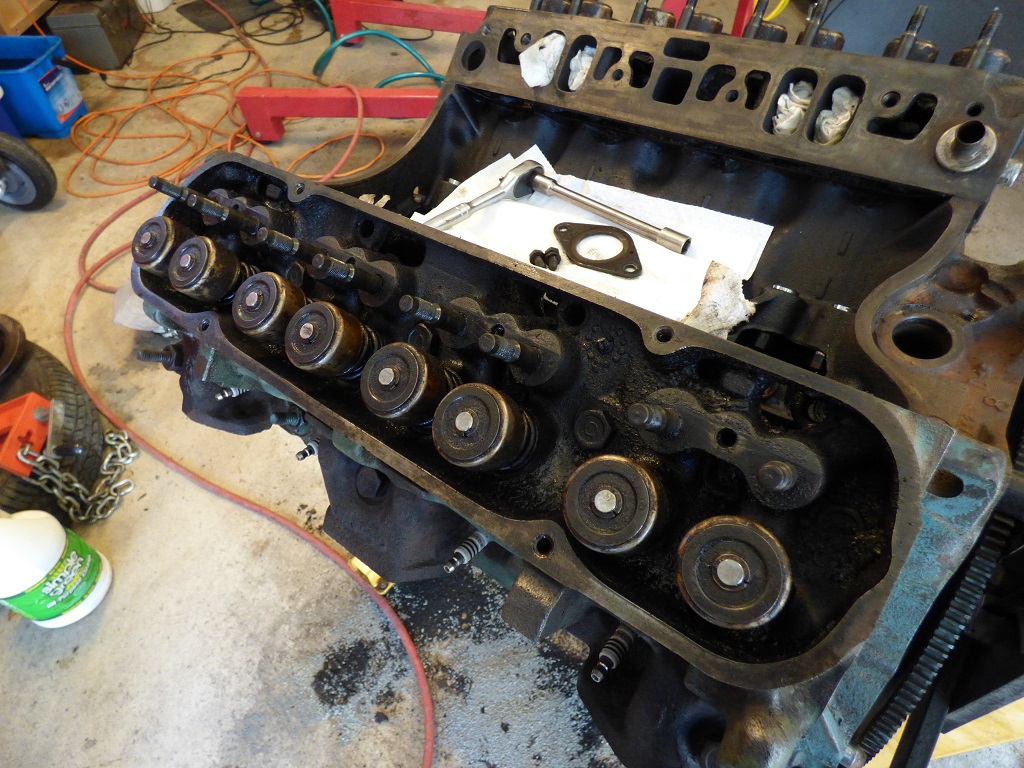
The lifters oiled up pretty nicely, now to verify that the pushrods aren't blocked and the rocker arms oil. Since they're kind of cruddy I worry...
#8 exhaust oils up first.

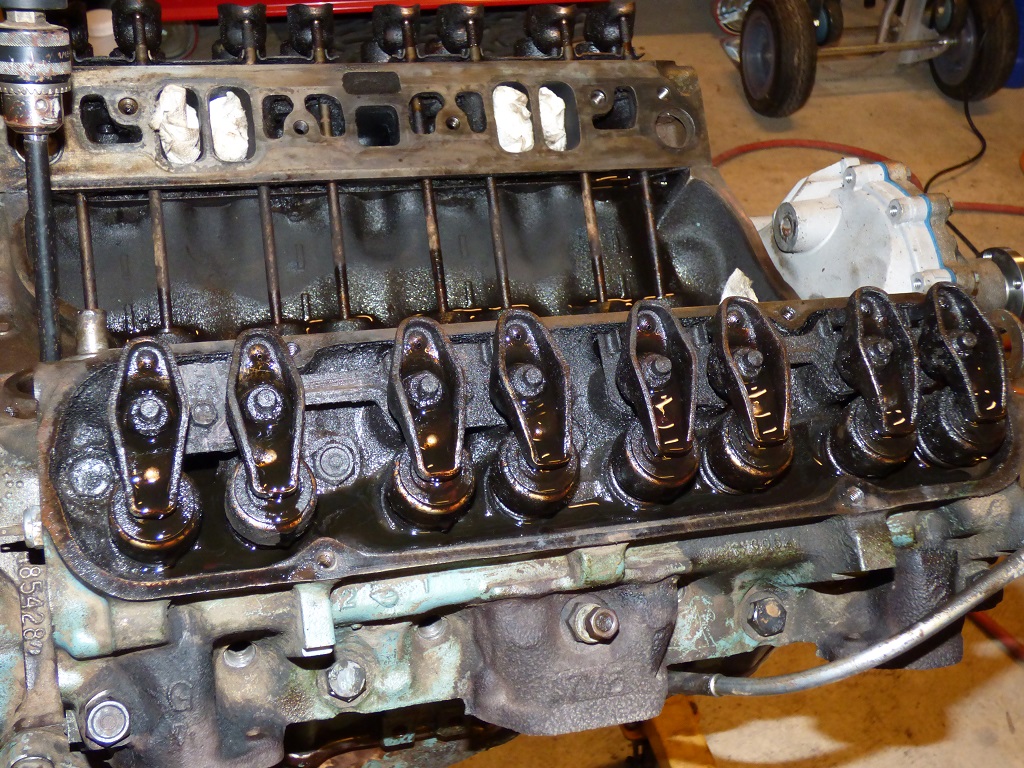
Driver's side comes up relatively quickly too.
Passenger side completely oiled up.
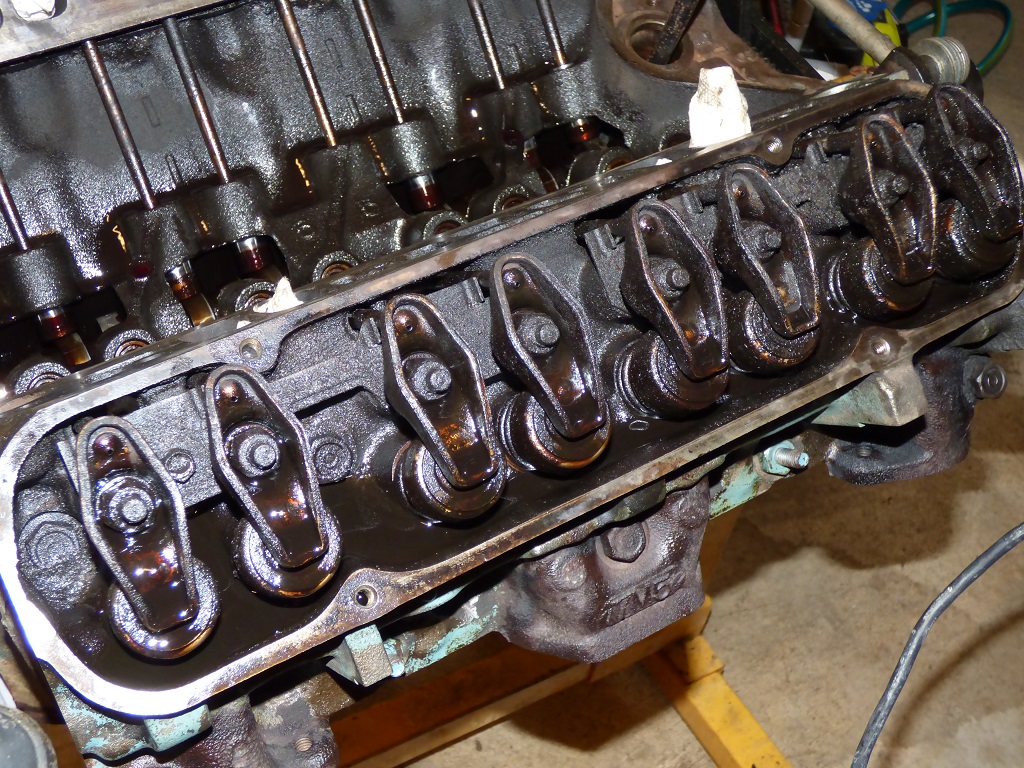
#5 intake finally oils. All done! The plan is to now finish cleaning and every other day or so run the drill to flush the oil passages with the fresh oil and MMO solution to clean it all out.
Since I had to rotate the crank around to oil everything, might as well verify that Top Dead Center really is 0 on the balancer. Piston for #1 is right at the height of its travel.
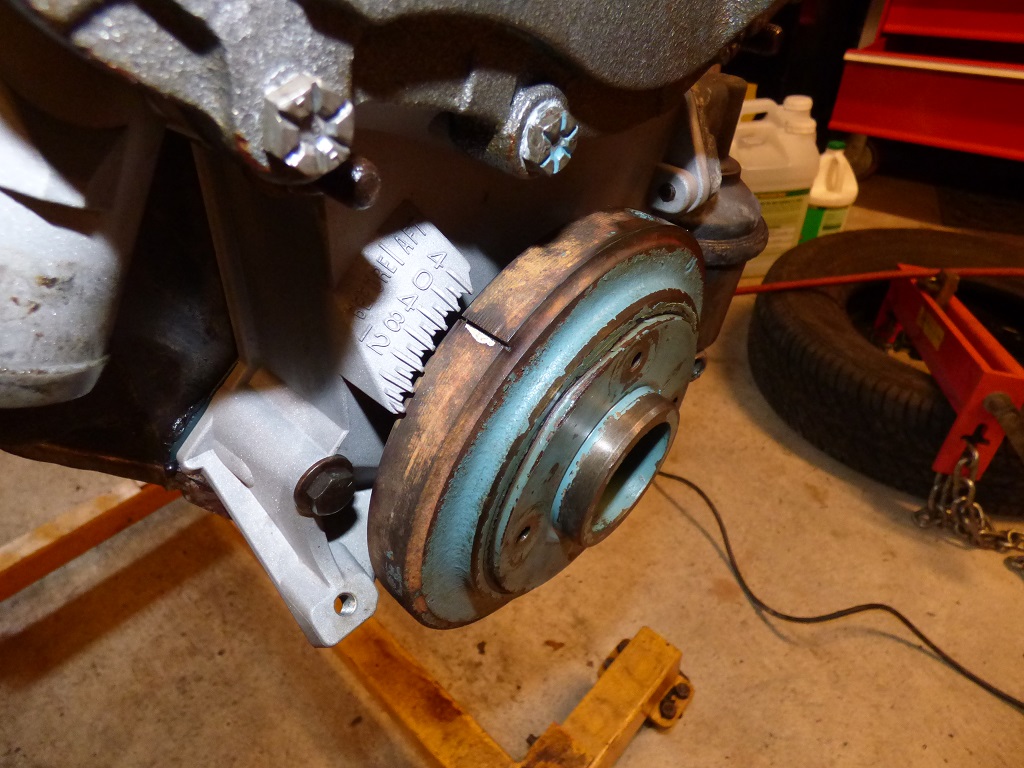
And it's almost exactly spot on. That's a good sign, the balancer hasn't slipped and can be re-used since the rubber is good.
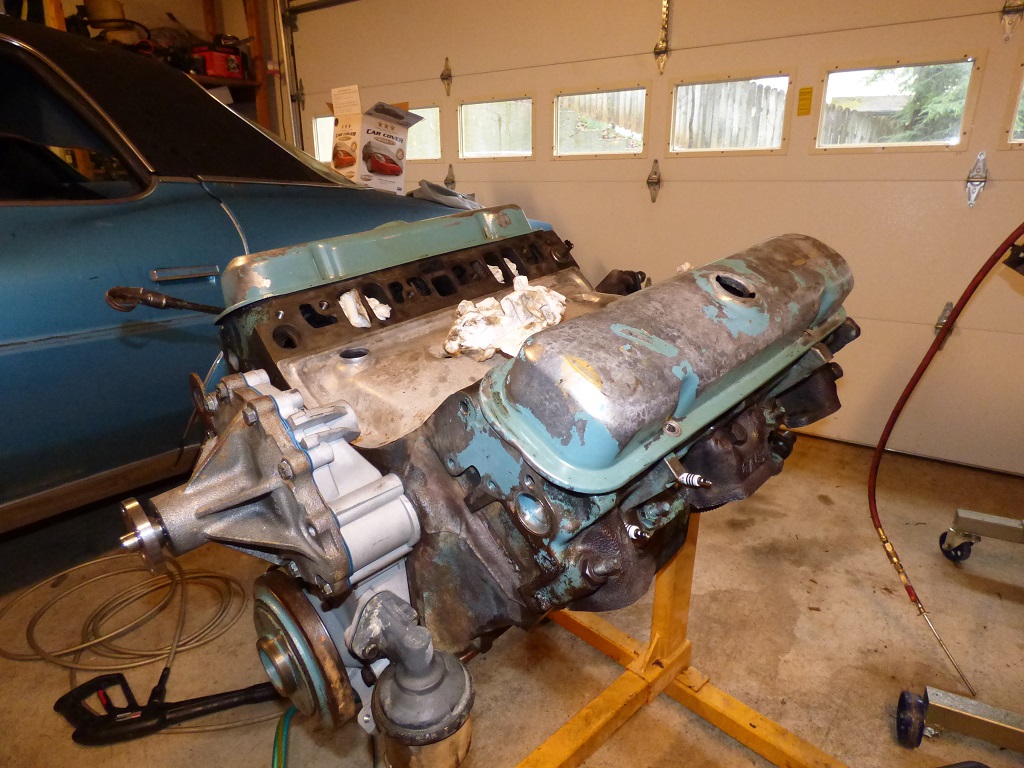
Engine is covered to facilitate the cleaning.
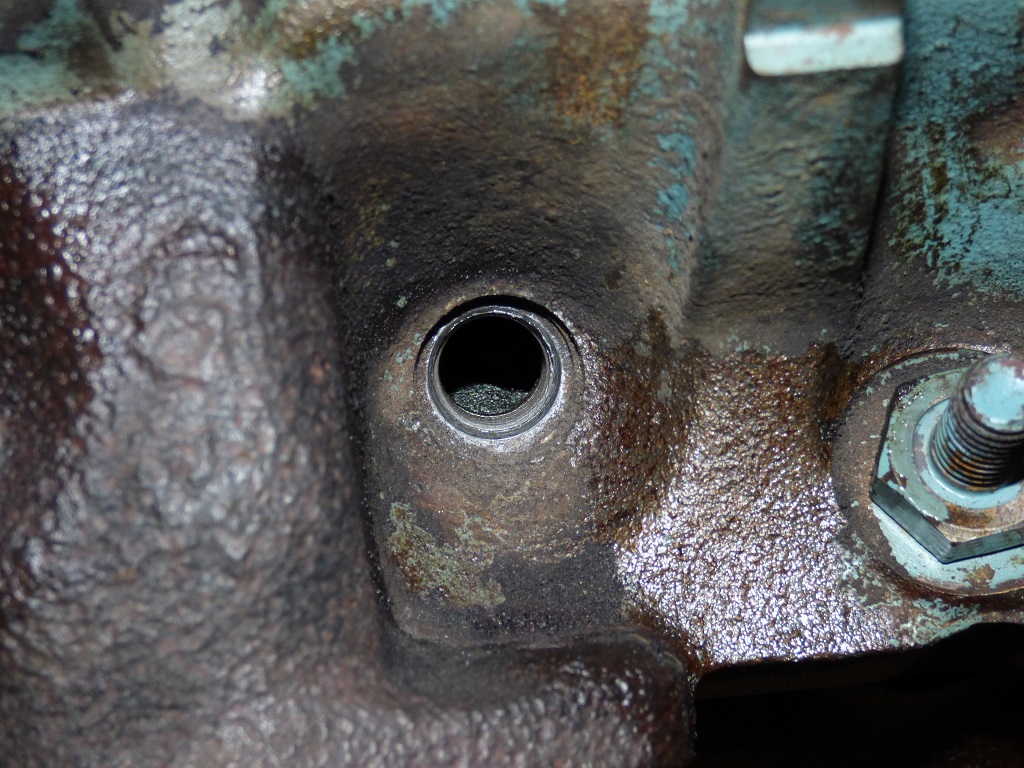
Remove all of the fittings to clean out every crevice.
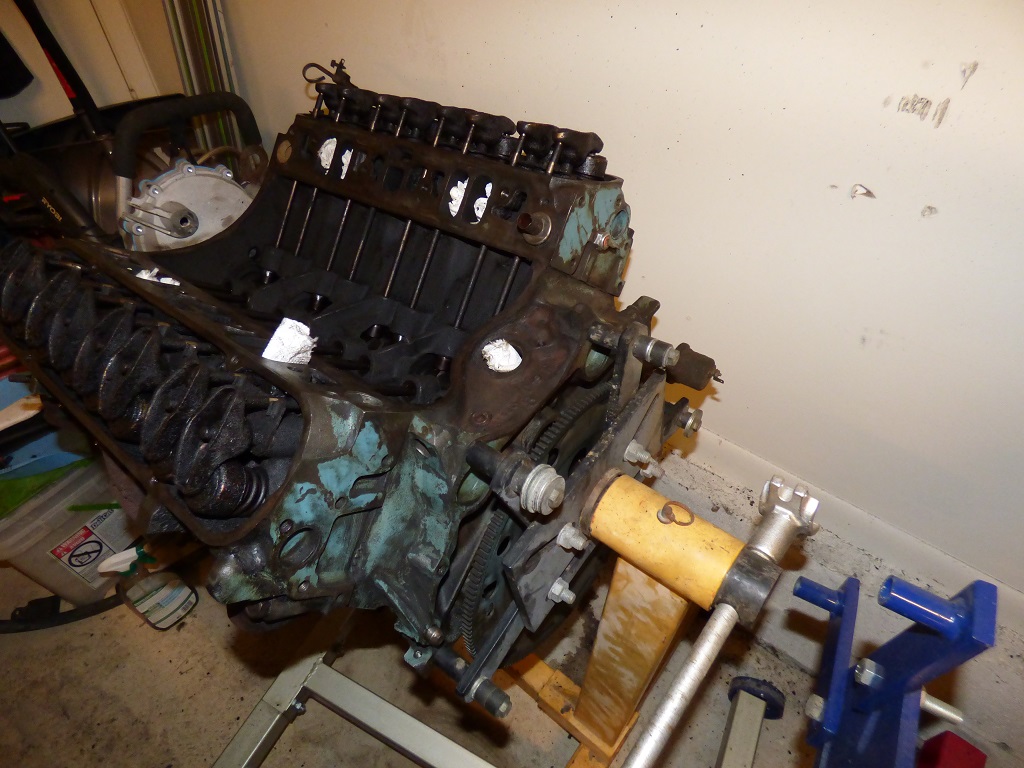
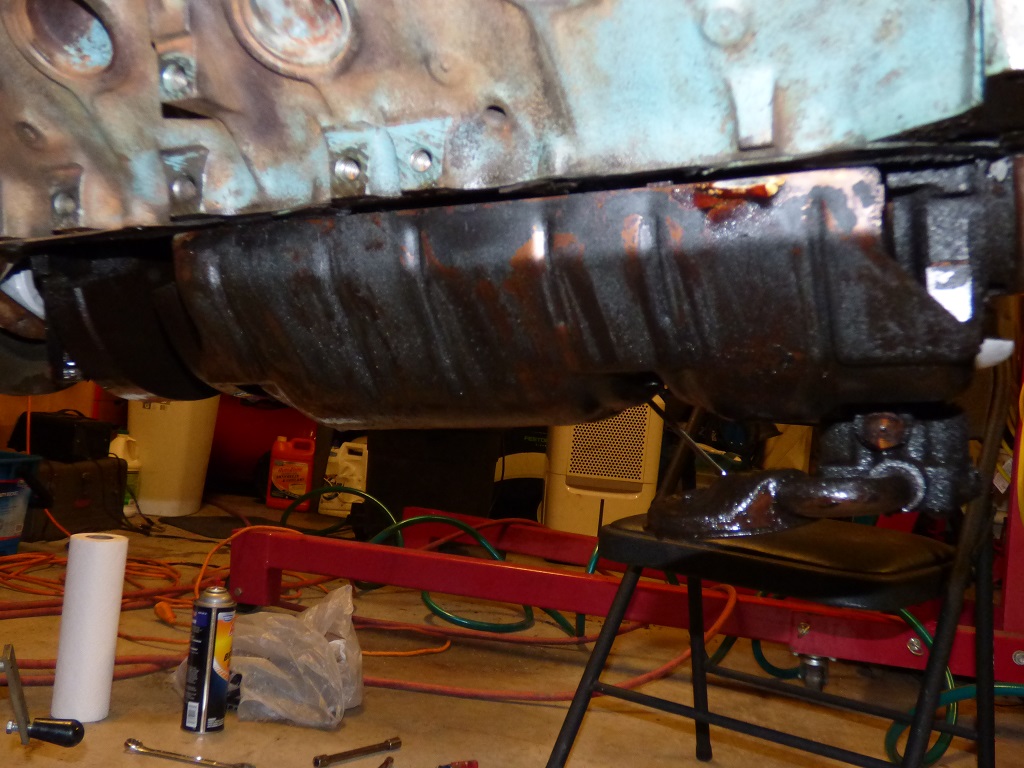
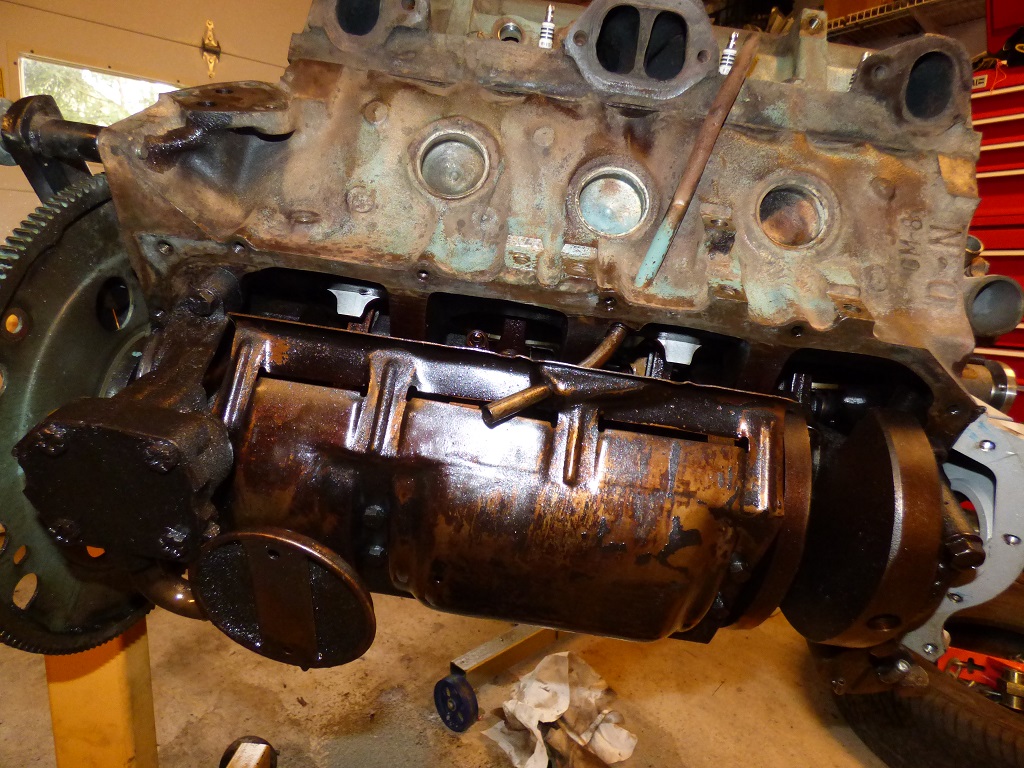
Driver's side of the engine is finally scrubbed of the caked on grime. Time to get the pan off and tackle that mess.
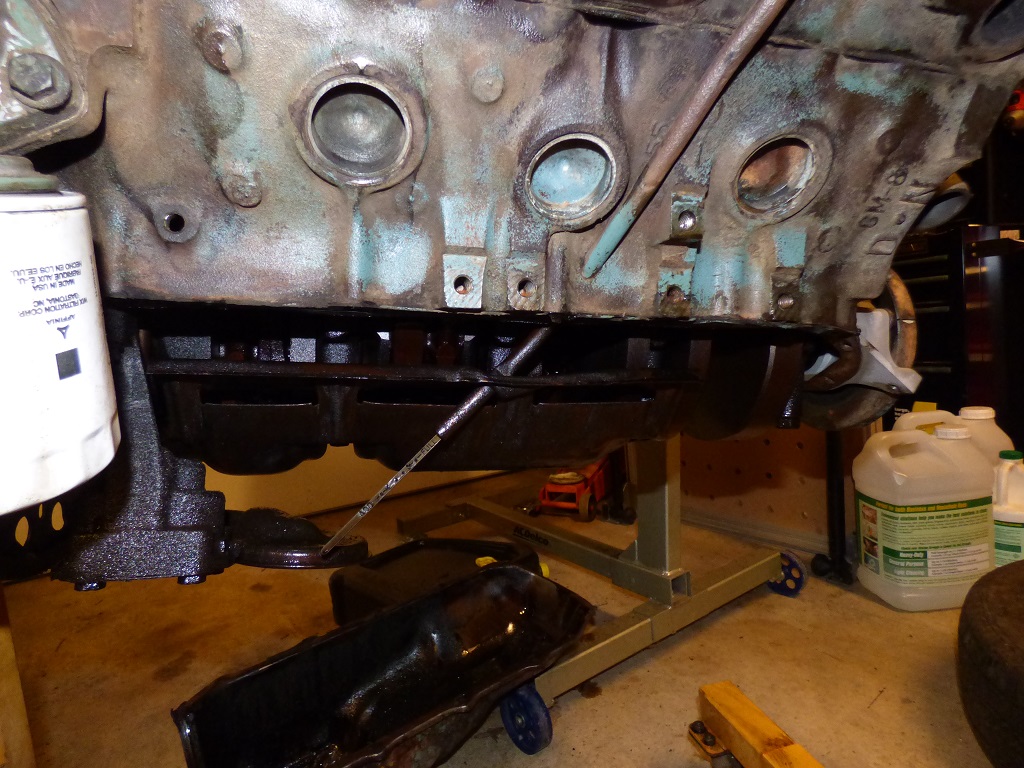
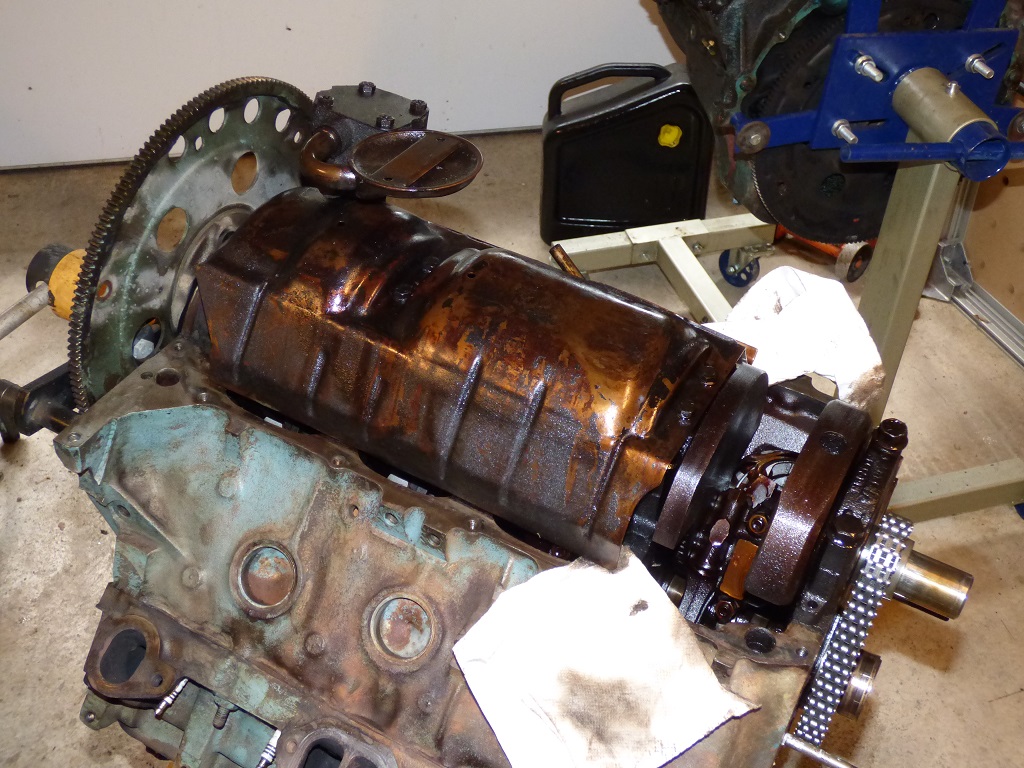
Pan comes off. Windage tray and oil pump are exposed and neither are really nasty or gross.

The pan isn't so well off. That's some pretty nasty goop. Looks like someone neglected their oil changes for a few decades and didn't get the engine up to temperature often enough.
Eh, the windage tray could use a scrubbing.
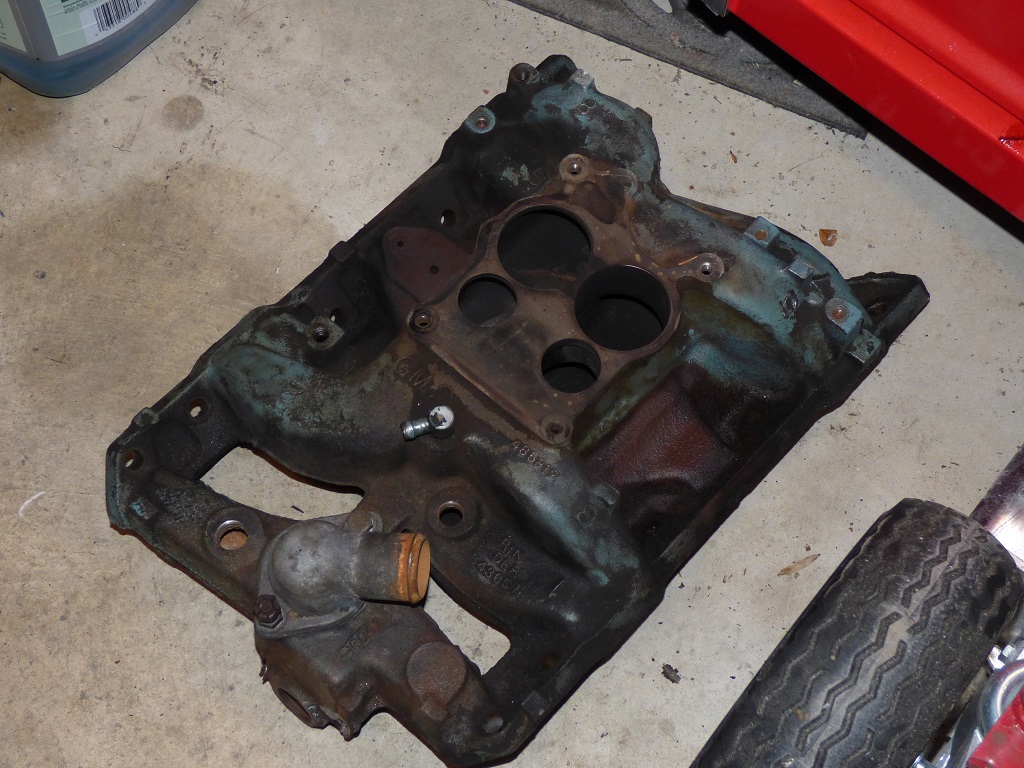
The intake needs to go into the cleaning soup next...
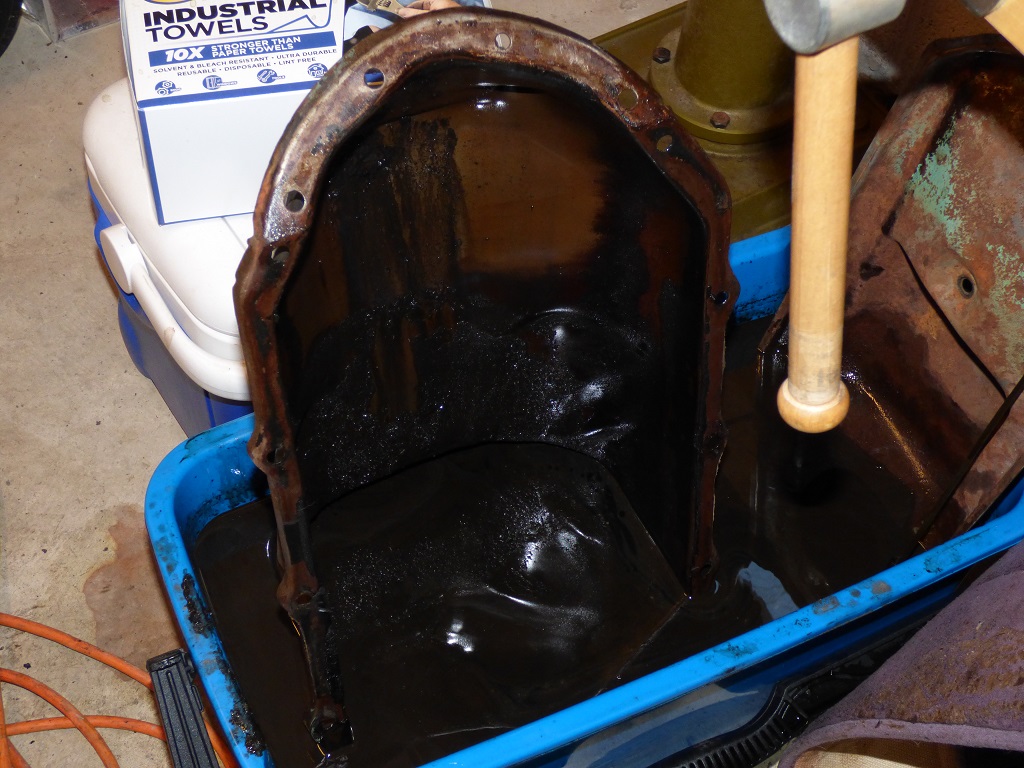
Oil pan goes into the soup for a few days to get it cleaned up.
Oil pan gasket surface is scraped for an hour and a half and then cleaned with brake cleaner to get it ready for assembly.
The other side receives the same treatment. The original gasket was hard as a rock.
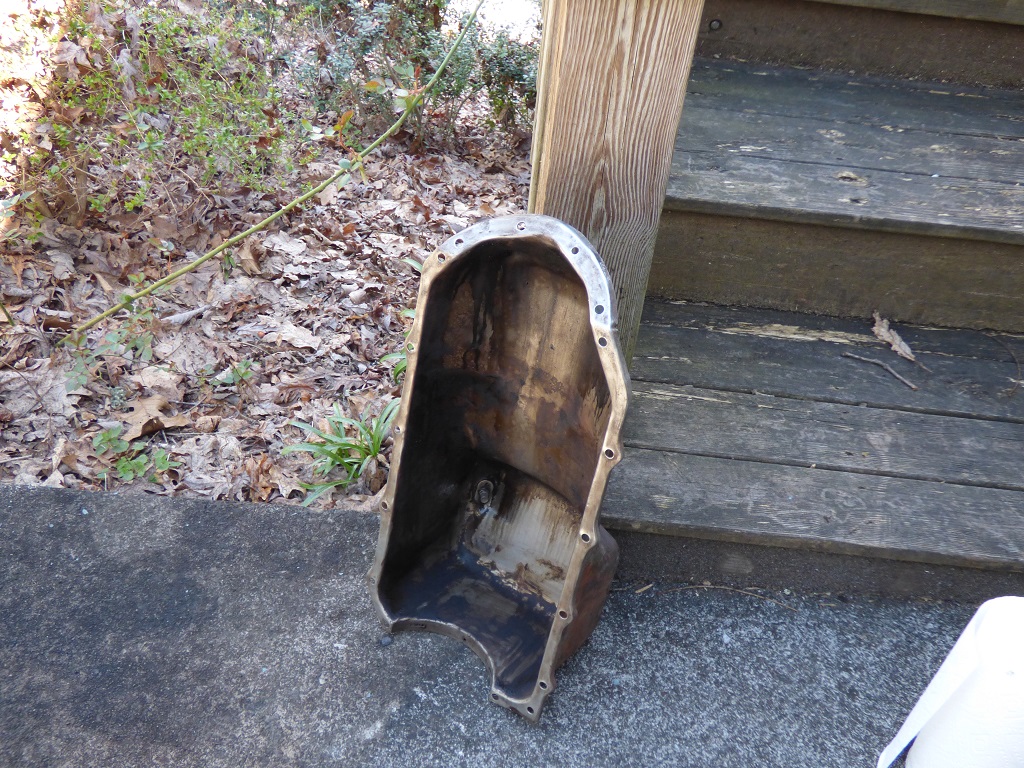
After a week of sitting in cleaning solution and lots of scraping and cleaning, the pan is finally cleaned off and ready to go back on.
It's finally warm and dry. The parts shown are cleaned off and degreased and set in the sun for an hour to get warm.
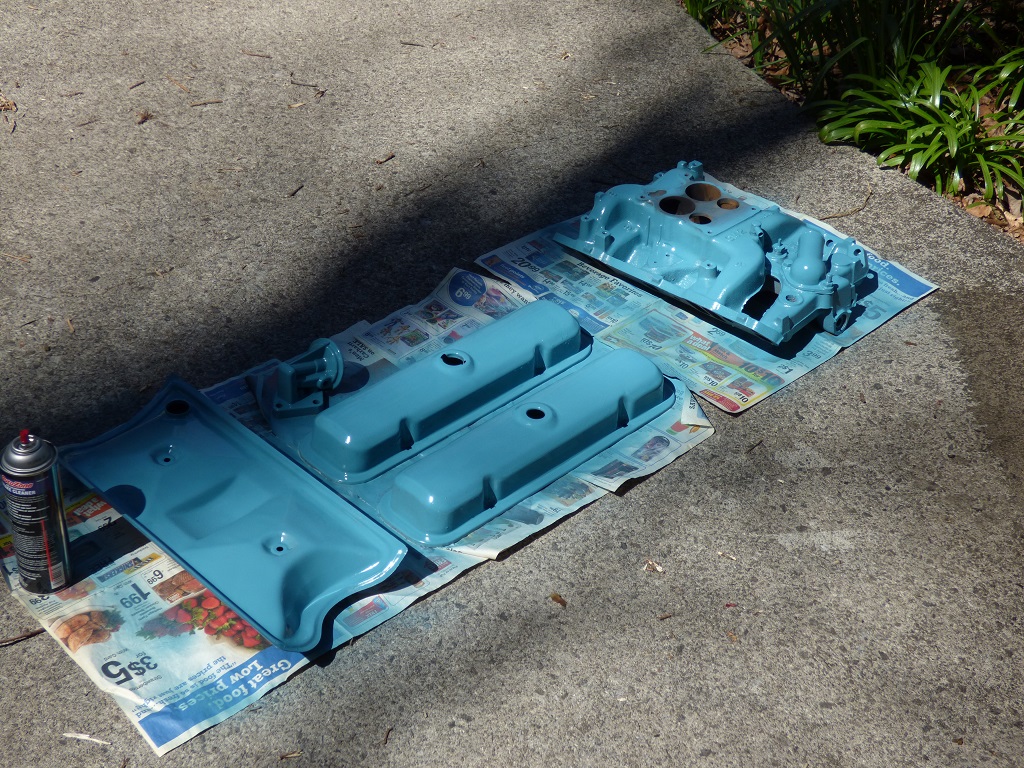
Parts are painted. Not perfect but they look nice. Don't need to be perfect!
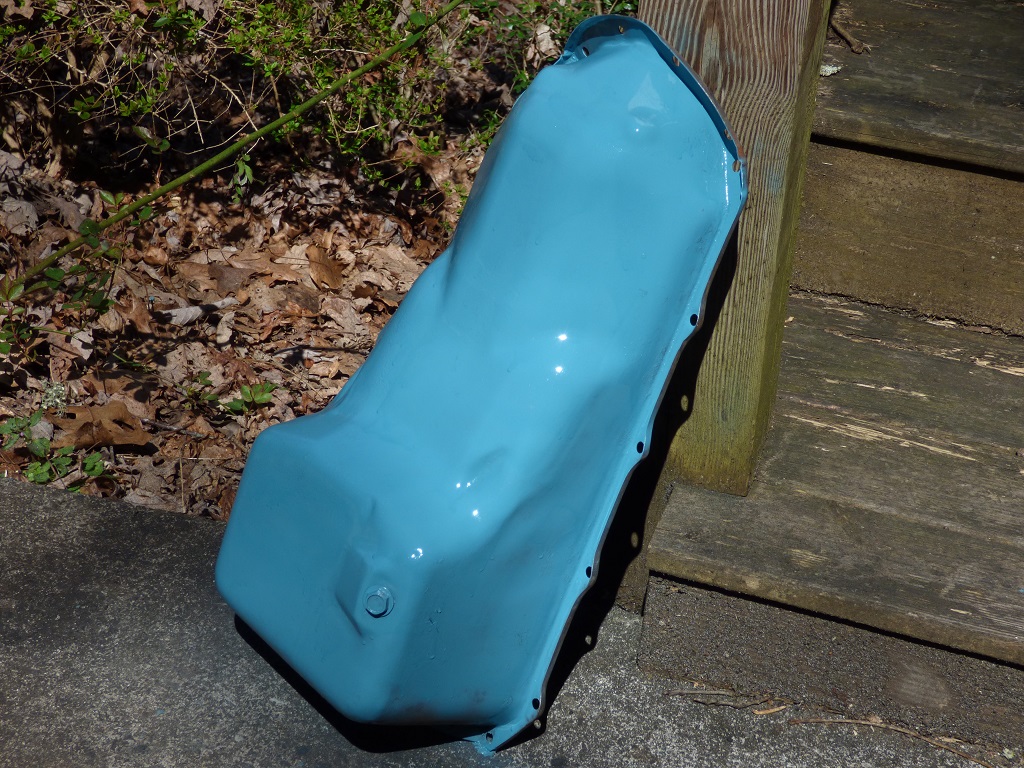
Oil pan gets initial coating of paint too.
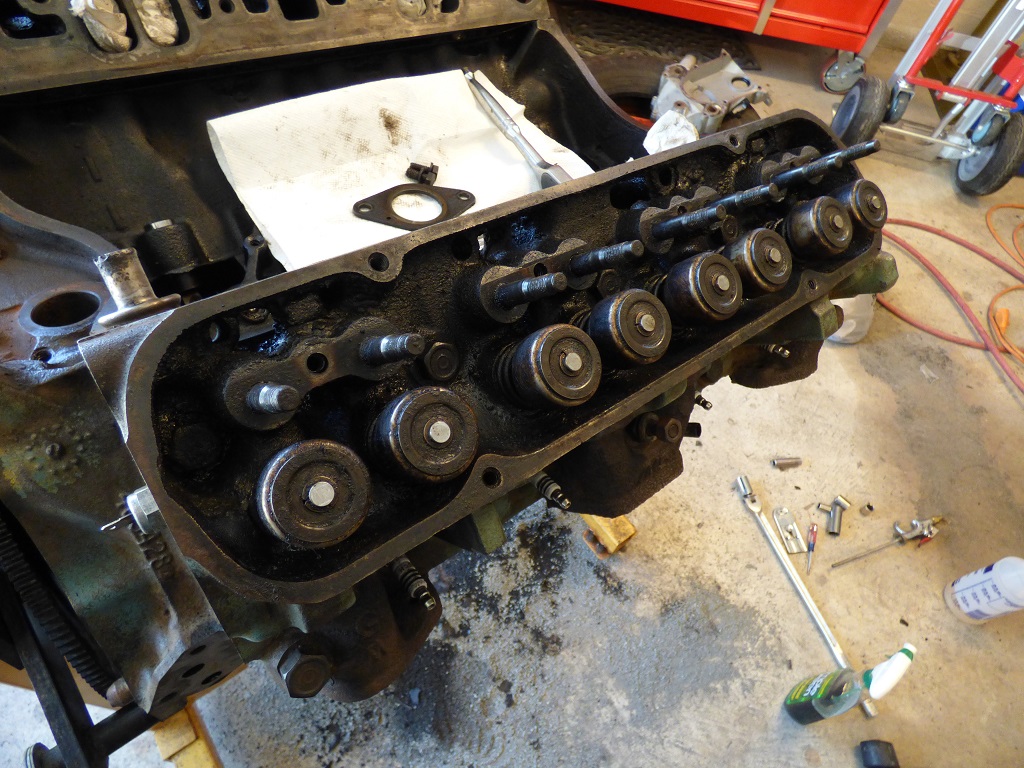
Rocker arms, push rod plates, and push rods are all removed for cleaning (they are nasty). The oil shields and heads are scrubbed to get the loose-ish gunk and junk off of them too.
Other side assembly removed as well and subjected to cleaning.
I'm really tired of Simple Green and all of the buckets I have... This is the last load though. The engine will be cleaned completely then!

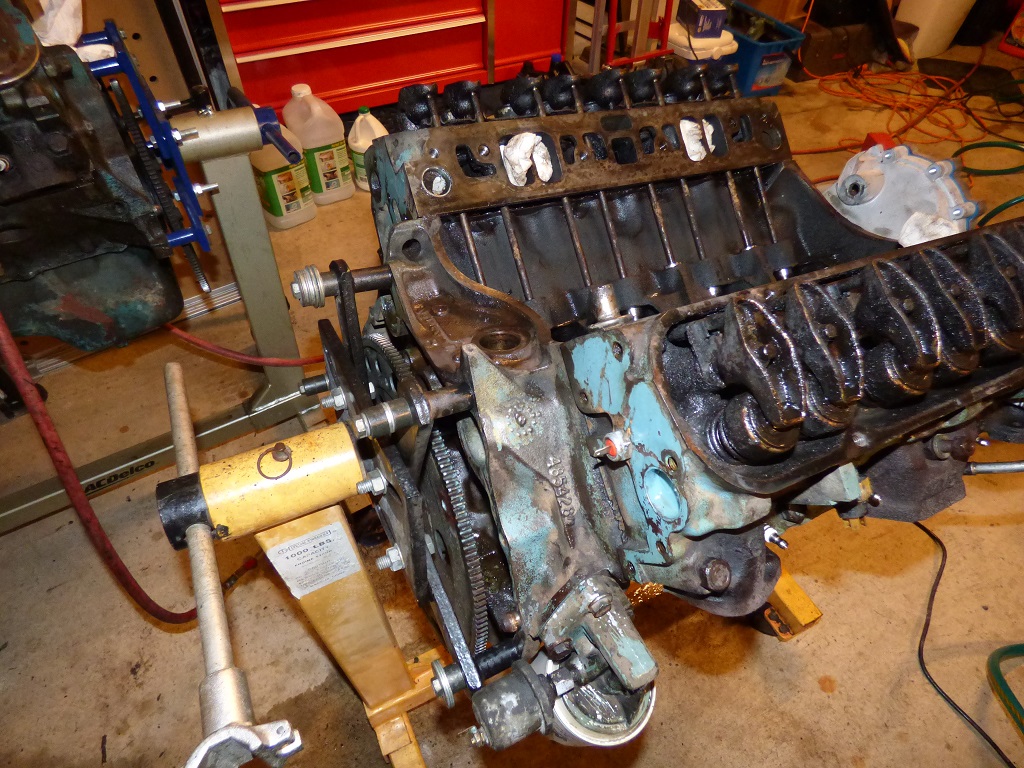
Time to remove the cam. It was time consuming only because the lifters were unwilling to come out, so I had to use a pry bar on them to get enough room to clear the lobes and surfaces. Then it rotated right out. The cam bearings are in amazing shape and no grime or grit or damage. The new cam will go in without a hitch I suspect.
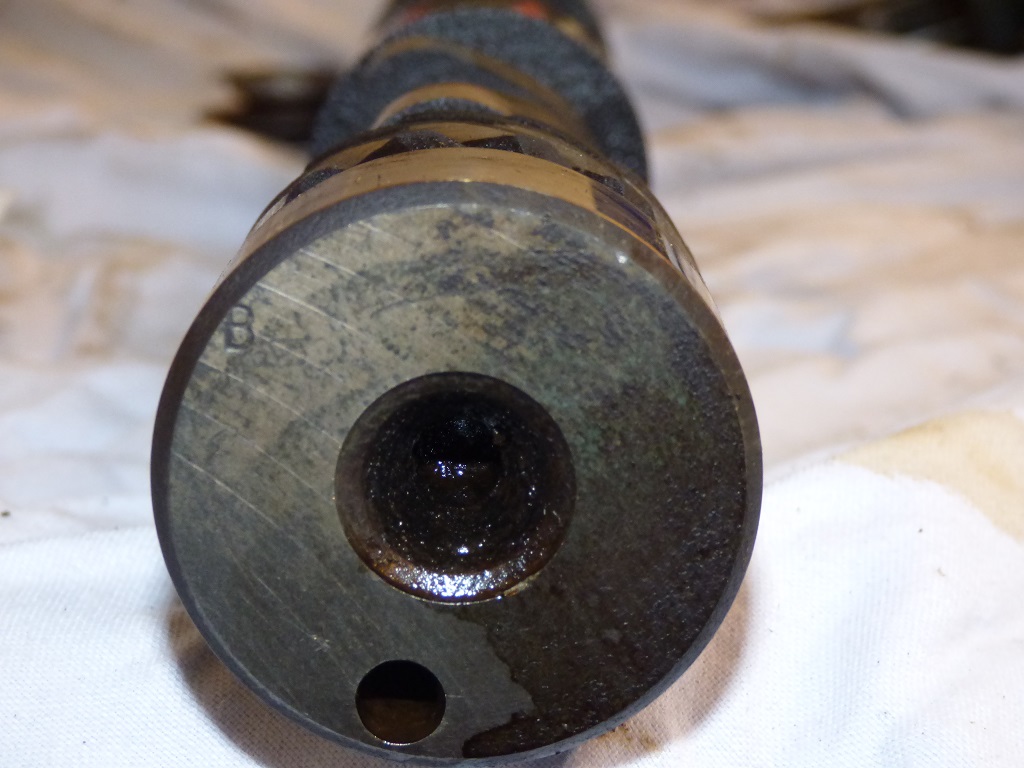
Factory cam, stamped with a B.
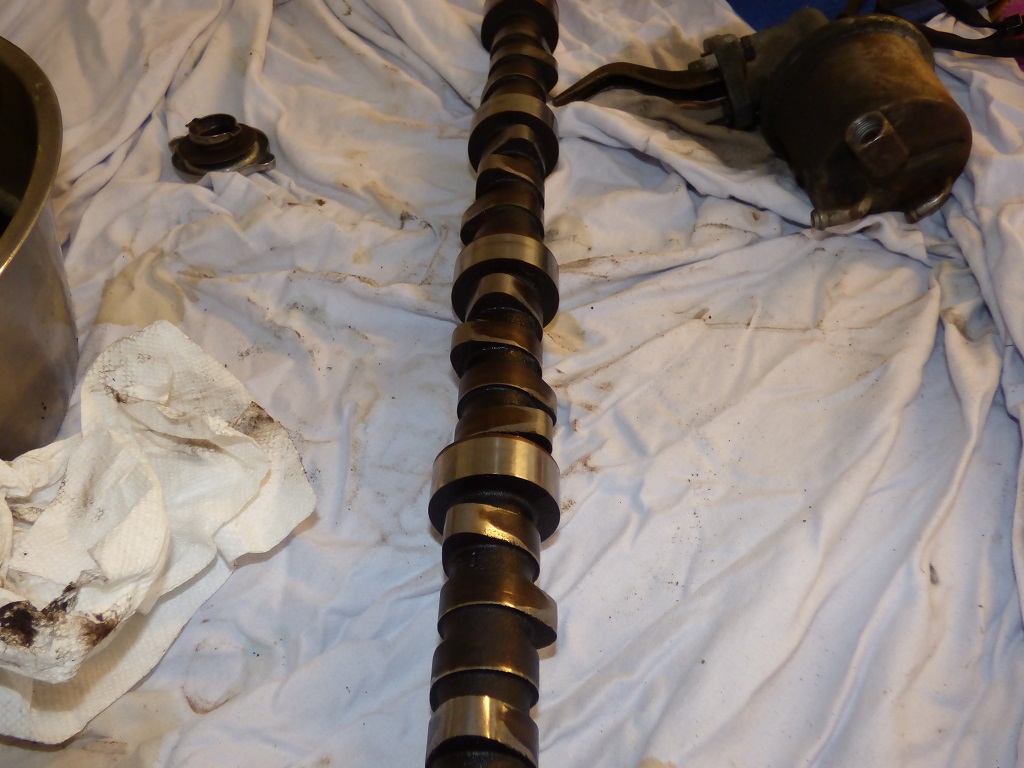
4 bad cam lobes, 1 worse than all the others.
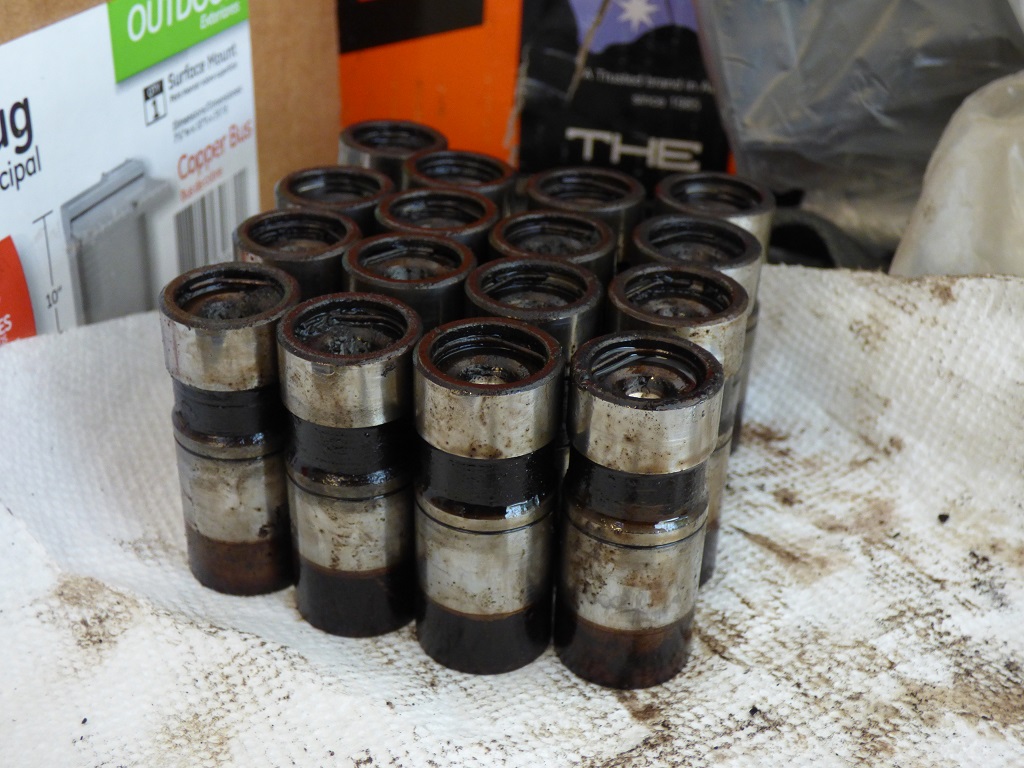
Factory lifters out. I dropped the last one down into the windage tray, so I had to remove it and the oil pump to get it out. Might as well clean them now too!
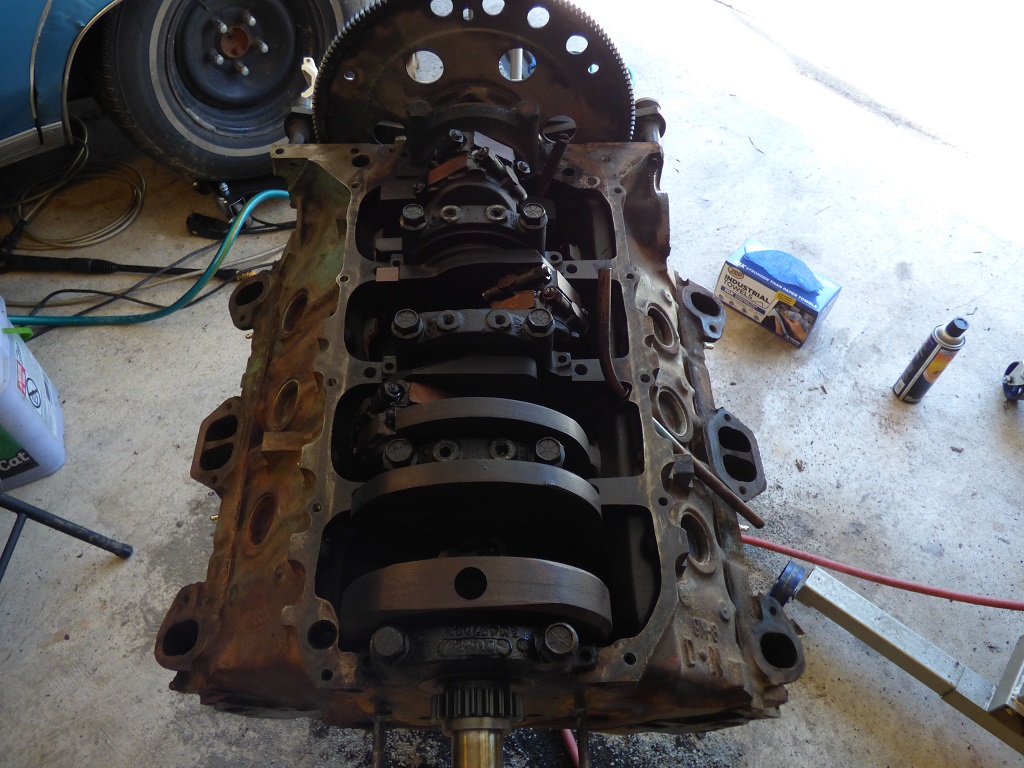
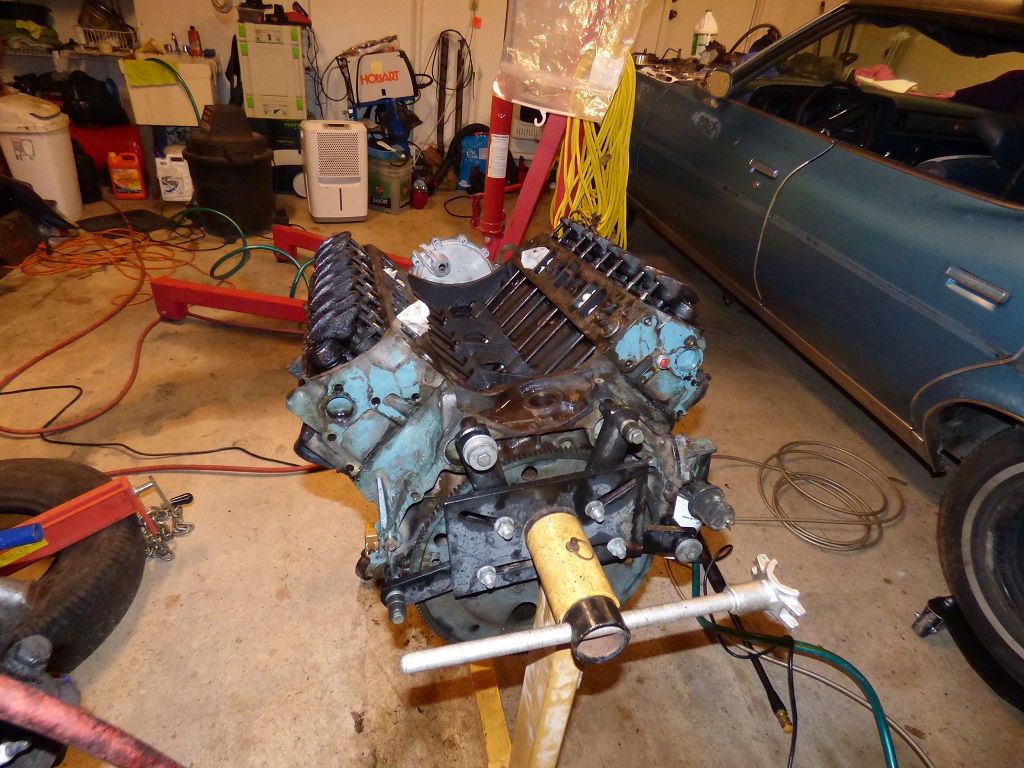
Bottom end is ready to go once the windage tray comes back from being cleaned. As gooey as the other parts of this engine were, the crank and rods are in really nice shape.
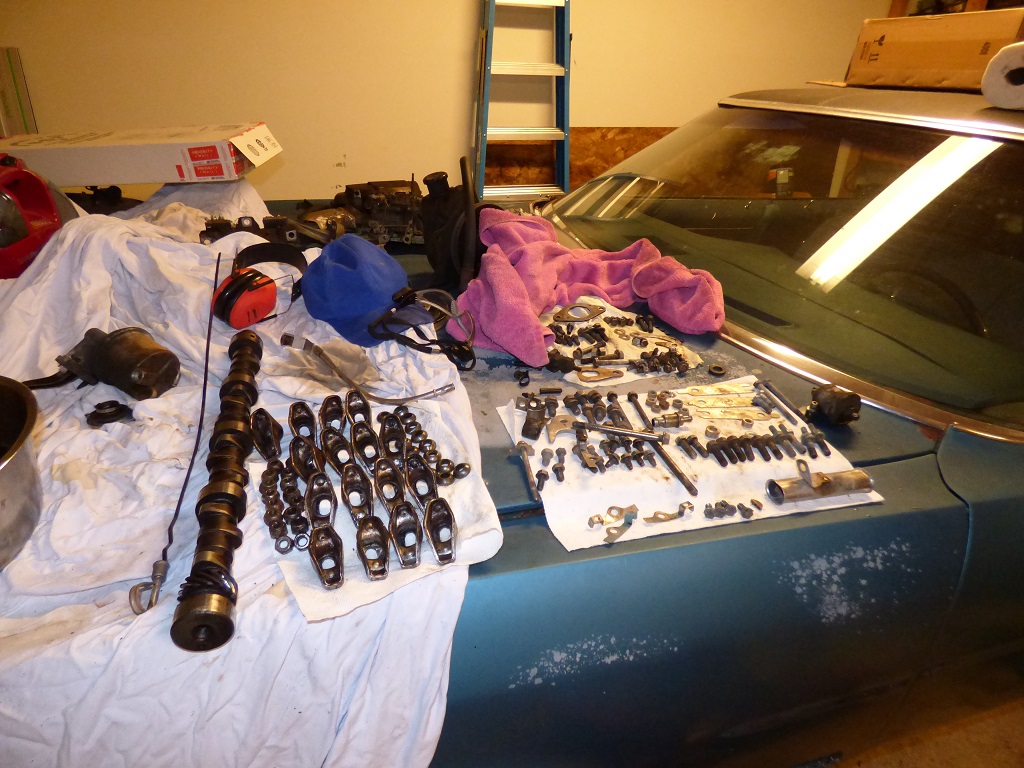
All of the internals that are cleaned and ready to go. It's a good thing I'm almost done, I'm running out of room for parts.
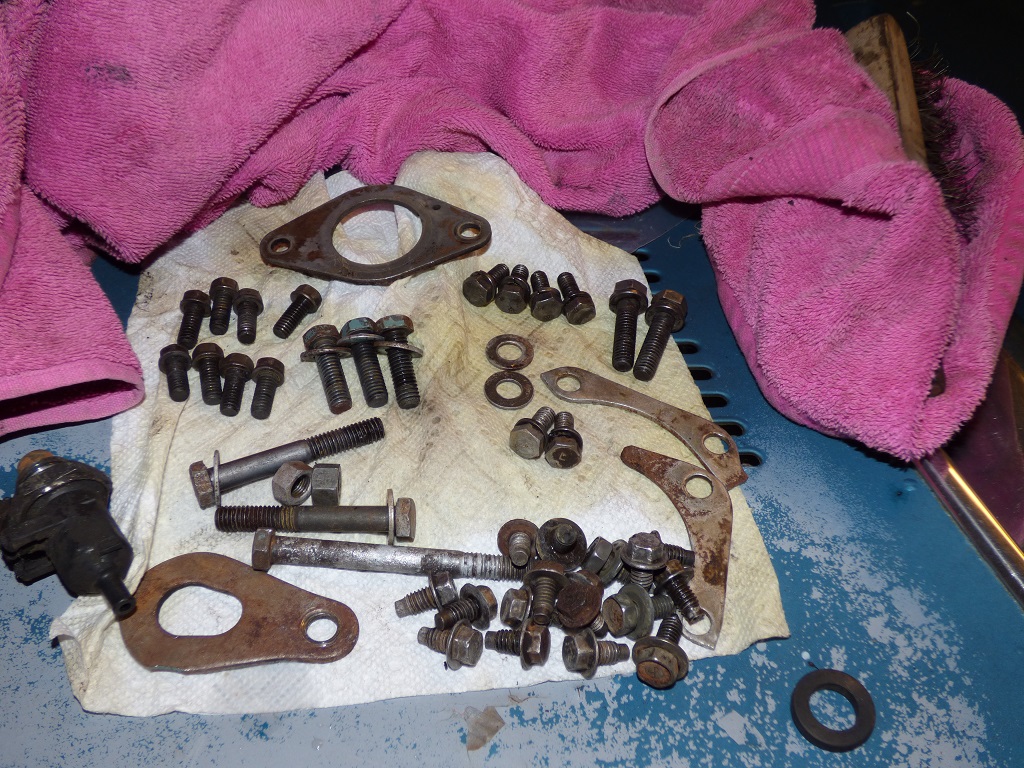
All of the short block bolts relating to the oil pan, timing cover, cam retaining plate, windage tray, and oil pump are cleaned and ready to go back on.
That's been a busy 3 weeks of after hours work and weekends to get here. Most shops won't put this kind of effort into getting an engine cleaned for assembly since it takes so long.
Return to 1972 Lemans Page
Last updated March 23rd, 2019