The Upgrade - Part 3 - 02/10/2007
On to day 3. Here we want to install the electric deck lid release, front speaker, and put everything back together again. Hopefully everything will go smoothly...
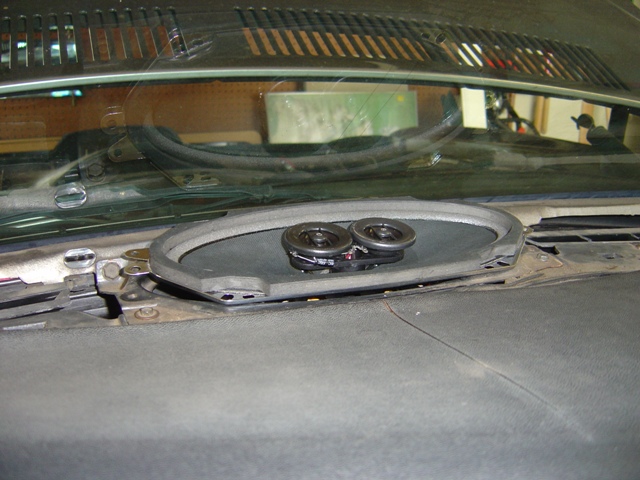
New dual core 4x10 speaker is installed. It doesn't exactly fit as the original magnet was much shallower and smaller, but it's close enough.
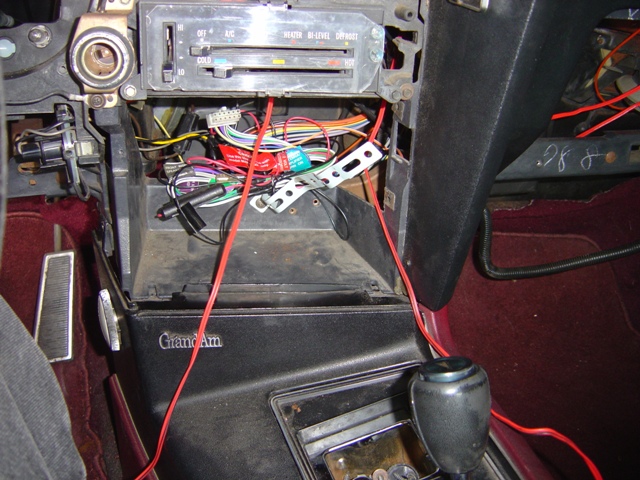
Speaker wire has been run out of the dash and into the radio area.
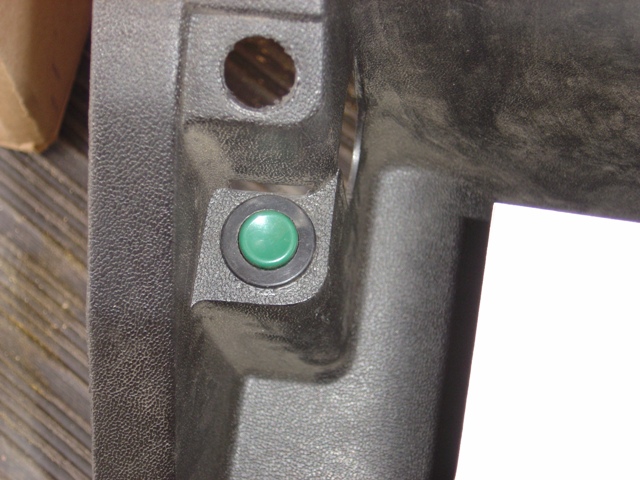
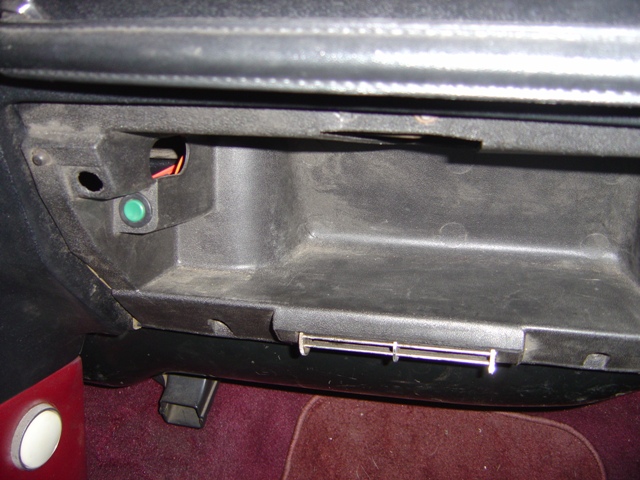
How nice, the trunk release button fits right into a pre-drilled hole in the glove box.
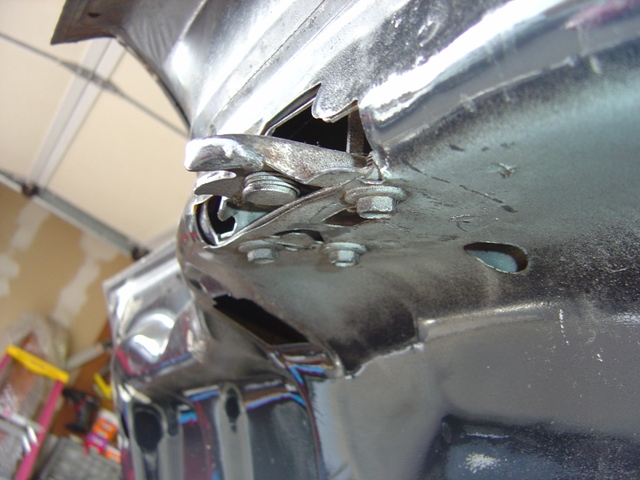
Where the solenoid will mount. The circular piece in the center needs to be removed. It has two holes punched in it already, so it will be easy to remove.
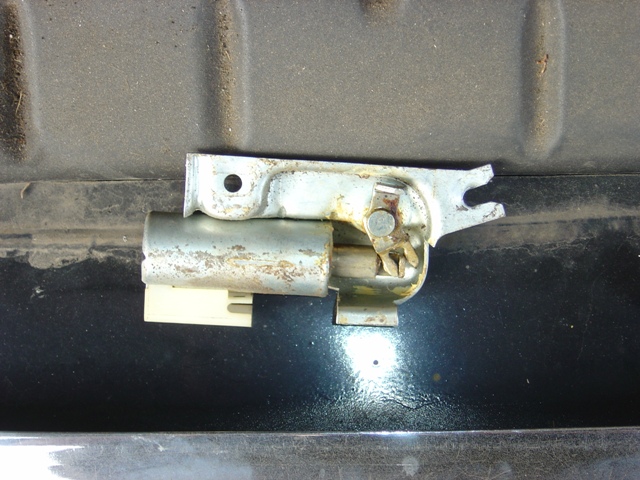
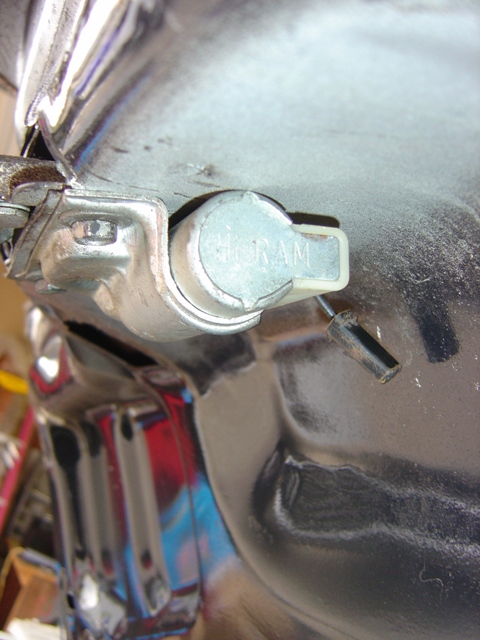
The lid release solenoid.
Now it is installed.
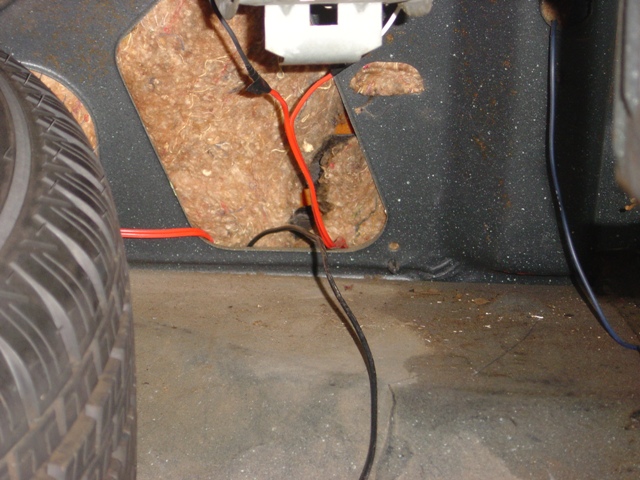
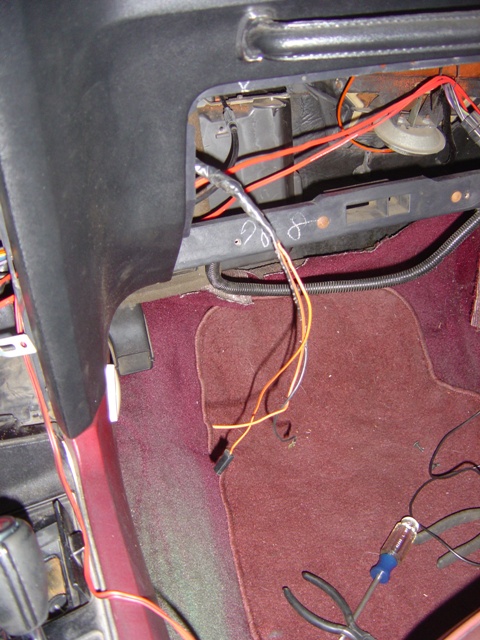
Need to run the wire to the dash. I have no idea how this was originally routed at the factory. I ran it through the seat holes like I ran my speaker wires.
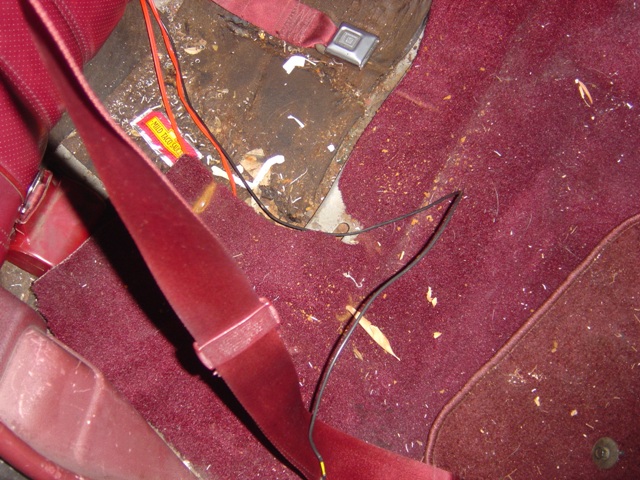
Speaker wires alongside the trunk release wire. Five year old Taco Bell sauce adds flavor.
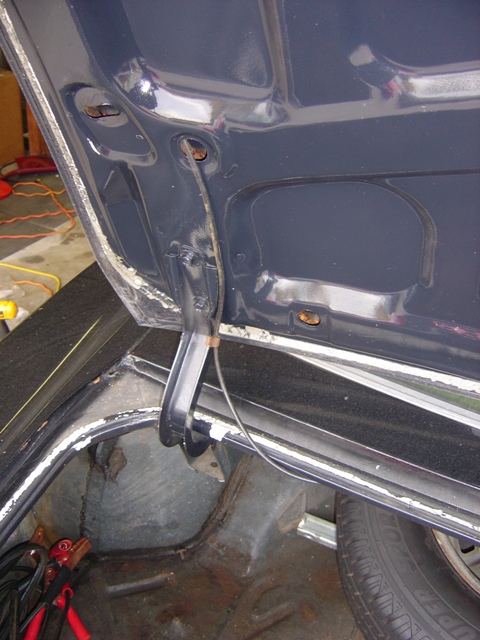
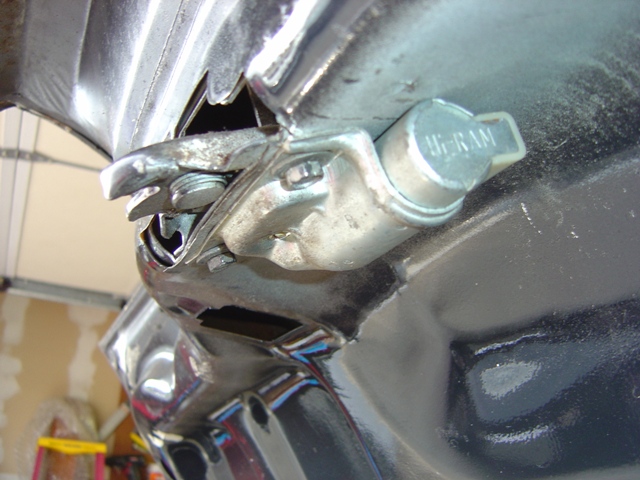
I ran the wire up the hinge and clipped it to hold it in place. The wire was snaked through the trunk lid to get to the solenoid. I have no idea how the factory did it (no real info in the manual that I could find) so I did it the best I could. And for the first time I noticed that this inner trunk lid is rattle can painted navy blue. So much for my keen powers of observation.
Solenoid is wired up.
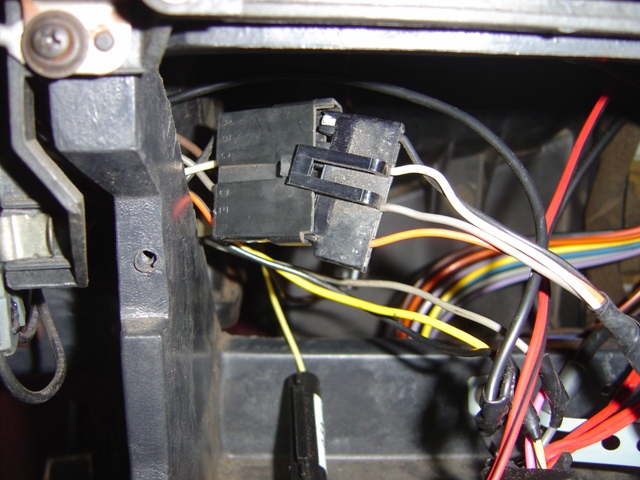
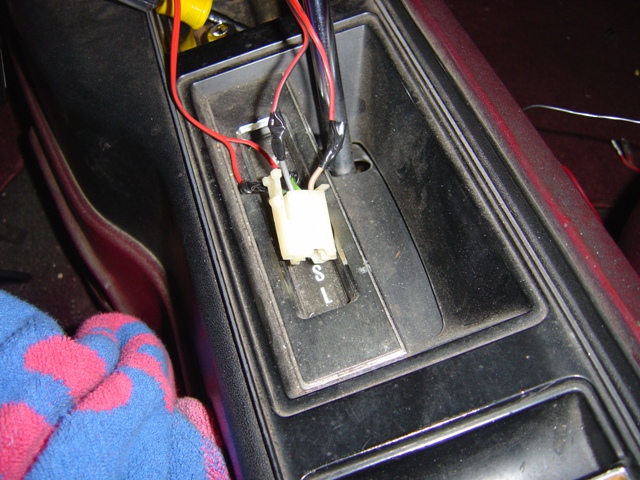
The auxillary wiring harness plugs in here, it powers the extra lighting packages (for a console car) and the glove box light. It is removed to get the extra plug for the deck lid release. Being orange, that means the trunk can be remotely opened even if the key is off.
The extra plug is shown. The other orange wire is the broken lead to the glove box light. Since I have no glove box switch to install, I left it off until I can track one down.
Glove box is put back in and switch is shown.
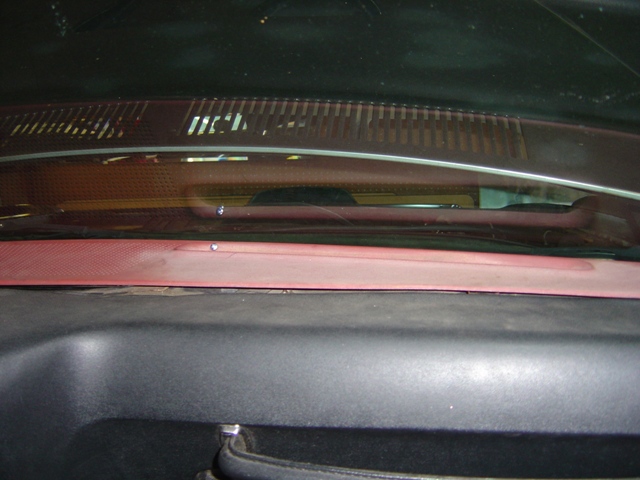
Dash cover is put back on. Slight bulge from speaker, but factory screws being reinstalled help force it down.
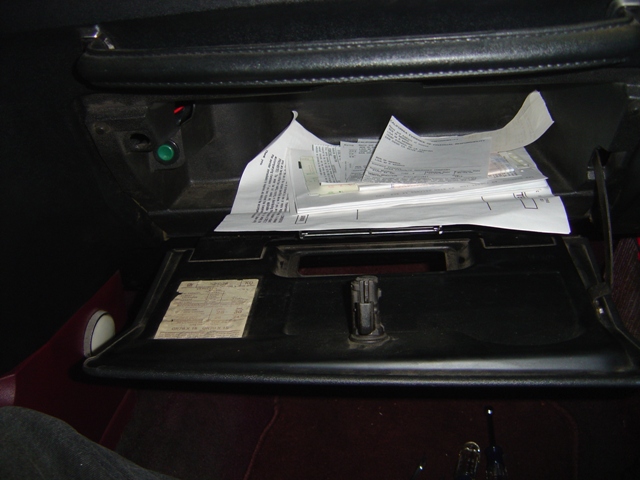
Glove box with all paperwork completely finished.
Soldering in the speaker wire to the late 70's GM factory harness I installed in this car. It's nice to finally get this piece in after having had the car for over 2 years waiting for it.
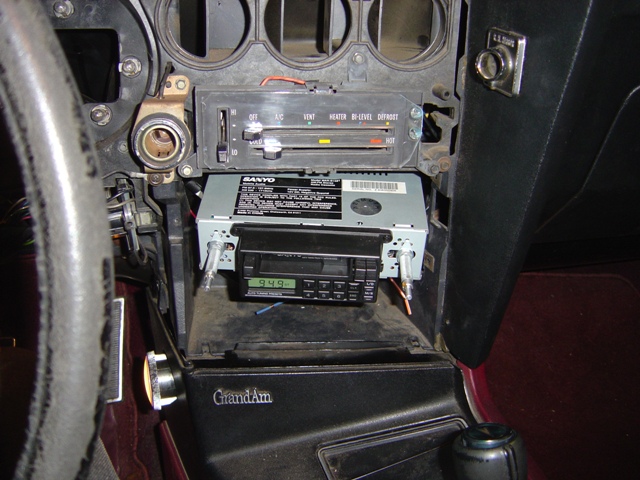
Radio is in and working!
Putting the radio surround plates back on.

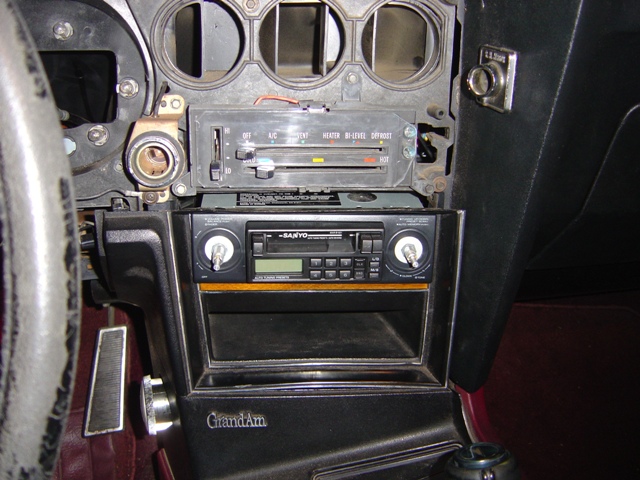
Dash is all put back together! I fixed the volt gauge which wasn't working. For some reason the seat belt buzzer no longer works, but I'm not terribly sad about that. It probably just got unplugged somehow.
Second shot of dash. Not perfect, but at least it doesn't rattle or bang around anymore.
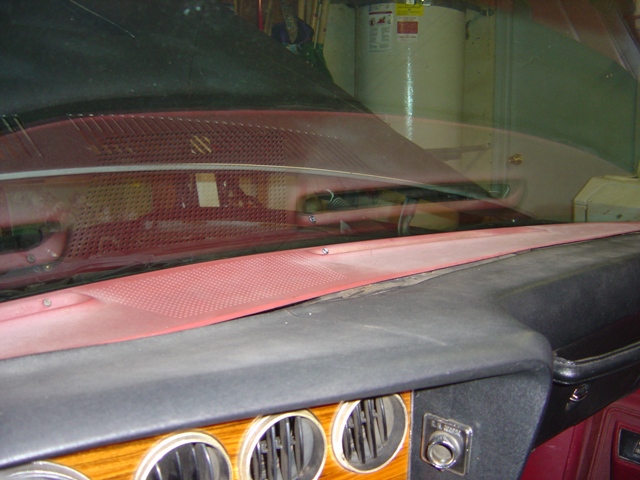
And the car is completely back together! If you are clever you noticed that I left off the A-pillar trim piece and had to run back out and finish putting it back on...
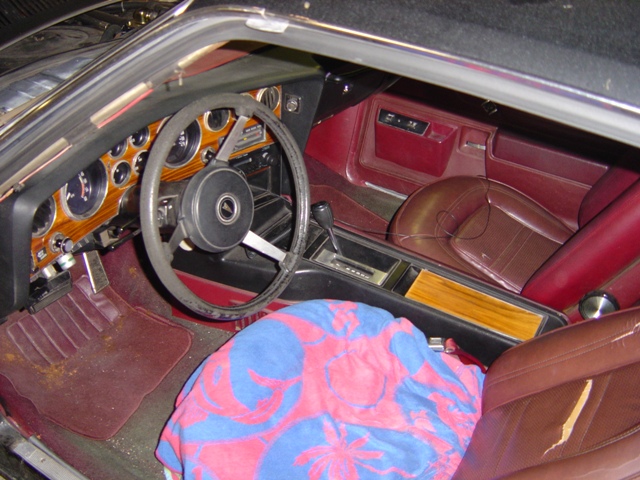
Power windows work great, power locks work great, all gauges work great, 4 speakers, a power trunk release, and all of the ductwork was reinstalled. Life truly doesn't get much better than this. The car is pretty much done as far as I am concerned from upgrades and work now. Any other projects are going to get VERY involved (like an OD conversion or re-paint) or time consuming AGAIN while being a very low priority (rear window defrost addition). But who cares? It's a great car and has been dead nuts reliable for coming on 2 years now. Working AC and working power options all around, what's not to love?
This upgrade was ninja approved. You find the weirdest things underneath the seats of used cars...
Return to Grand Am Page
Last updated February 10th, 2007