AC Rebuild - Part 3 - 09/12/2015
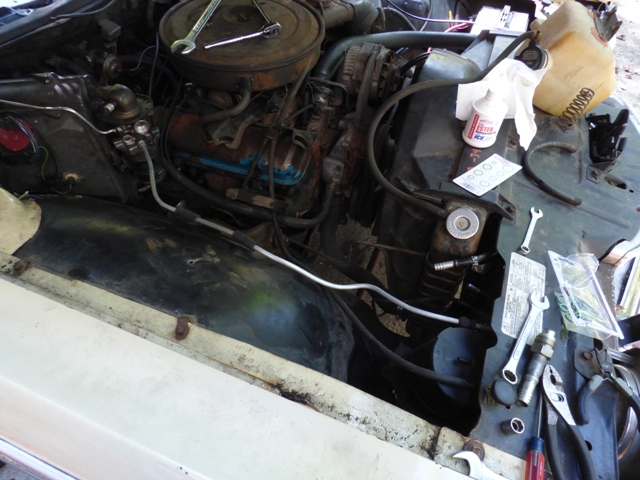
Now that all of the prep work has been done, it's time to get the components installed and seal up the system.
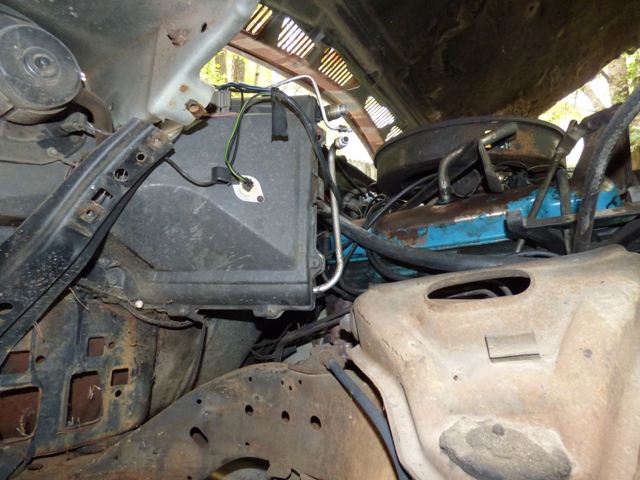
One thing I did note was that the firewall box foam seal was in very poor shape. Rather than leave it to not blow as well or cool off the engine, I decided to pull the firewall box off and clean it up and add new weatherstripping. The way to do this is to pull off the inner fender. On the A & F body it isn't difficult and on the B body it's the same, no real difficulties here. Just pull all of the bolts along the edge, the ones that connect to this brace seen here, and the 5 that connect the front fender to the bumper and frame. Slide and rotate out. Getting to this point probably took 45 minutes.
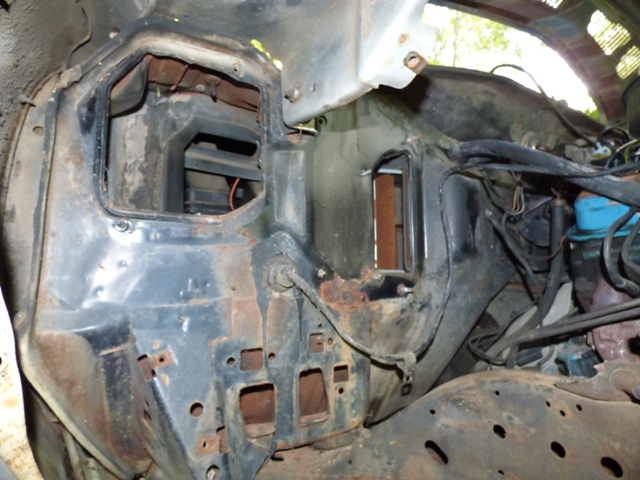
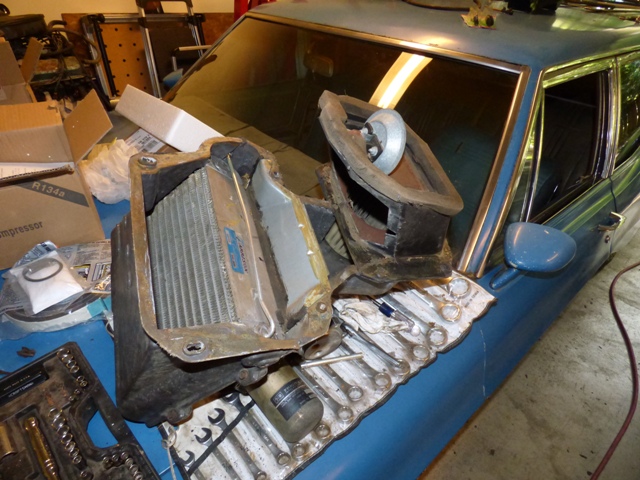
Firewall box is removed. Interestingly enough, it comes out from below best, rotating top forward. You can see the firewall isn't in horrible shape here.
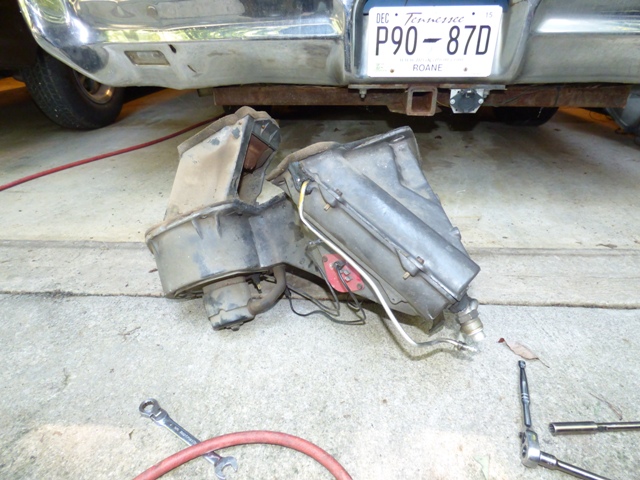
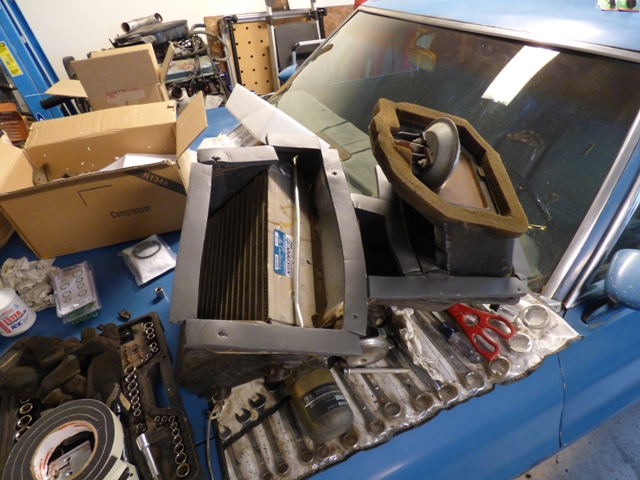
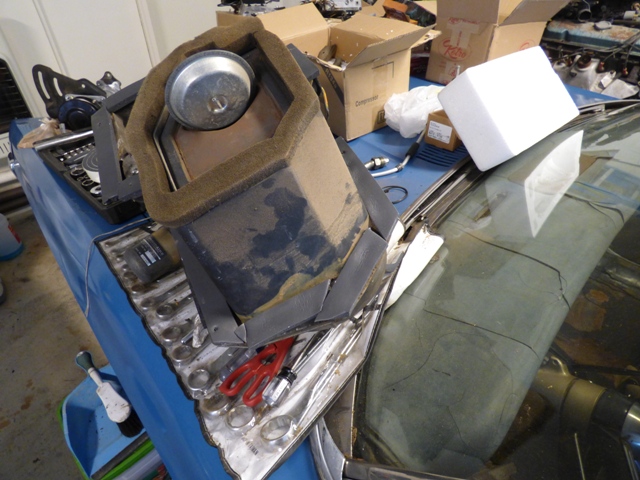
Firewall box itself.
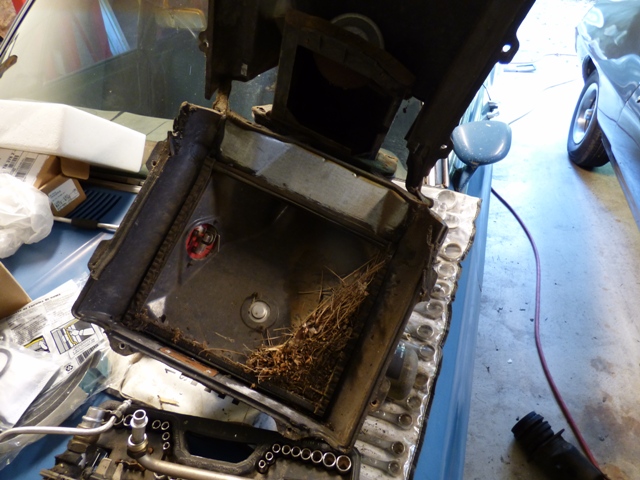
Firewall box insides. Evaporator and blower motor. The fresh air diaphragm is on the right and requires removing the orange vacuum line from inside the car.
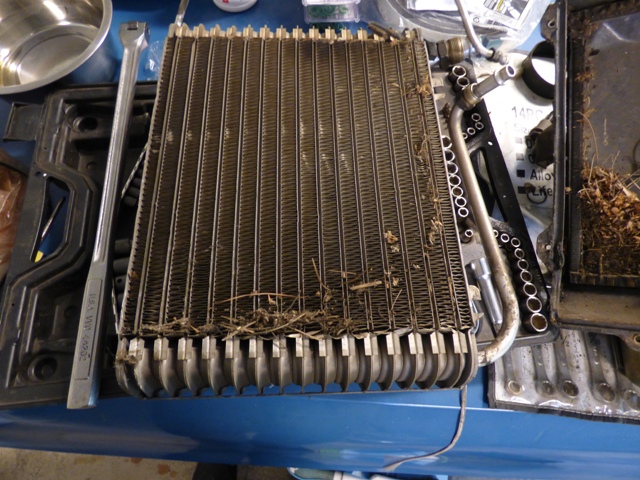
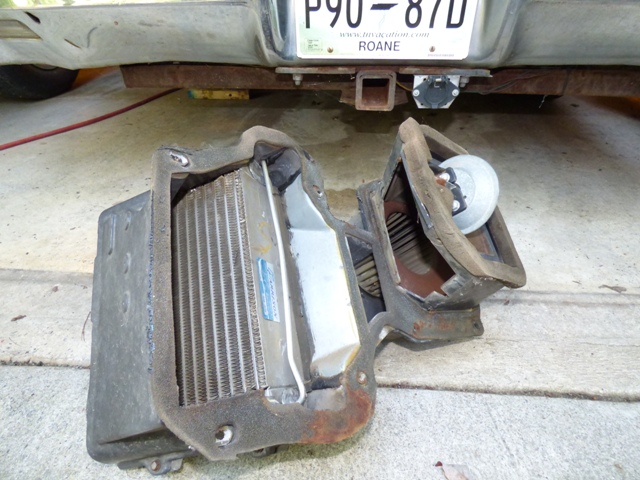
Pull the evaporator out and see why we're doing this.
Lots of needles inside the box.
Cleaned up and put back together. Old foam was scraped off.
New foam is applied. This is far from an elegant solution, but this foam rubber weatherstripping should be ok. It covers all of the original spots just fine and sticks to the housing.
Lots of little pieces cut up to fit everything nicely.

Firewall AC box goes back on. As a side note, it goes in easiest from the top...
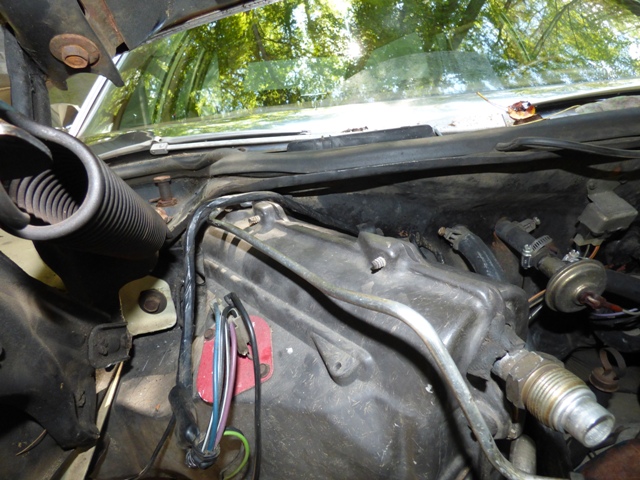
All of the wires are routed through the looms, spider webs cleaned off. Rubber seals nicely against the firewall. When I checked the blower air flow, it flows noticeably better now.
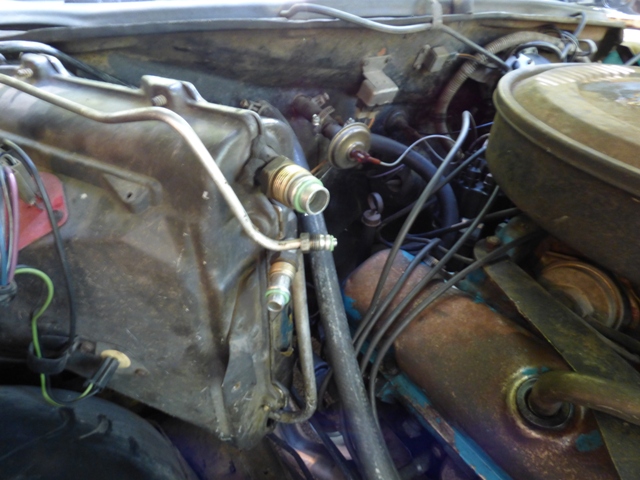
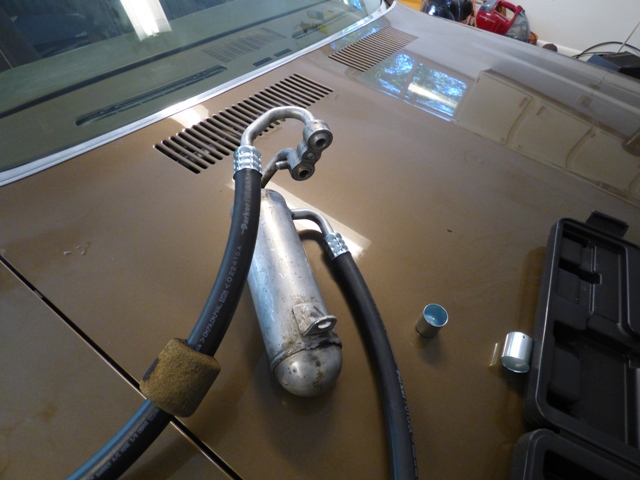
Time to put it all together. O-rings are placed on the fittings and lightly oiled.
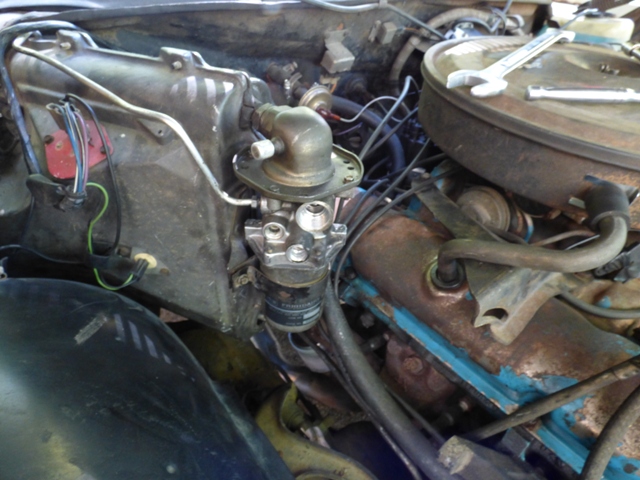
VIR assembly goes back on, fittings tightened down.
Liquid line goes on without a hassle.
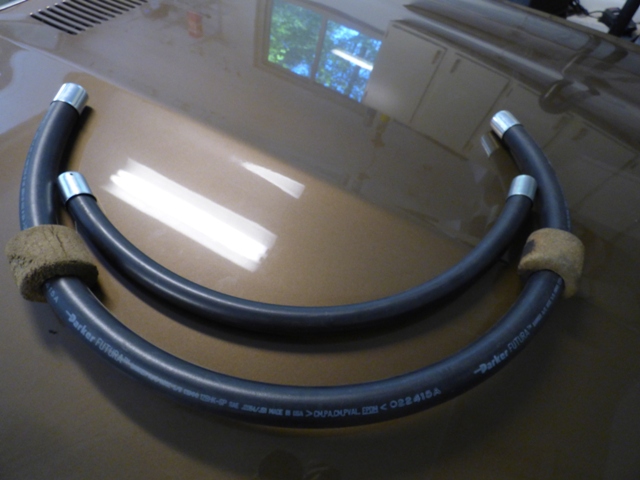
Hoses are cut and formed with ferrules installed, ready to go.
Ferrules and hoses crimped down. Not the easiest job and did require some tweaking, but got everything on.
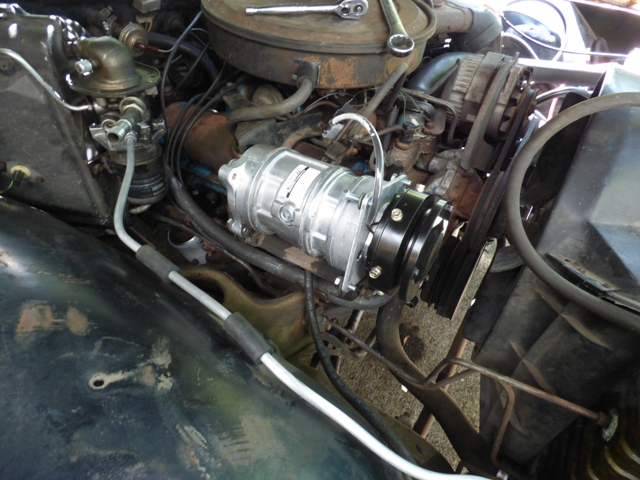
Compressor goes on. About this time I get ready to put the manifold back on and in my doing so realized that oil was dripping out the back. I made a heck of a mess which was annoying, probably lost 3-4oz of oil. It always looks like SO MUCH more when it runs everywhere... Had to add more back in once manifold was tightened down and verified to not be leaking anymore.
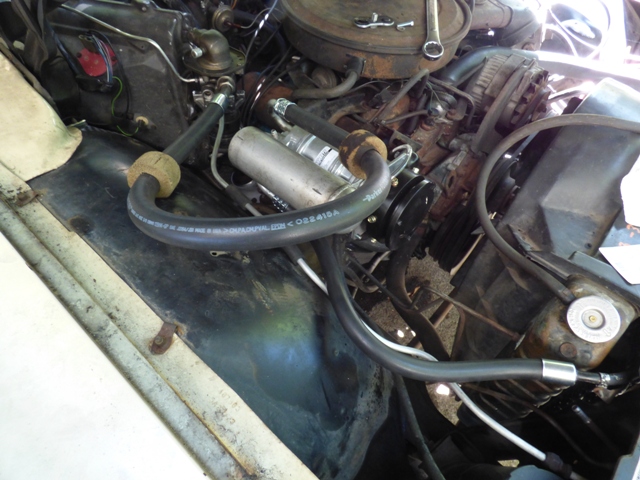
Hoses are routed and ready to be crimped down.
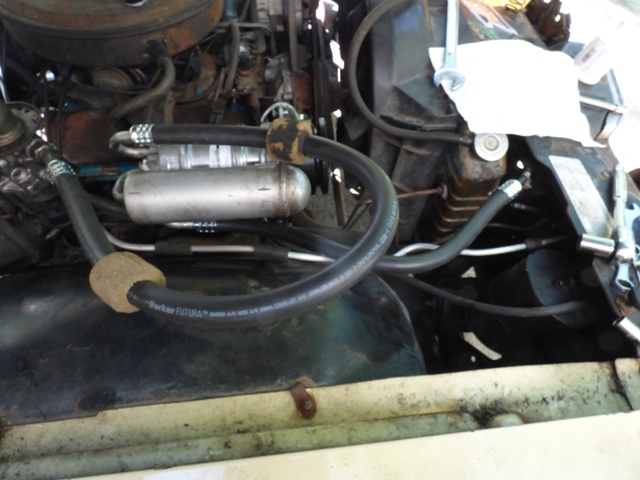
These 2 fittings were crimped down without issue.
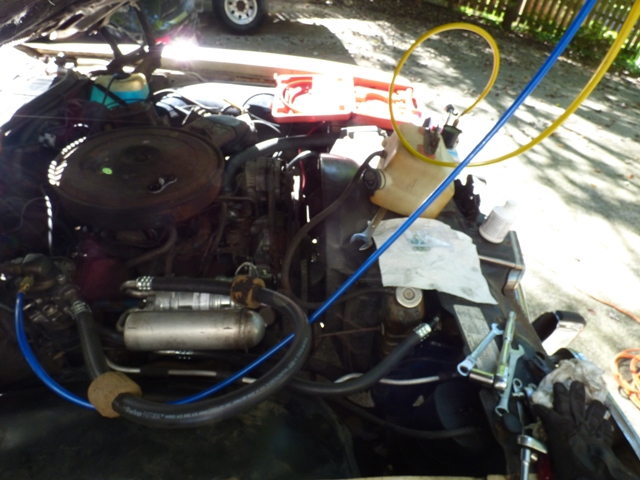
Now that the system is sealed, time to vacuum it down. Instructions say to do it for an hour to 28-29inHg. I went for 90 minutes.
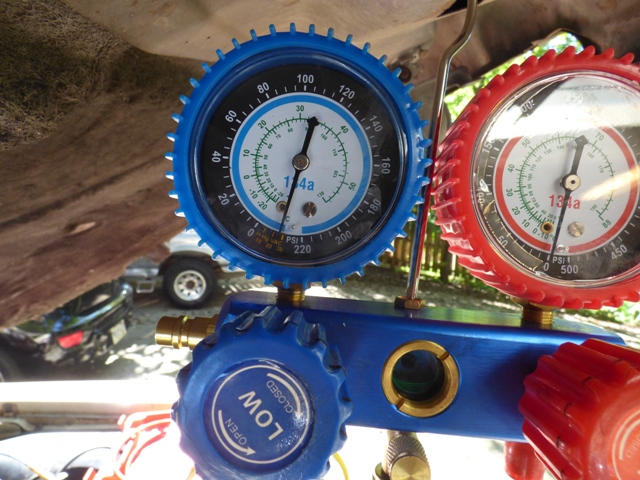
And after turning the pump off it is still holding at the same location on the needle it was before.
In the name of thoroughness, I'm letting it stay vacuumed down overnight. If the gauge still reads the same in the morning it will be safe to assume the system is holding and not leaking and can be charged. Will be exciting to finally verify that everything is working!
Return to 1973 Grand Safari
Last updated September 12th, 2015