Engine Upgrade (swap) - Part 4 - 01/31/2016
Here's the exciting conclusion to the swap. No longer an upgrade in the truest sense, we're just putting a factory stock engine back in place to allow time to fix the other engine and keep the car mobile. Start early to be done early!
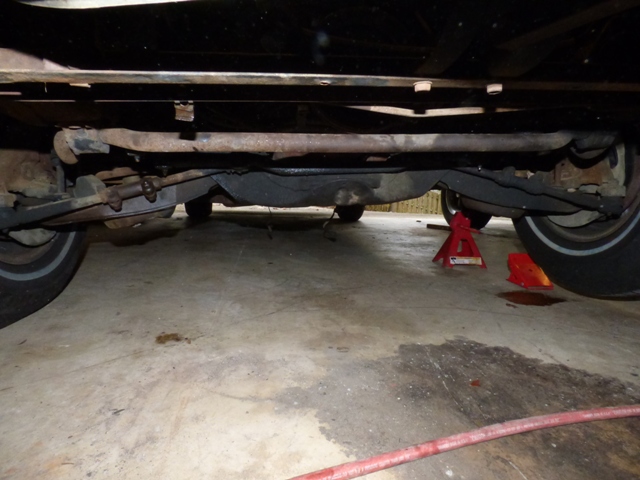
Torque converter and exhaust are done first because they're the biggest pain as they involve contorting on your back to get in and out. I put the rubber spacer between the rear exhaust pipes and the glide-away housing in the back as it fell out when the exhaust dropped. Without that it rattles!
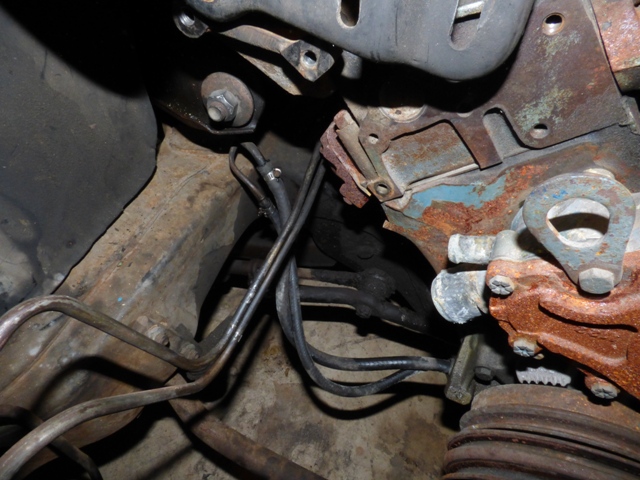
Fuel lines are run. I feel bad, I'm not replacing all of the rubber because the parts were in such good shape on the '74 that I pulled all of this from (Steve and I replaced a lot of lines on it 2.5 years back). I do have brand new rubber ready to go when the new engine gets here.

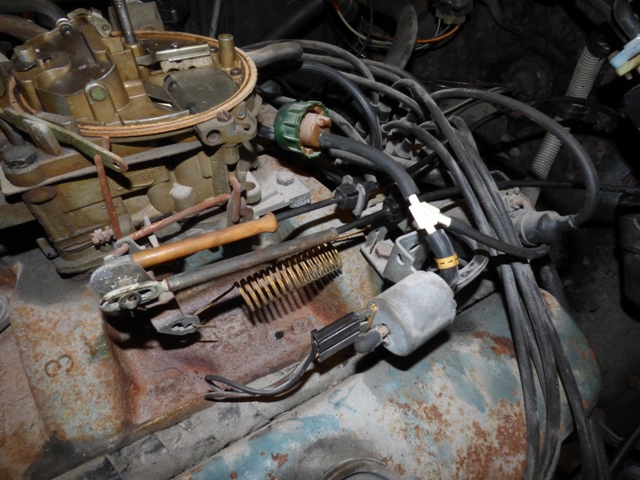
Getting out the original '73 harness that's in sad shape. As best I could tell this block had never been out, it was really in there good but a few love taps and gentle prying freed it up.
New harness is routed and the transmission kickdown wire is plugged in. Astute viewers will notice the dilemma here that I forgot about: no plugs for the wiper and washer motor! That's right, they changed the plug that the wiper and washer connections came out on in '74 from the engine harness to the headlight harness. Oops. I'll be repairing the '73 harness soon enough, this is good enough to get the engine running at least.
New harness plugged into fuse box. Extra low brake fluid wire on the '74 harness is another item that was changed. It'll get fixed though.
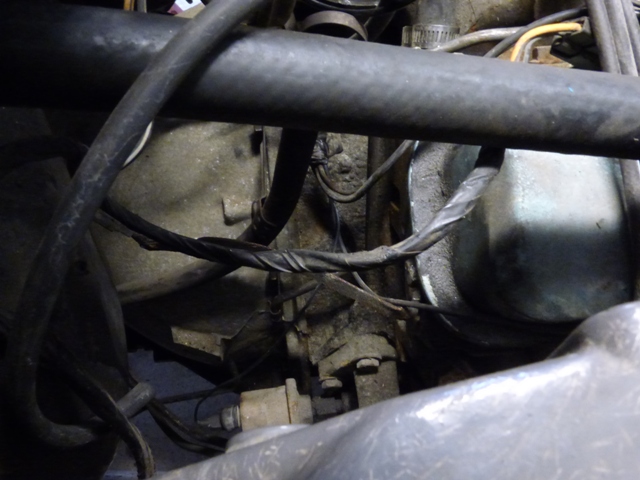
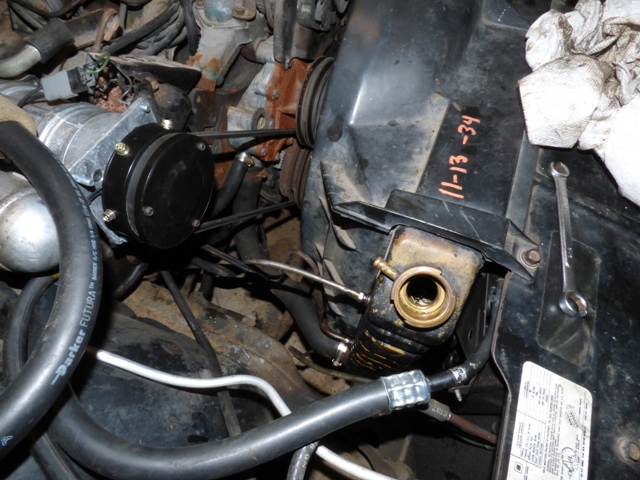
Vacuum modulator for the transmission is hooked up and snaked through.
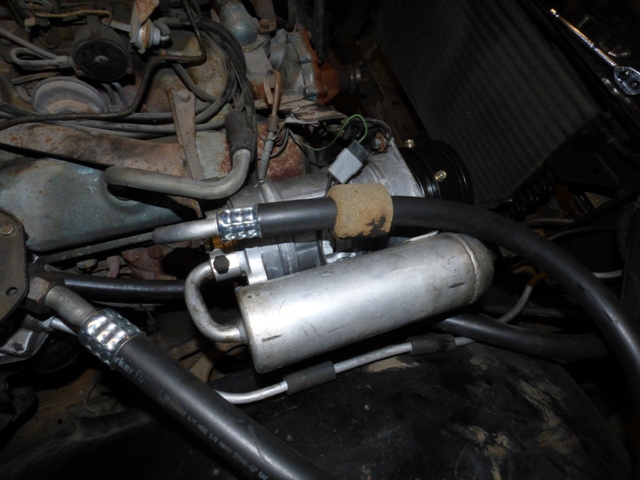
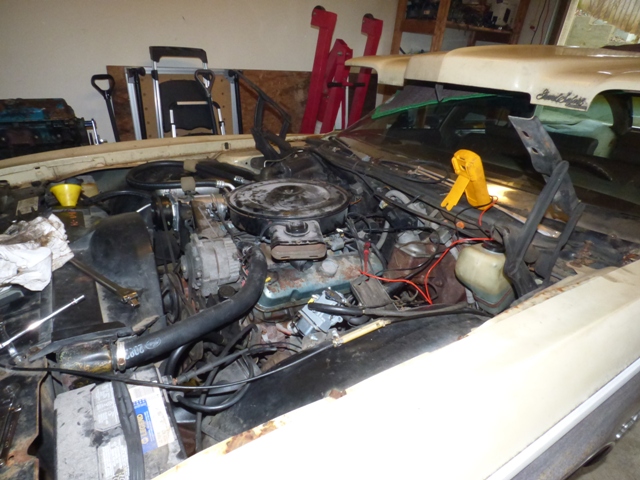
Compressor is bolted in and ready to finish.
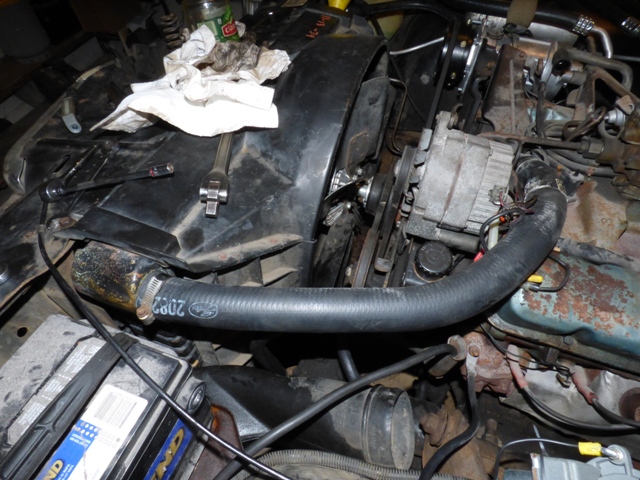
Compressor is fully tensioned and electrically wired, it's good to go now. Heater hose bracket is put back on to route heater hose properly.
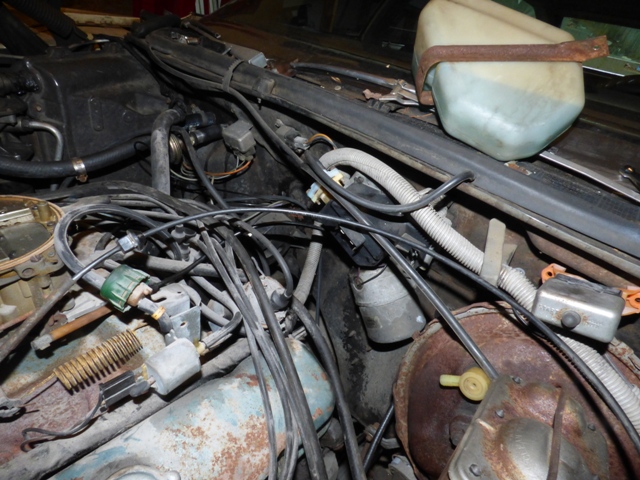
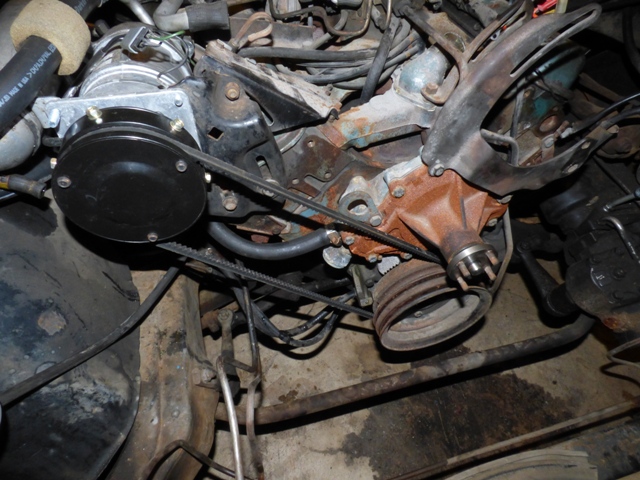
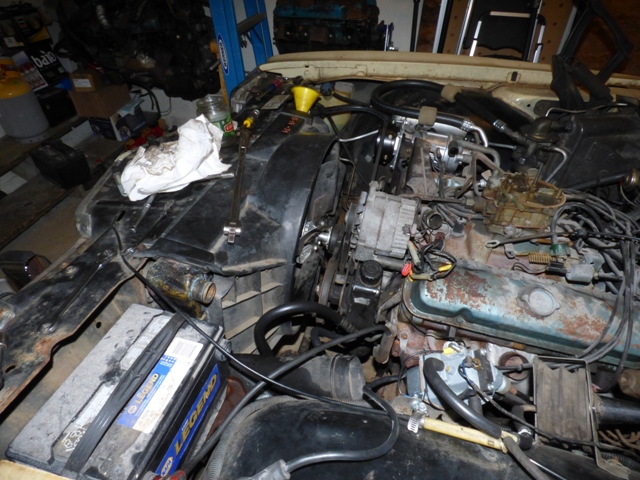
Battery, power steering pump, and alternator are installed.
Radiator goes in quite easily. Feed hose to block is put on as are the transmission cooler lines.
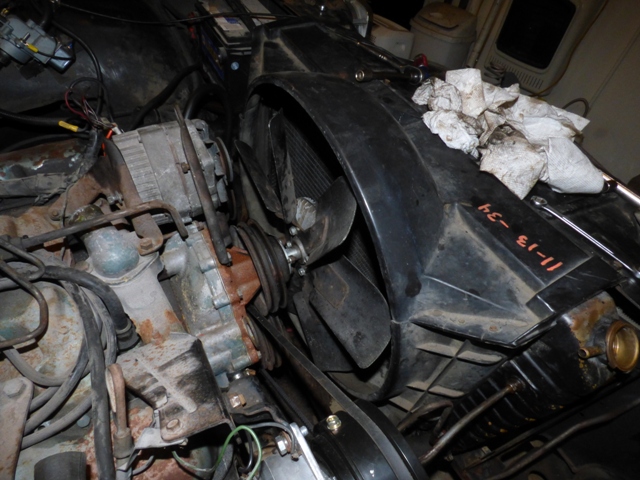
Fan is on and tightened down to allow belt install.
Belts are on and tensioned, ready for operation.
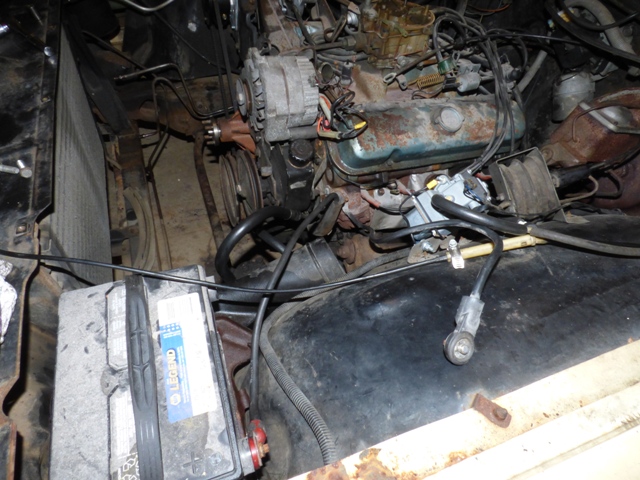
Upper thermostat housing hose to radiator is installed and the engine is now ready to fire up!
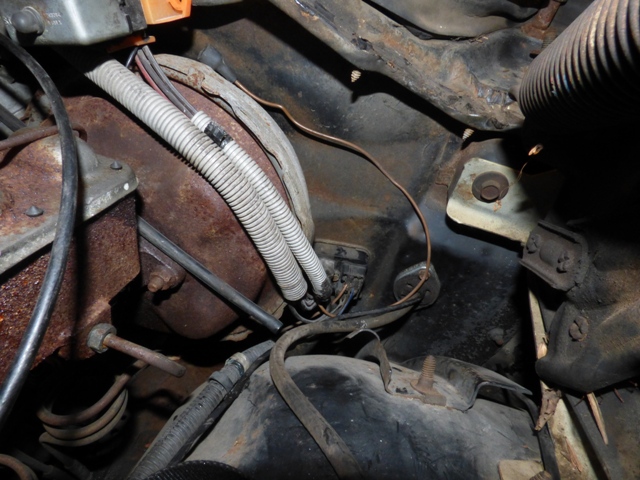
Before forgetting, the cruise control throttle hardware is installed and a tee for the vacuum gauge is inserted to manifold vacuum (but before the distributor filter valve).
Not easy to tell due to the flash but it's running. It took about 25s of cranking to get gas to the carburetor, in that time the oil pressure built up and it stayed right at 60psi the entire time. Engine ran very well and strong despite me leaving the vacuum booster hose completely off and causing a massive vacuum leak. It ran even better once I fixed that. The oil pressure dropped to around 40psi when hot and the temperature sat at 185 in the head, which isn't bad. The AC even blew cold.
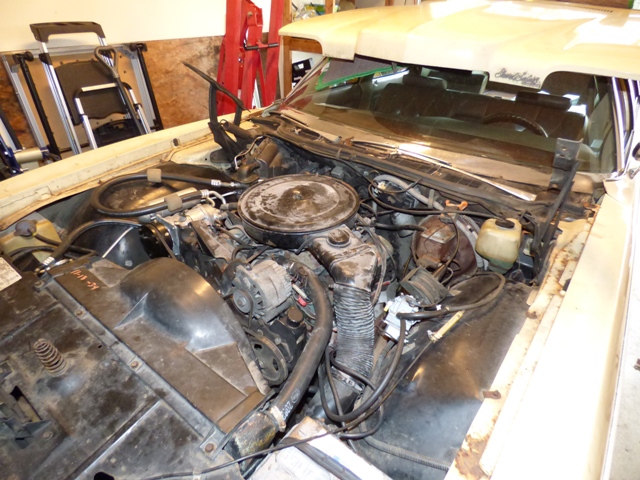
Engine install complete! Pre-heater hose and fresh air hose are installed too. Cruise vacuum hooked up as well.
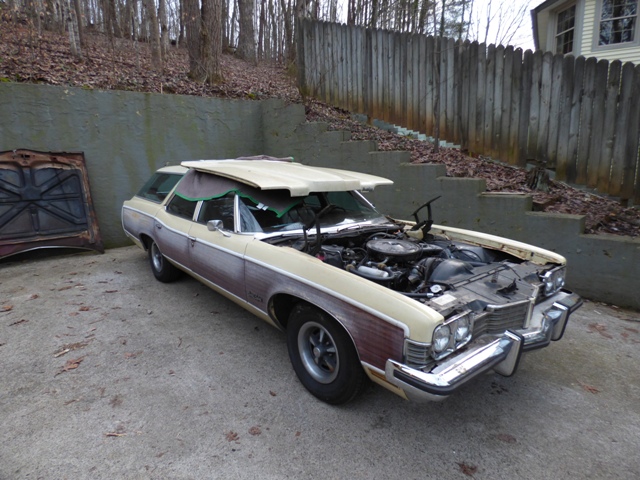
Now the car sits outside waiting for its hood to go on, which happened at 9 at night, the best time to do it (in the dark!).
Not bad for 2 days worth of work. Still need to repair the '73 harness and swap it back onto this car due to lack of wipers. Fortunately it's a pretty straightforward job to do that. Another disappointment is the alternator doesn't charge under load with the headlights on, so the alternator will be replaced. The engine has a hot start issue and dieseled a little bit when I turned it off, so the repaired harness is probably not a bad thing to get to anyways.
Return to 1973 Grand Safari
Last updated January 31st, 2016