Ignition Checkout - Part 3 - 01/19/2015
Yet another round of final carb tuning and ignition tuning commences. I'm sure we'll be back for part 4 before it's all said and done. I started today off by re-setting the baseline idle mixture screws for 5 full turns out and then proceeding to check out the spark plugs.
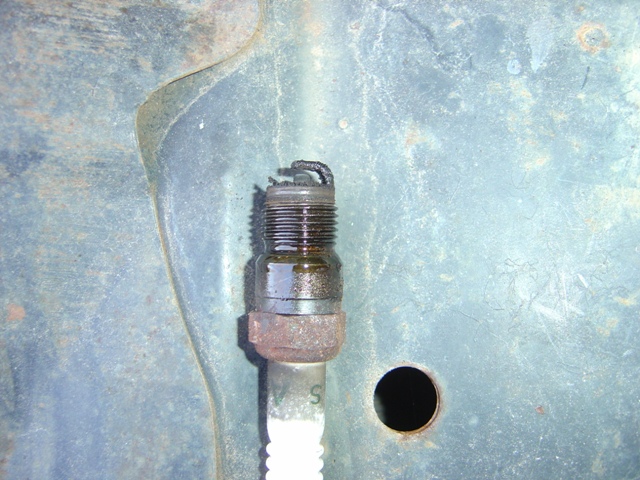
Deposit city. This engine hasn't seen much action in the last few years, probably been sitting and idling in the shop most of the time. Three plugs had these deposits on them, another 2 had very light grey deposits on them, and another few were just slightly caked on.

The cleanest one was still pretty dirty. All of these plugs are vintage AC R45TS plugs, probably dating at least 20 years back. I could stand to replace them, but right now cleaning them up and gapping everything properly along with just loosening up the vintage install never hurts to get the engine running decently. Spark plugs are considerably more robust than people give them credit for too.
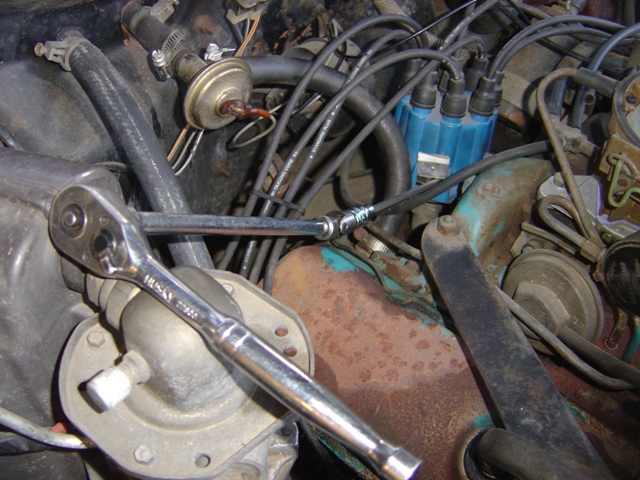
"The doctor told me to stay away from me work mon'!" Homemade dwell adjustment setup that doesn't require getting right up close and personal to the distributor (and avoids getting shocked potentially). Doing the dwell dance and timing setup was fun. My vintage dwell meter said it was above 40 degrees. I figured that couldn't be right, so I broke out my nice engine analyzer. It said 43 degrees... No matter how much I adjusted the dwell it wouldn't budge more than 1-2 degrees. I finally had to end up setting it the old school "by ear" method of turn out until it stumbles, turn in until it stumbles, divide those number of turns in half and that's where to run. It worked. The initial timing ended up being retarded a few degrees so it was re-adjusted to 12 at 700RPM. The misfiring and stumbling the engine had was then gone. The behavior indicates that the points are old and need to be replaced, which makes sense. I let the engine warm up nice and toasty to get it ready for a compression test:
Idle and slight blip. This was in Drive with wheels chocked and parking brake on. It's how you set the idle mixture.
I figure if I can get it to run smoothly in idle at a stoplight it should be good to go. And it made 20.5" of vacuum at idle. Had to put idle mixture screws out 5.25 turns and had a VERY tiny bit of nozzle drip on the passenger side that I just couldn't get rid of, so I figure I can live with it for now and get some run time in. Then it was time for the compression test! Results:
#1: 155
#3: 145
#5: 150
#7: 155
#2: 140
#4: 155
#6: 155
#8: 155
Whoa. Pretty good numbers for a 40 year old engine. I'm not 100% convinced #2 is really that low as I was having difficulty getting the compression tester in the hole. Of note also is #6 shot up to 120, then dropped to 20, then back up to 130 and finally reached 155. Might indicate a slight valve recession issue on that cylinder, but the numbers are still really good. No reason to take the engine any further apart!
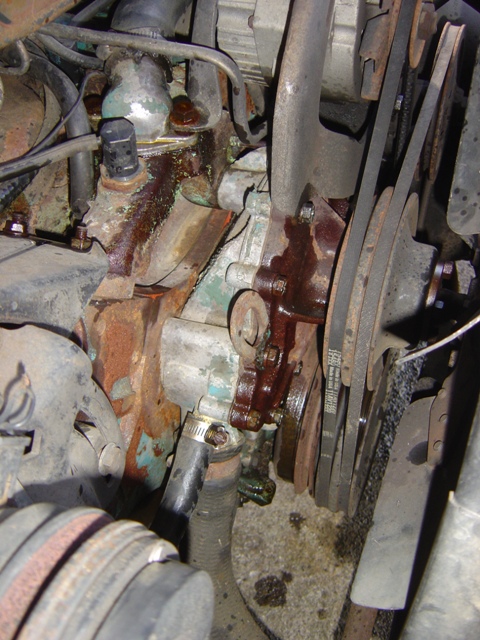
Since I was here, I sprayed the water pump bolts with PB Blaster. I'll probably have to do this job and I'd rather not bust them all off. Spray, drive, spray, drive, repeat for a few weeks.
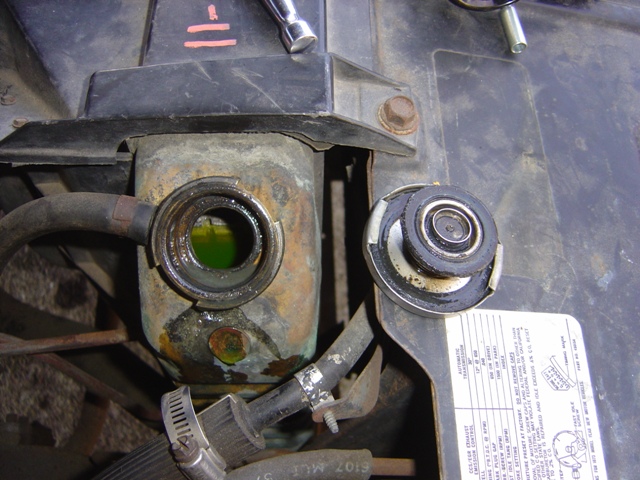
Also pulled the radiator cap to see what's going on here. Coolant stinks so it will need to be changed eventually. Cap has seen better days but still holds pressure. Some grey goo on the cap and top of the radiator, almost like someone put StopLeak in it at one time. Radiator is slightly low because overflow tank has a small crack in it and doesn't hold coolant. Will have to pull and repair or replace. Note the penny epoxied to the radiator tank: that was done by a shop to warranty whatever work they did. The penny will fall off if the engine gets overheated. I guess that's a good sign that it's still there!
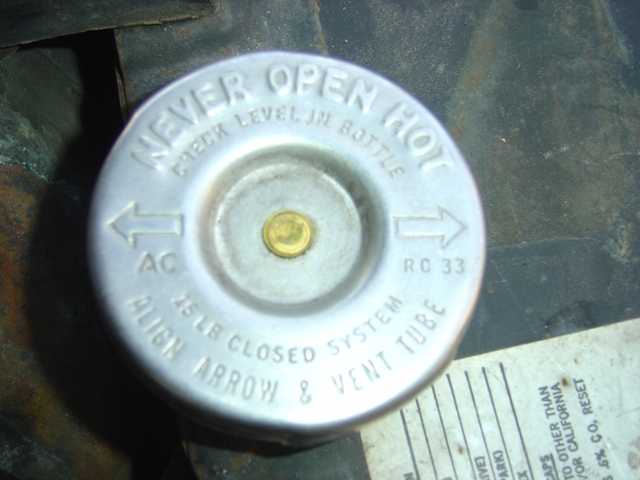
This is an original AC style cap. While I can't prove it's original to the car, it sure looks like it or is the original design from when the overflow tanks were first released in 1973. Neat to see all the "new" instructions for the time of checking the bottle and being a closed system...
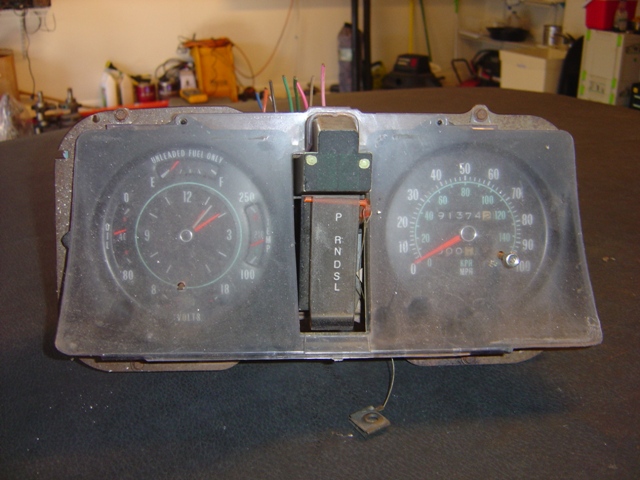
Dug out my spare set of rally gauges! I know they're 1975-1976 based on the font, but the speedometer from my existing car will go in just fine. Just needs to be cleaned up.
Not too bad for a days work. Pulling seized up spark plugs and cleaning them up takes a lot of effort! The engine now idles smoothly, doesn't backfire through the carb or pop out the exhaust, and you can stand right up at the tail pipes and it doesn't burn your eyes. Next is to change oil, replace points, condensor, cap, rotor, wires, and spark plugs and then drive it everywhere!
Return to 1973 Grand Safari
Last updated January 19th, 2015