Radio Install - Part 2 - 09/13/2015
Well, now that the bracketry is done and the radio is ready to go, time to finish it up and install it!
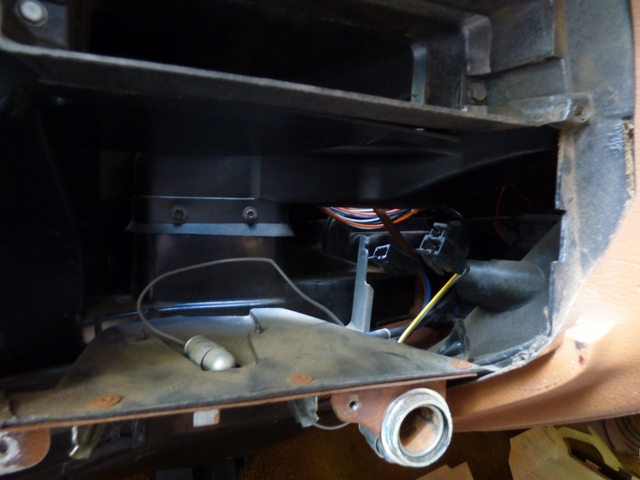
Old radio is removed. Rear speaker plug is the blue and brown wire one, yellow and grey wire plug is the +12V switched and illumination. Ground is accomplished via the bracket standing up, which doubles as a mounting point to hold the radio up.
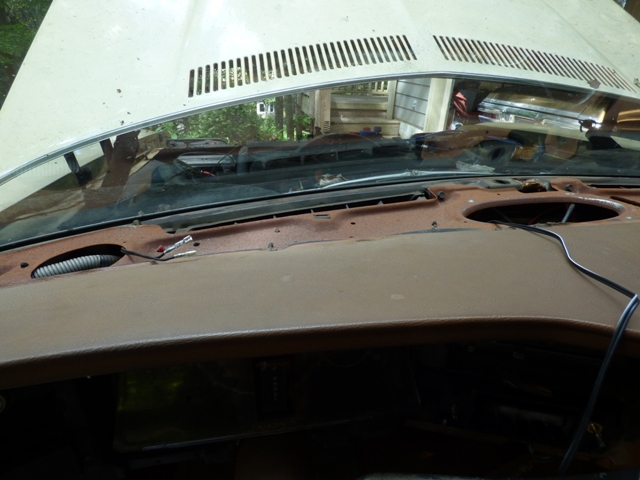
Front speaker wiring is beginning. These cars came with either a 4x10 in the center or 2x 3.5" in either end. The dash plate was the same regardless of what your car came with, so it's easy enough to add them. Problem is until recently no one made a shallow 3.5" speaker. RetroSound makes a 1.5" deep one with tweeter that supposedly has full sound range. It fits (I tested on the '74 dash when it was out of the car) so it should just be a matter of swapping over the single speaker dash plate for a dual one.
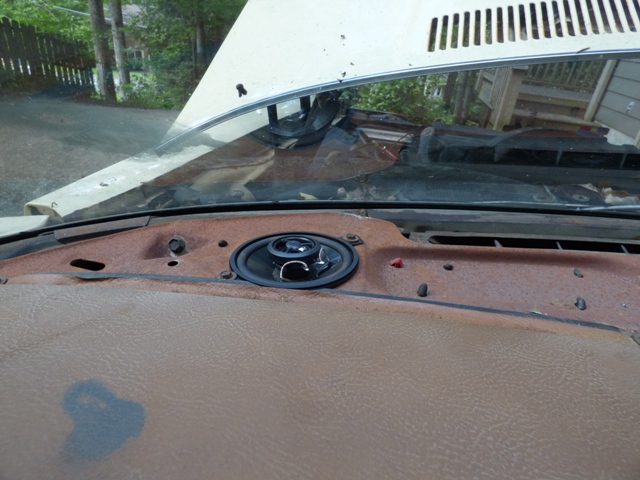
Front speaker mounts nice and flush.
Doing the same for the passenger side front speaker.
Passenger speaker mounts nice and flush as well.
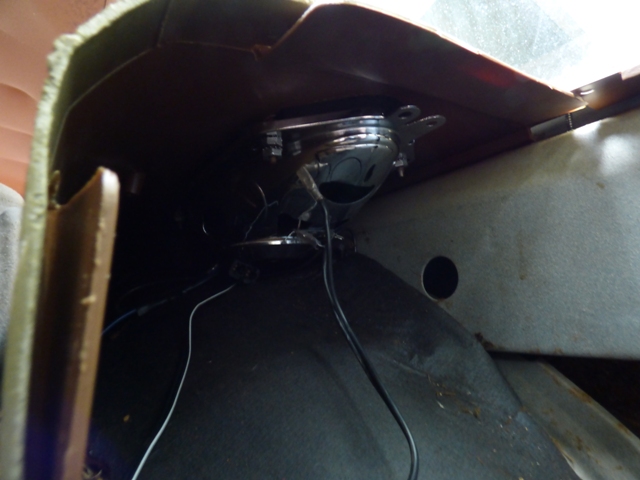
Rear 4x10 dual coil is installed. Problem here is that glide-away wagons of this era for Pontiacs I cannot verify ever came with 2 rear speakers. I've seen the occasional Buick and Olds that did, so I pulled the plastic apart on my '74 to inspect what was behind it. Turns out the metal on the gas tank side is very very close to the plastic, like maybe 1" of clearance. No problem if there was a speaker on the market that actually was shallow enough to fit in the space. There isn't, as this RetroSound dual coil speaker is only 1.75" and every other speaker I've seen has been 2.75-3.5" deep and won't work. So I went with the dual coil. Audiophiles everywhere are groaning, but it should deliver decent sound if I get the balances and equalizer sorted out. I'm not running an amp or sub so it's not like it's going to be a massively powerful thumper stereo system anyways.
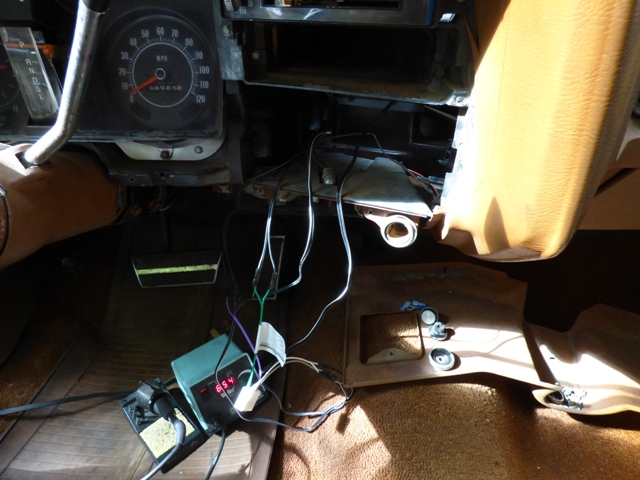
All of the speaker wires are soldered in to the harness. I ran the rear speaker wires under the carpet along the sill plates and behind the heater box. The wires were JUST long enough to reach, we're talking maybe 3-4" long enough (4 door vs. wagon lengths for speakers are much different). The dash should be able to be disassembled and removed without worrying about the speaker wires being in the way now.
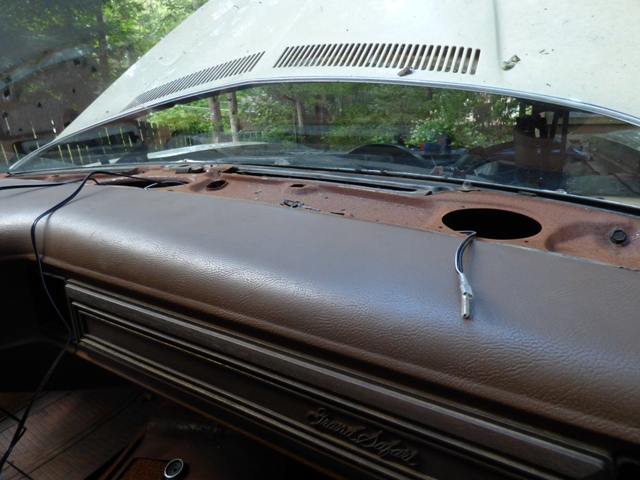
Found the antenna lead, going to use the screw and washer on the bracket as the ground. Also going to use the old radio harness to switch on the radio with the yellow wire so I can put the car in ACC and listen to tunes.
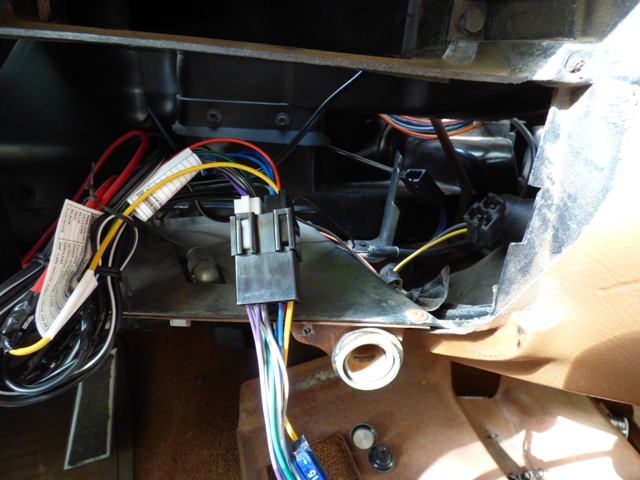
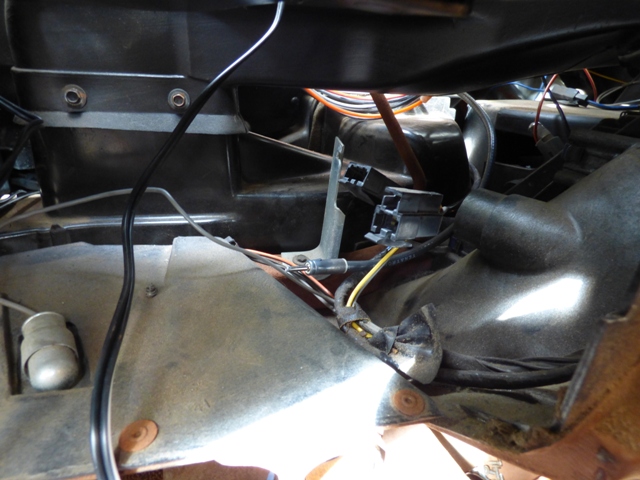
Harness is all done and twist-tied together to keep everything out of the way and from dangling.
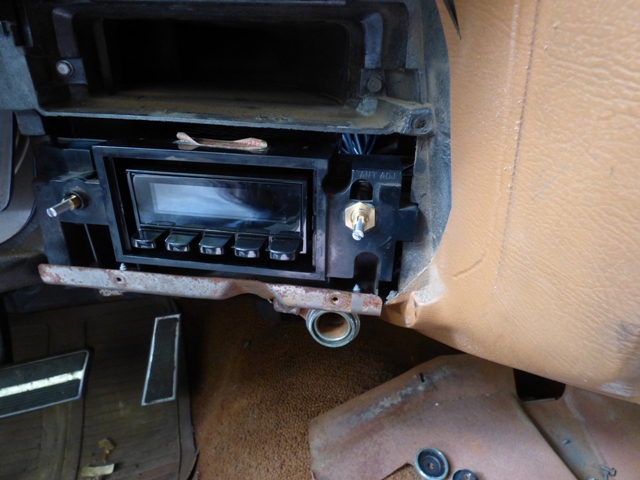
Radio is mounted in place.

Radio is done! The knobs aren't perfect, I had to re-use the original backing knobs as the RetroSound knobs provided aren't deep enough to go through the holes in the woodgrain plate, but the factory front knobs don't mount the same way as the RetroSound knobs do, so I had to use the new ones for the 2 fronts. It's an interesting mix and doesn't clash TOO horribly.
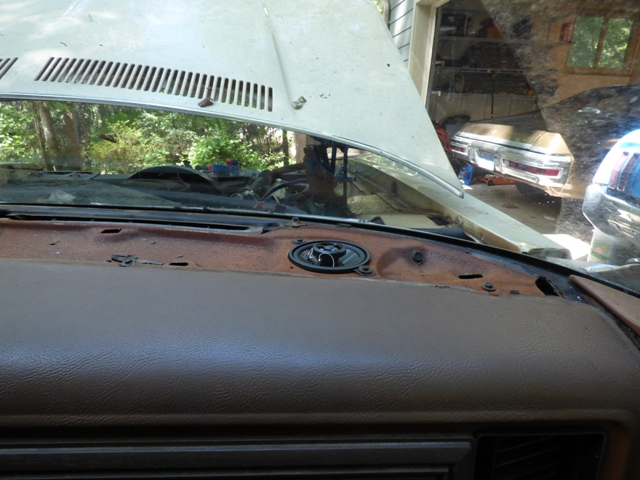
New dual speaker dash plate is installed. I know it's still green and not brown, I have to find the right paint to change the color over.
Where the plate is missing paint it almost looks like the right color with the surface rust...
Well that was good! A little bit of work but it turned out great. Sounds awesome too. I have to get 2 extra long iPod\iPhone cables so I can hook up my phone and iPod to it and play through. I also have Bluetooth audio so I can stream my phone via that, or just talk to someone on the phone while driving! Being a responsible hands-free driver and all that...
Return to 1973 Grand Safari
Last updated September 13th, 2015