Front Suspension Rebuild - Part 1 - 04/16/2017
Driving a car with a worn suspension is always an adventure, you never know exactly what noise you're going to hear or where the car is going to go in response to steering input. After hearing some metal on metal grinding over the winter, I decided to put the car in storage and drive it sparingly as it was starting to really wander and chew up front tires due to non-existent upper control arm bushing rubber. Finally waiting for a warm day to begin...
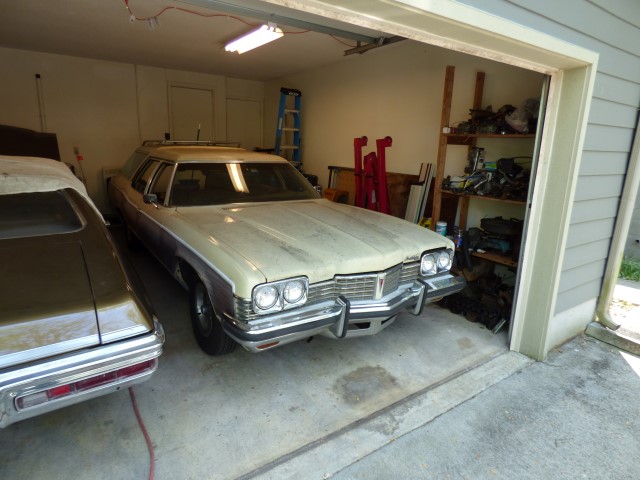
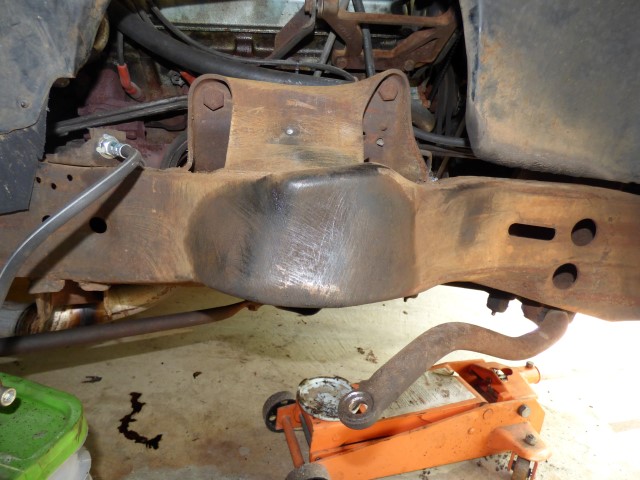
Begin... at the beginning of course! Not the roomiest working space, but it at least keeps me out of the rain.
Bad rubber bushings. These are original to the car and were undersized to begin with. All big cars I've ever seen wear these out quickly and they should be done roughly every 7-10 years or so depending on how much driving and bouncing you do.
Starting on the passenger side, because there's less room to work with both in the car (AC compressor stuff) and outside of it ('72 Lemans in way). I figure if I can make this go well, it'll make the driver's side feel easier.
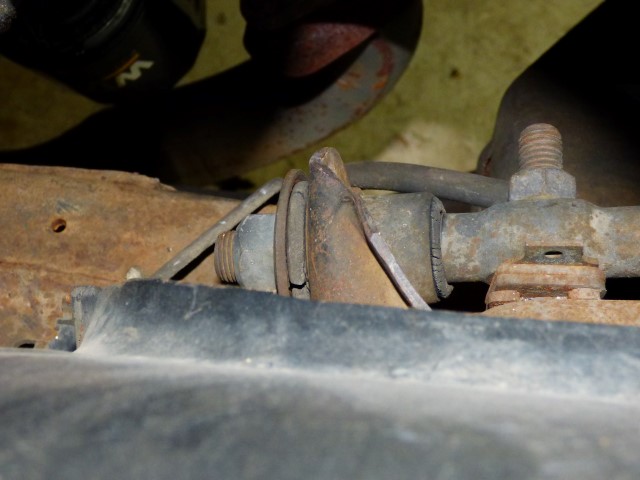
Tie rods for the passenger side have seen better days.
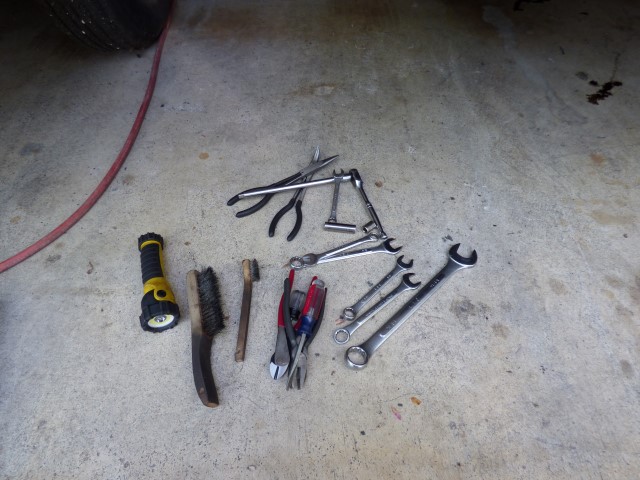
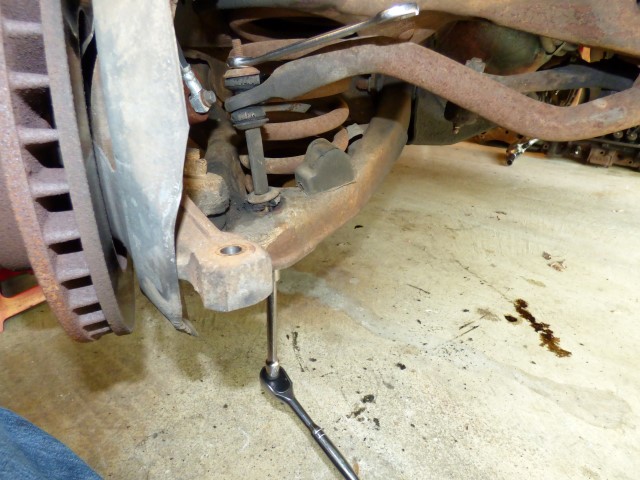
Just a sampling of the tools I know I'll be needing. Suspension work without a lift is pretty much "on the concrete\dirt floor happyfuntimes."
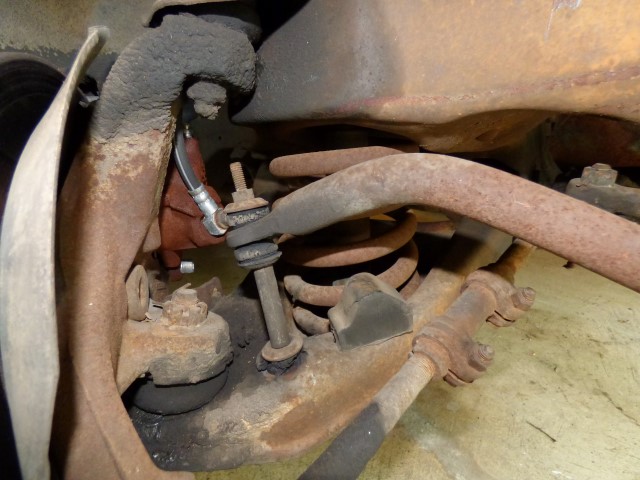
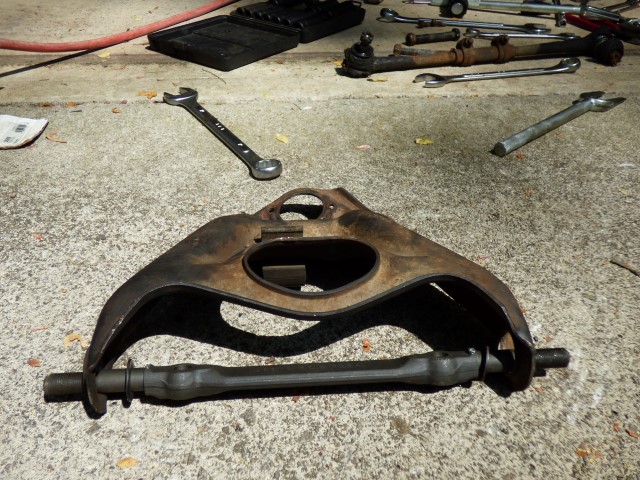
The completely assembled passenger side for reference.

Tie rod puller separates the assembly. Yeah, "nut back on and beat it with a hammer" is also an option, but this is the elegant solution that minimizes smashed parts and smashed fingers...
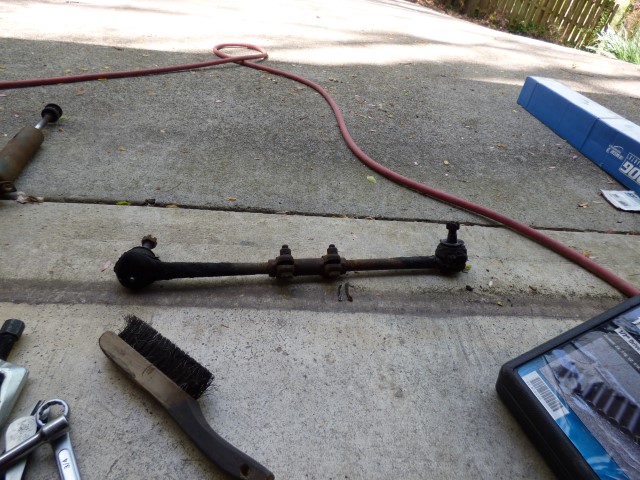
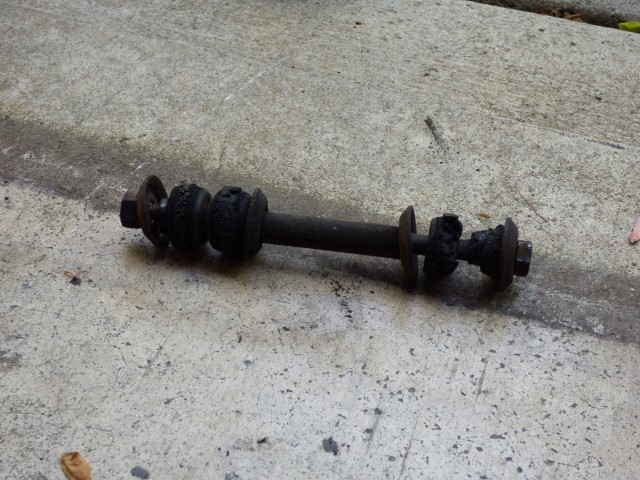
Old passenger side tie rod assembly removed. Kept for reference when the new ones are made up.
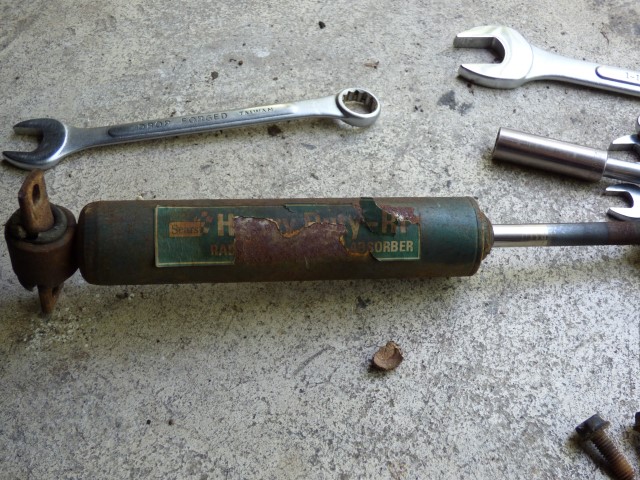
I love seeing vintage parts like this. Sears "Heavy Duty Radial" shock absorber... It has NO life left in it at all...
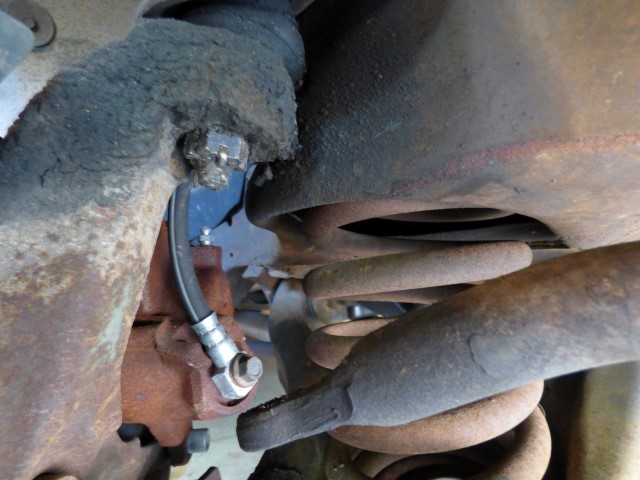
Stabilizer bar removal.
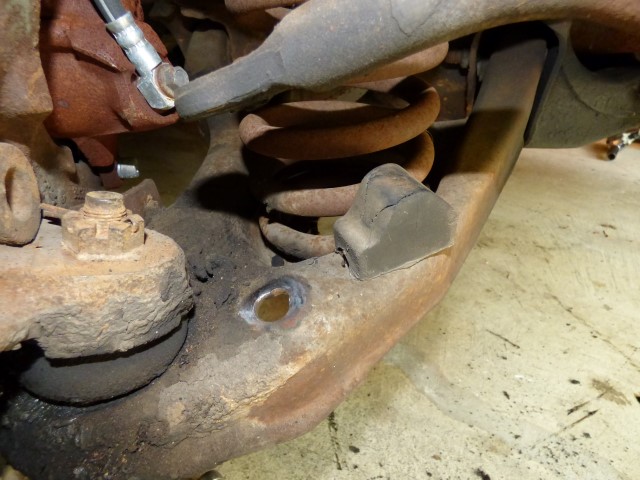
Oops. Previous owners let it go too long and it egged out. Fortunately this should be ok as the rubber part should take up the slack and keep it in place...
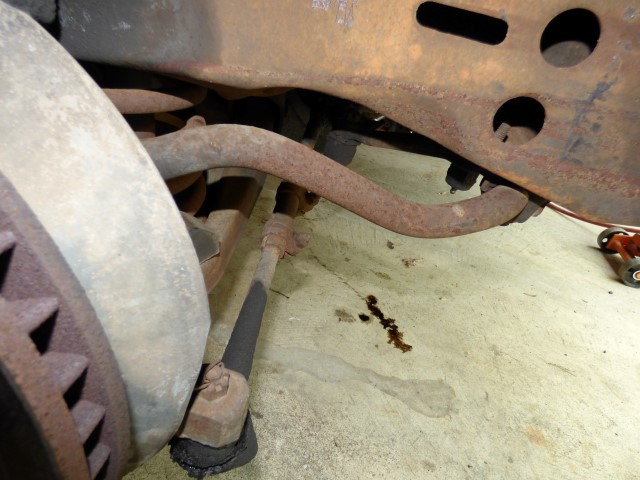
Stabilizer bar removed. Not much left on the bottom.
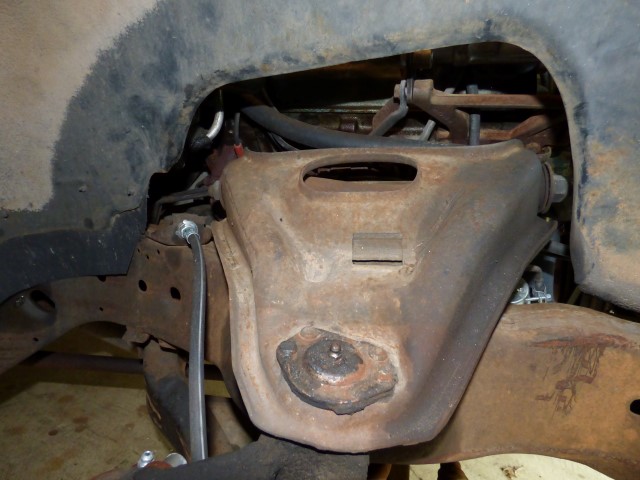
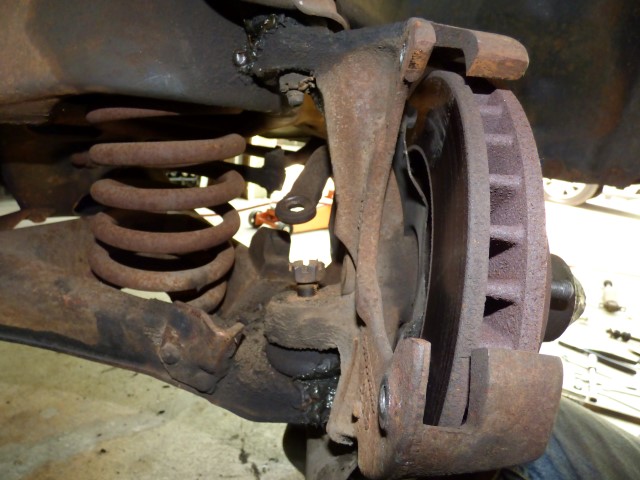
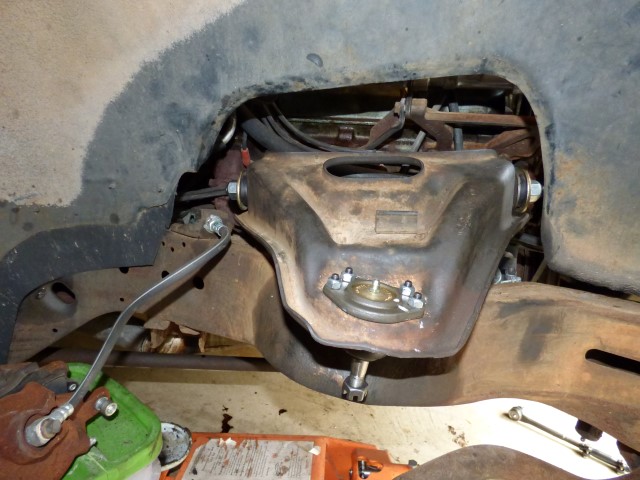
Upper ball joint is all shiny because it was completely covered in grease that was covered in dirt that hardened up. I chipped it off and it looks all pretty and factory new (on this side).
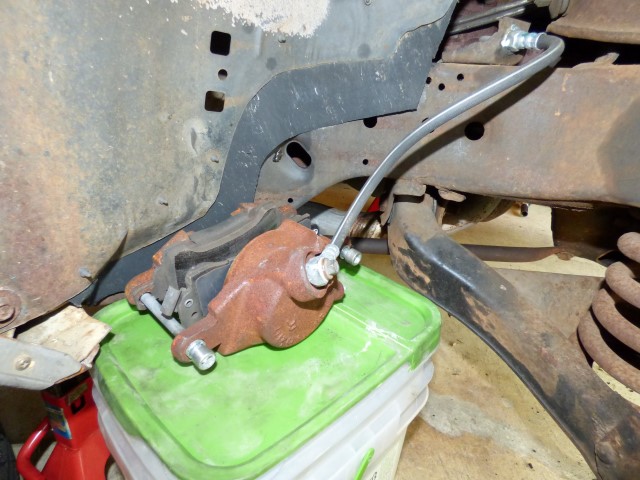
Caliper removed and held out of way.
Loosen up the nut on the lower ball joint.
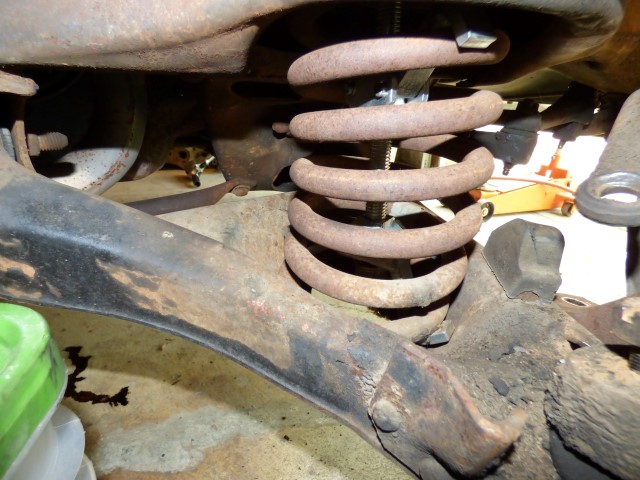
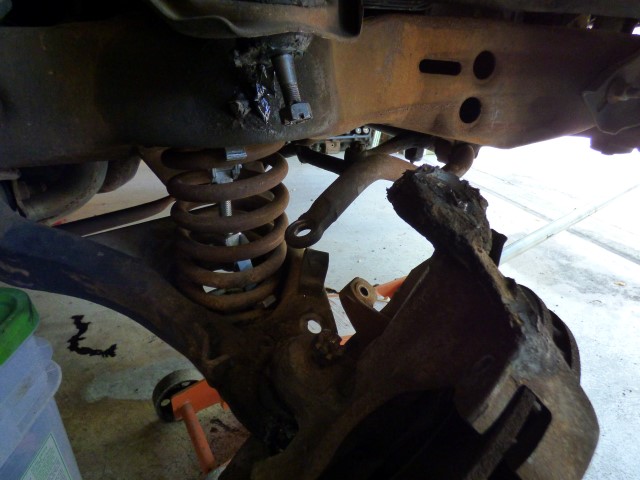
Spring compressor in to make this safer than popping a loaded spring with no protection...
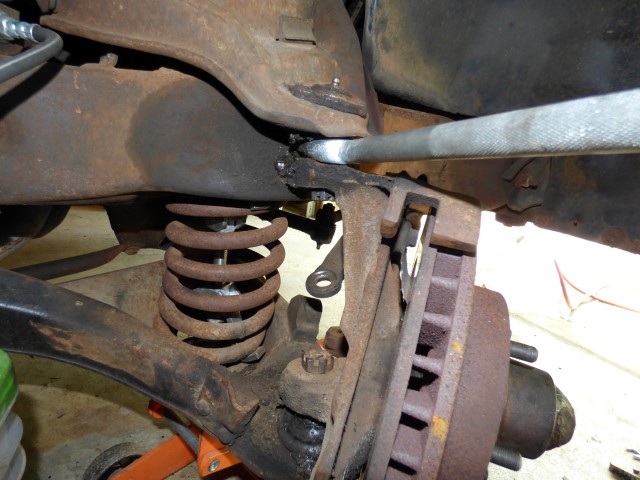
Pop upper ball joint loose with pickle fork. Right tool to make job easier vs. smacking it with a BFH and hoping nothing gets damaged. Note I left the nut on a few threads to prevent it going anywhere, same with floor jack supporting the spring pocket to keep it from going boom...
Pop out the lower ball joint and spindle comes loose. Remove upper nut to verify it all comes out easily, floor jack remains in place.
Spring just falls out without any complaining.
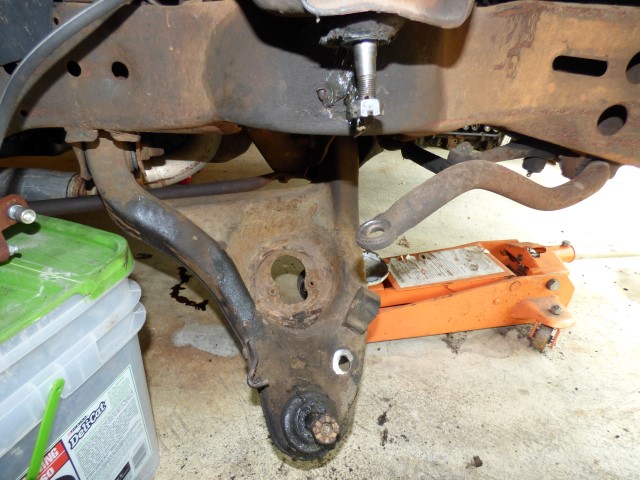
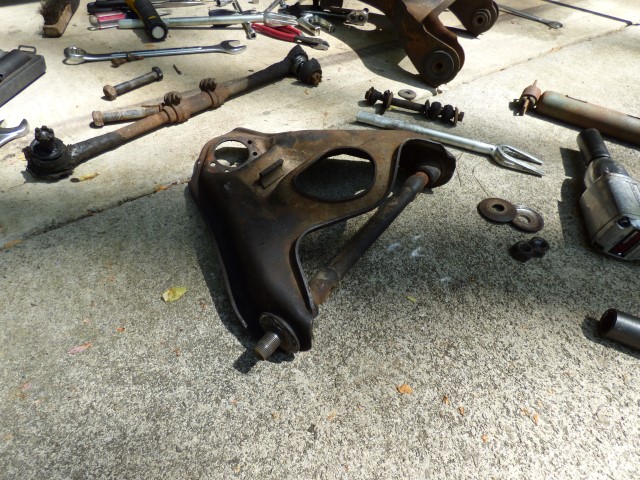
Lower control arm now ready to come out.
![]()
Passenger side shims for reference.

Nuts removed from upper arm mount. The heater hose return bracket required removal to get the front nut off. Tight space and annoying to work here, can only imagine the fun doing this in an F-body
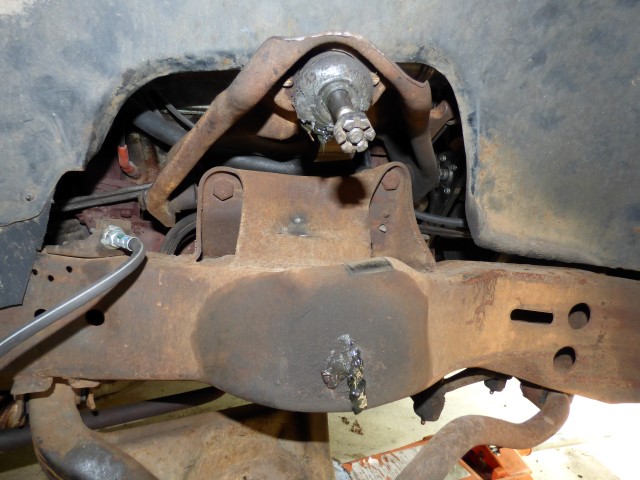
Unload bushing tension on upper arm to get it to rotate.
Passenger side is disassembled from frame.
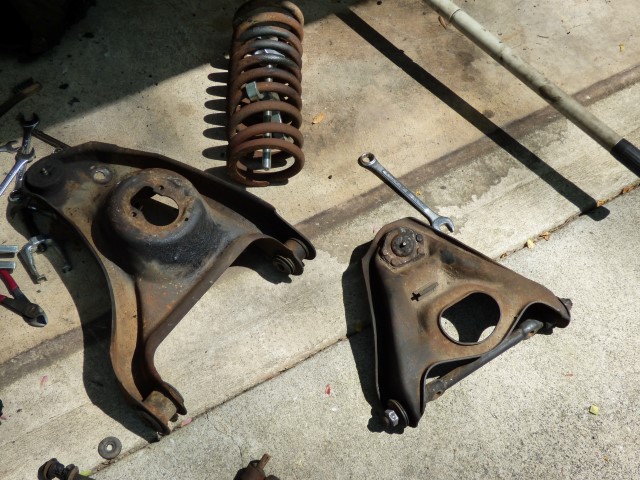
The items to be refurbished.
Upper ball joint rivets ground off and punched out, ball joint removed. It was pretty sloppy despite not feeling too bad on the car. Note lack of rubber on the bushings...
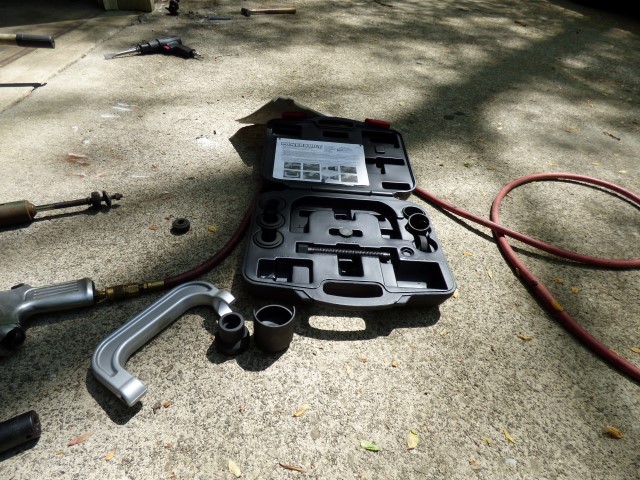
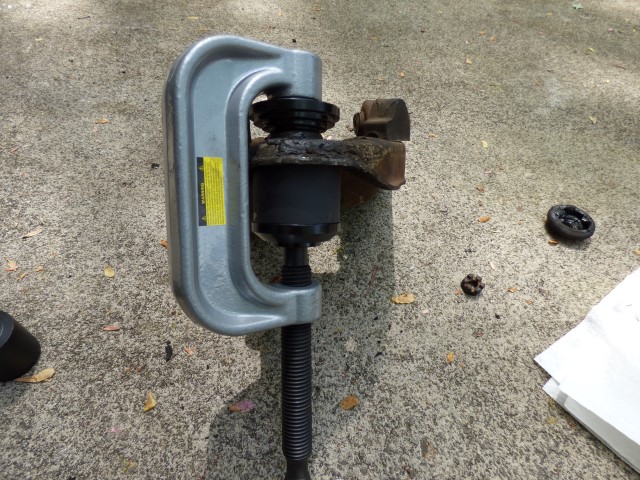
Upper control arm suspension bushing kit. Not absolutely needed as a c-clamp can be a makeshift removal\installer tool, but it sure makes the job easier.
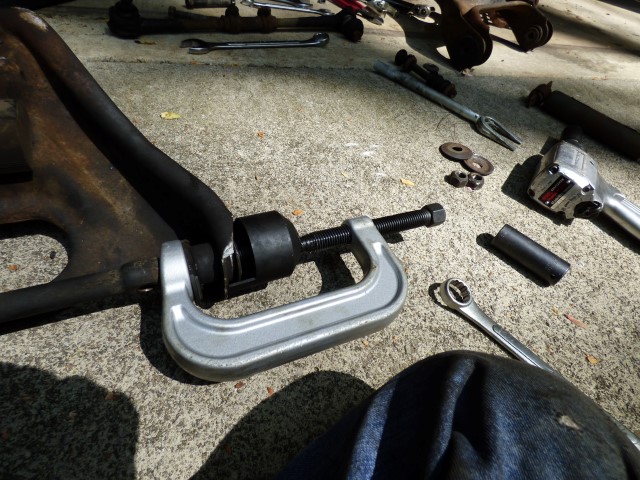
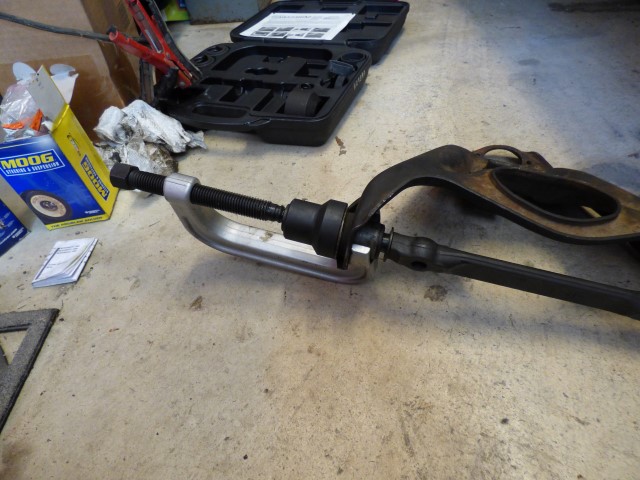
Remover tool fully assembled and ready to go.
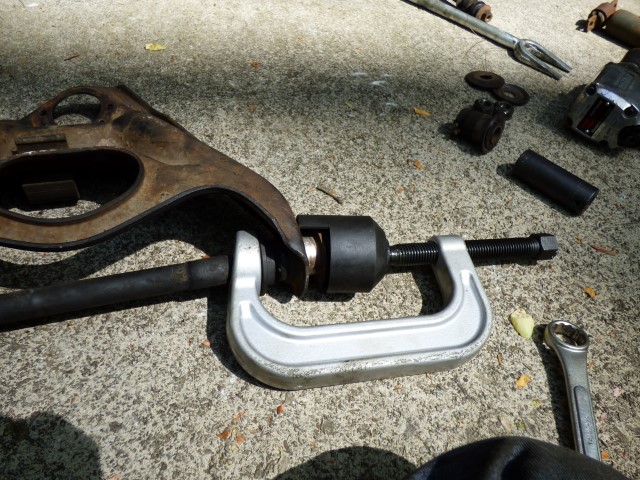
Pops right out without a fight.
![]()
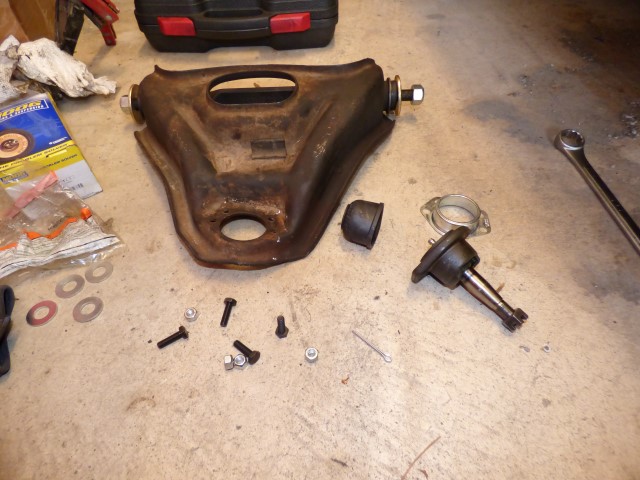
Upper arm is completely disassembled.
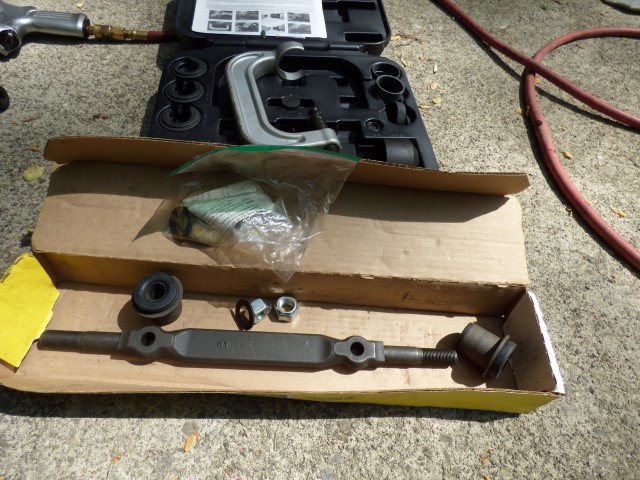
Upper arm new hardware.
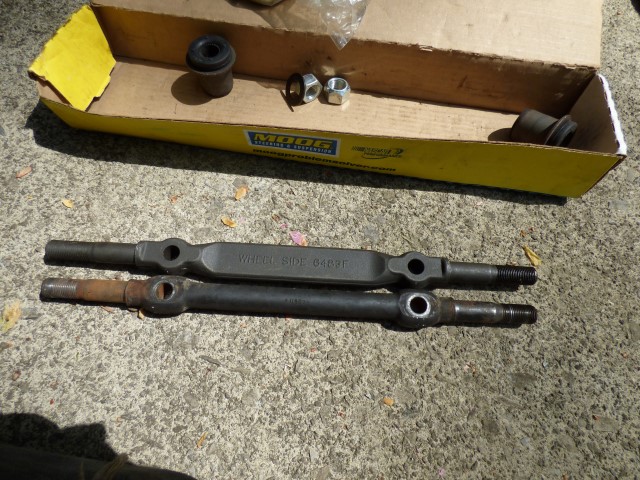
Comparing the hardware. It looks different, but the thickness on both ends is identical.
New bar is installed with serrated washers per instructions.
Pressing the new bushings in.
New upper ball joint ready to install.
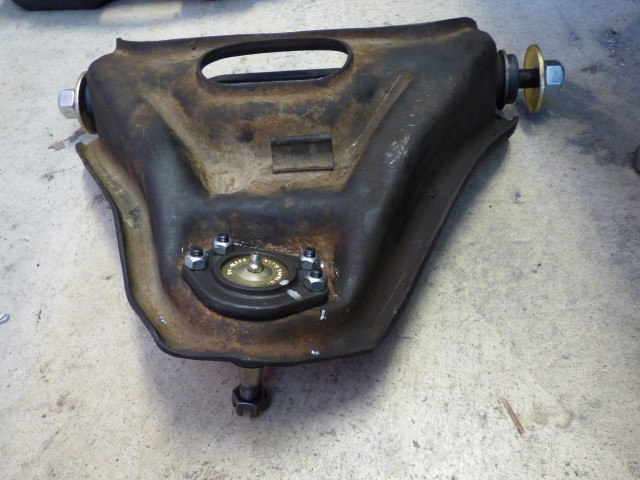
New upper ball joint installed. Did not have to modify the holes to fit the mounting hardware in any way.
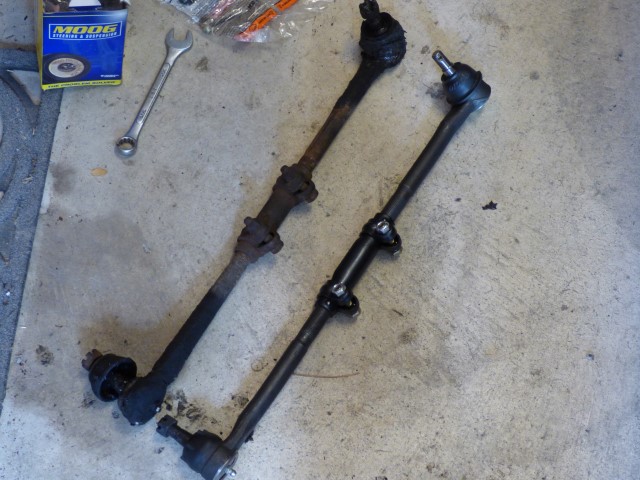
New passenger side tie rod assembled and made to length of original for first pass "good enough" fit. The difference between the 2 is not obvious at first, but the inner is sealed and the outer has a grease zerk fitting on it. The outer is also standard thread and the inner is reverse threaded. Don't be like me and fight it for an hour before you figure that out...
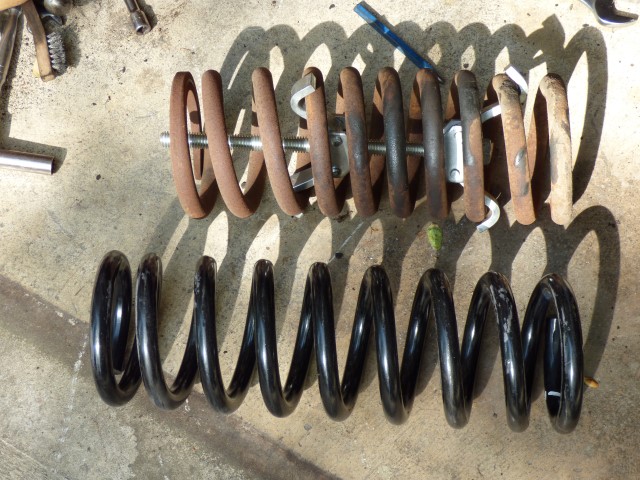
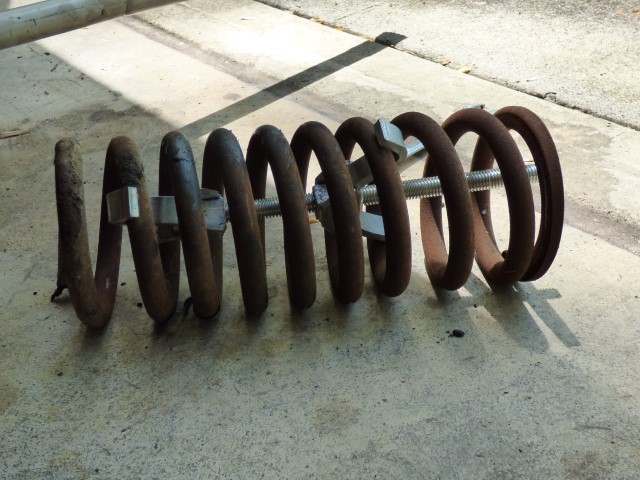
Comparing spring lengths... I have to compress the spring a minimum of 3" to stand a chance of getting the stupid thing back in. It's going to fight me, I just know it.

Upper control arm goes in.
Upper arm looks good. I forgot to paint it. Oops. I was tired... Debating masking the new hardware off and just rattle can'ing it and calling it done. If I blindfold myself I'm sure I'll make it factory original...
Pressing out the lower ball joint. The instructions for the kit specifically says this is exactly how it's supposed to go, but I'm not sure I believe them. It absolutely did not want to budge. I was 5 hours into the job at this point so I called it quits for the day.
This was a VERY physically intensive job. Five hours in and I was wiped out. Will resume later. Much respect to the guys who do this for a living. This is also why changing just balljoints is typically a $600-700 job, and doing bushings and balljoints is a $1100-1300 job these days...
Return to 1973 Grand Safari
Last updated April 16th, 2017