Front Suspension Rebuild - Part 2 - 05/13/2017
The continuing saga of pulling apart a 45 year old suspension to get it back into top shape continues. This has taken a bit of time over the last month, so not all of the work happened on one day.
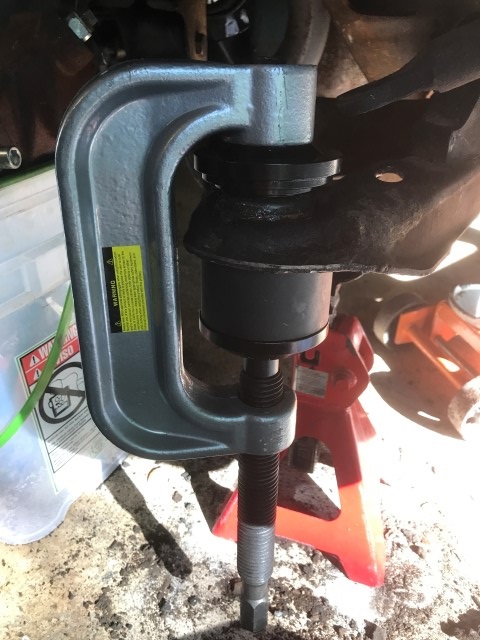
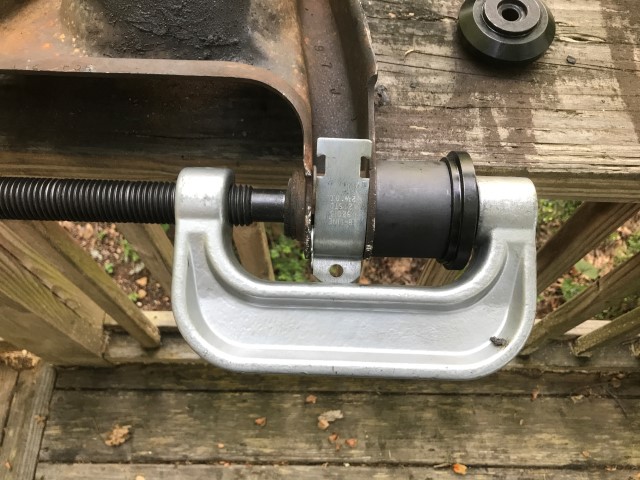
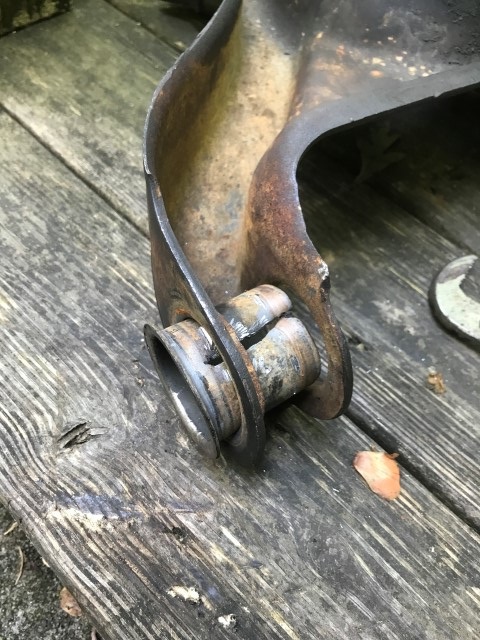
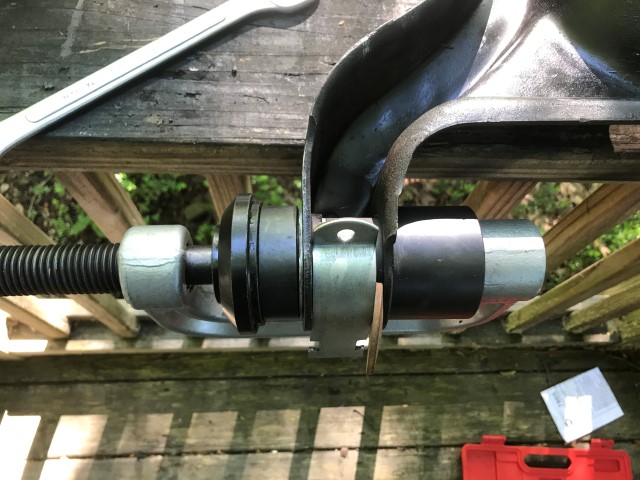
Pressing out the ball joint was proving to be a no-starter on the concrete by itself, so I re-mounted it on the car frame. Ball joint is moving... slowly but surely. LOTS of slow and steady cranking.
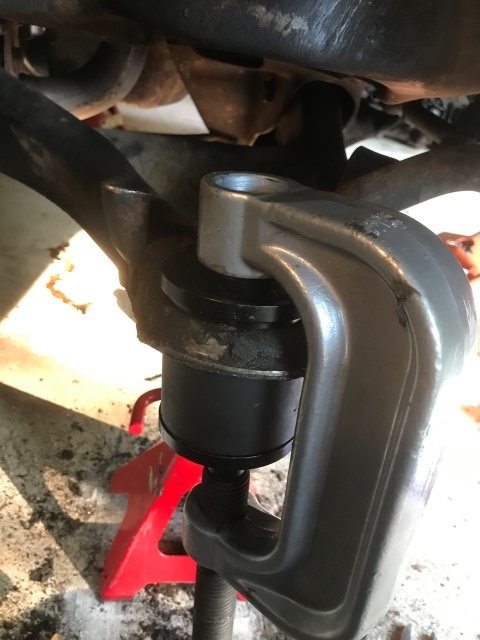
And it finally cracks free.
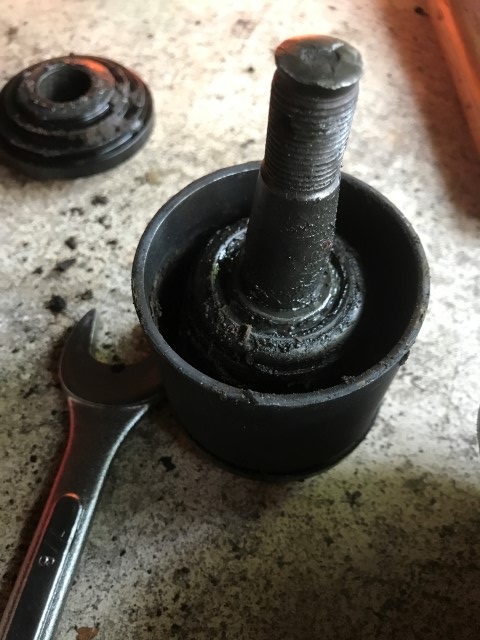
And it's out!
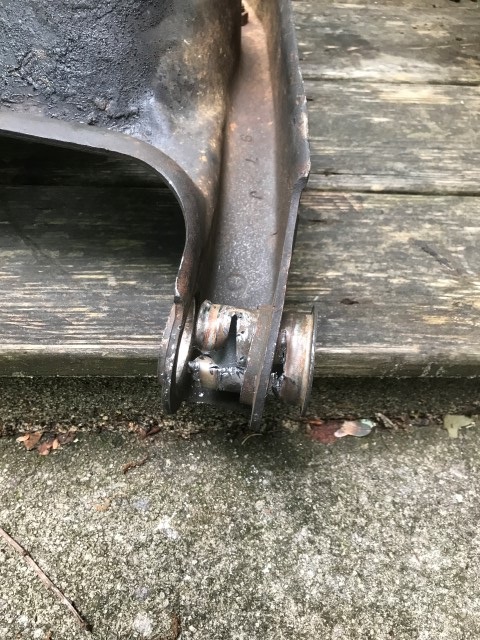
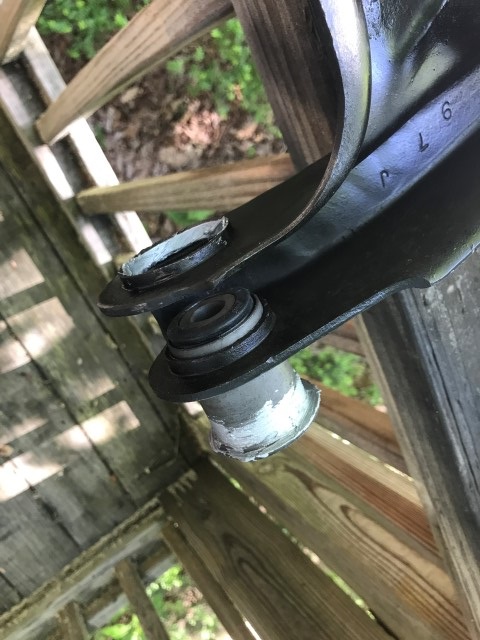
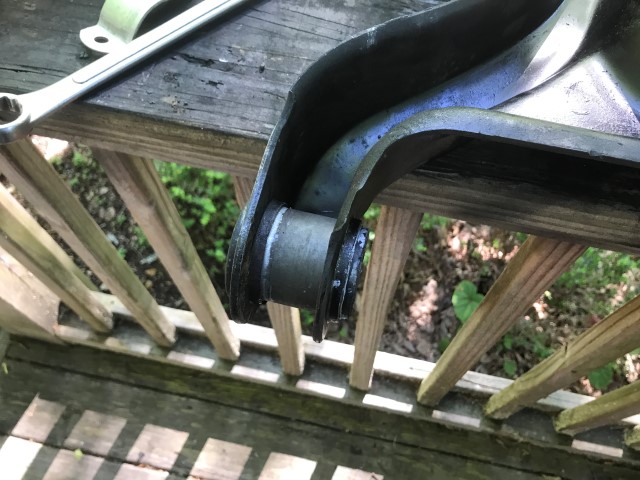
Lots of caked on mud and grease. Redneck rust proofing!
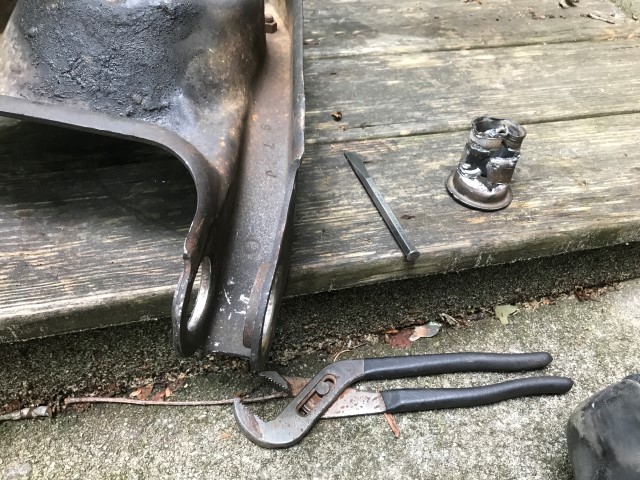
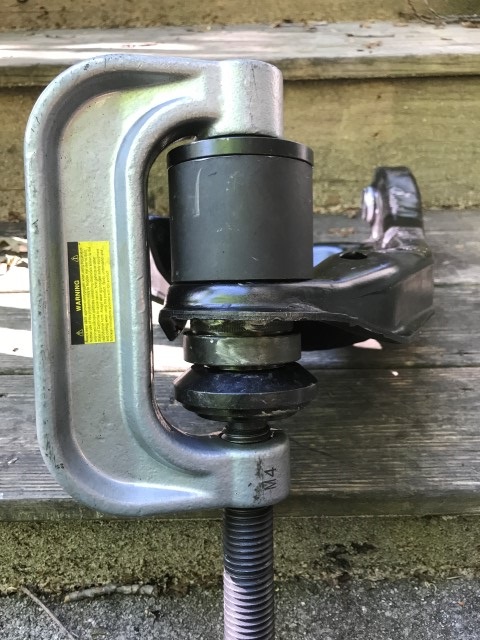
So... to get the lower control arm bushings out, creativity is needed. In order to keep the legs of arm from collapsing, a spacer of some kind is needed when pressing the bushings in or out. There used to be a Kent-Moore tool specifically for doing these types of bushings that GM specified, but they haven't made or sold that tool in probably 30 years now and I am not paying $500 for the spacers on the off chance a used set comes up for sale. I needed something to be 1.38" wide and curved. I bought some heavy schedule 80 PVC, but it would have involved cutting and grinding to fit. Then I found these conduit straps at Home Depot for all of $2/ea. This particular piece is a 2 3/8" long by 1 1/4" wide, almost exactly what is needed! So I jammed them in between the two lips of the arm and using an old body washer, it's a perfect (almost) fit! I also used my ball joint press kit as it has a lot of spacers for things like this. Press out the inner metal sleeve and rubber bushing...
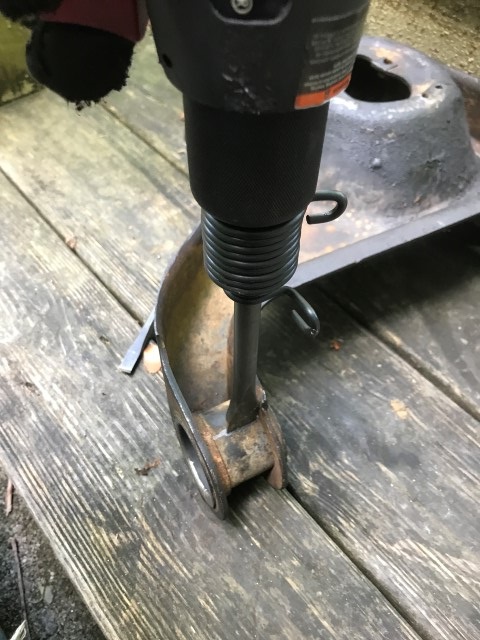
After the rubber is removed, the outer shell has to come out. Not much to press it on and off with, so the recommended thing here is to get a chisel and hammer it in from the middle, collapsing it in on itself.
Lower front bushing is now completely removed. This took a LOT longer than I thought it would...

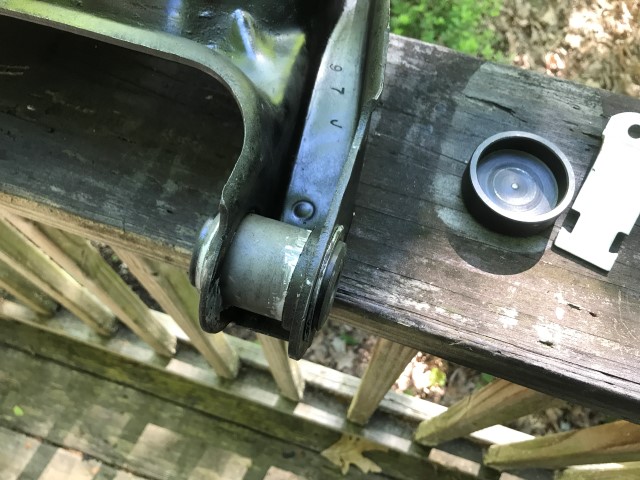
Rear bushing rubber and insert removed.
Air chisel makes short work of old shell.
Rear bushing collapsed and falls right out.

Cleaning off the many years of grime and gunk.
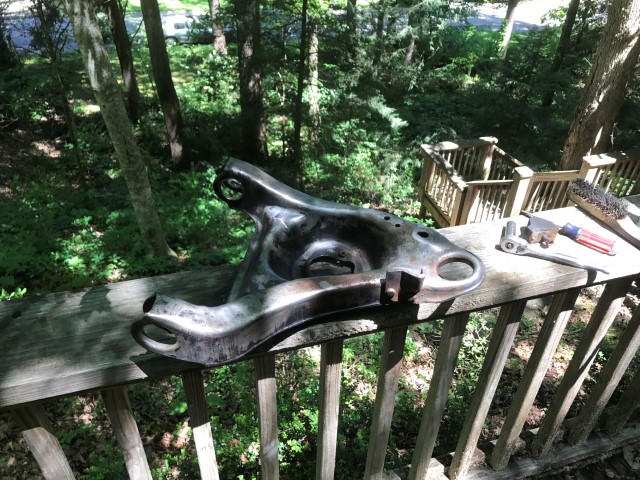
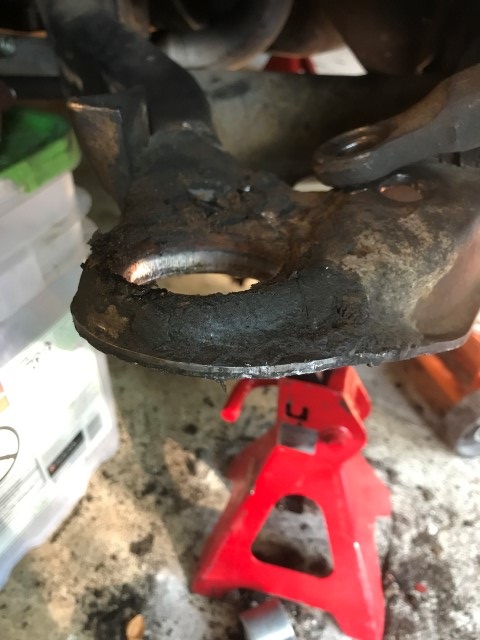
"Redneck rust proofing" is now gone.
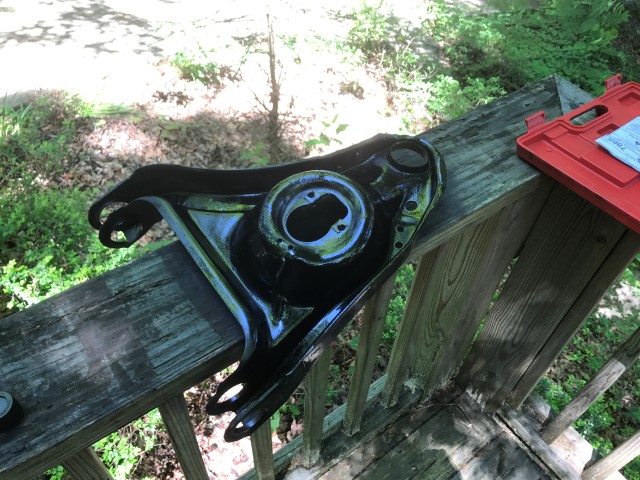
Painting the bottom side to keep it from looking like junk...
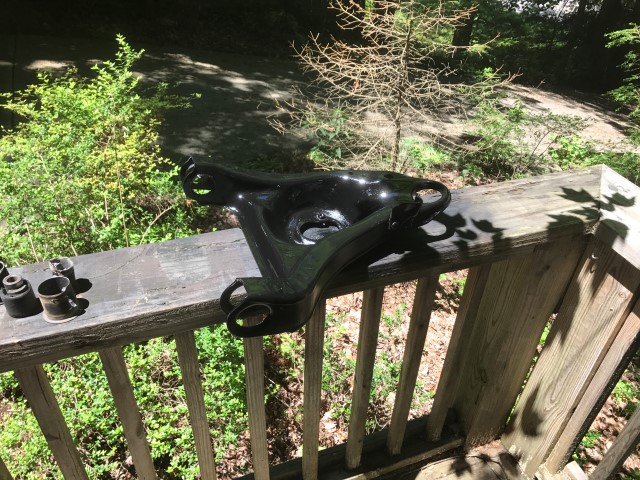
And the rest of it. Time to let it cure for a few hours in the hot sun.
New front bushings are test fit and found to fit fine. A little anti-seize is added to the surface to allow for easier pressing in.

Using a variety of fittings from the ball joint press kit supplement, rig up a jig to press this fitting in and not allow the control arm spacers to collapse...
Lower forward bushing is now completely installed. This went in surprisingly easy. Still had to use the press and crank on it pretty good, but it wasn't overly difficult at all.
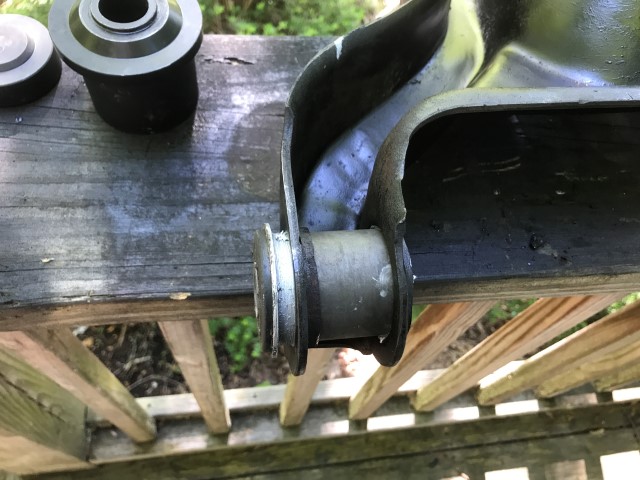
Lower rear bushing test fit with anti-seize on the surfaces for ease of install.
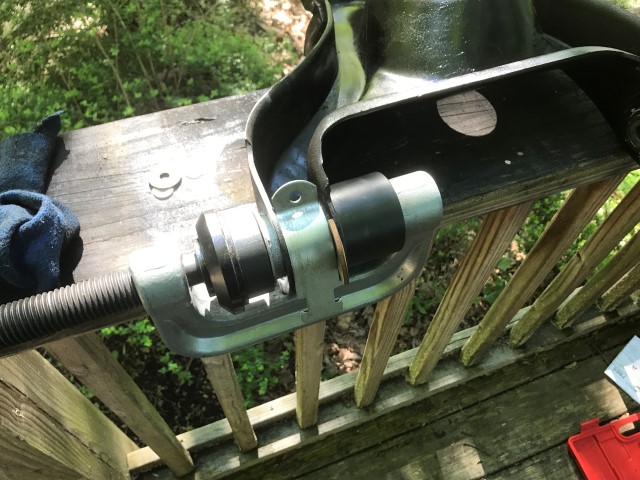
Jig is made up! The observant reader will notice the components to press this one in are different than the previous one as the bushing diameters are different.
A little nail biting as we check the fit as it gets pressed in.
Lower rear bushing is finished. I am amused by how much I worried about this job compared to how easy it was.
Pressing new ball joint in, then it's ready to go back on the car. At this point I was dying, I had to take the stupid press apart and reinstall it 6 times to get the ball joint to go in straight. And it STILL isn't 100% fully seated, there's like 1/16-1/8" left to press in that no matter how much of my weight I throw at it, it doesn't budge.
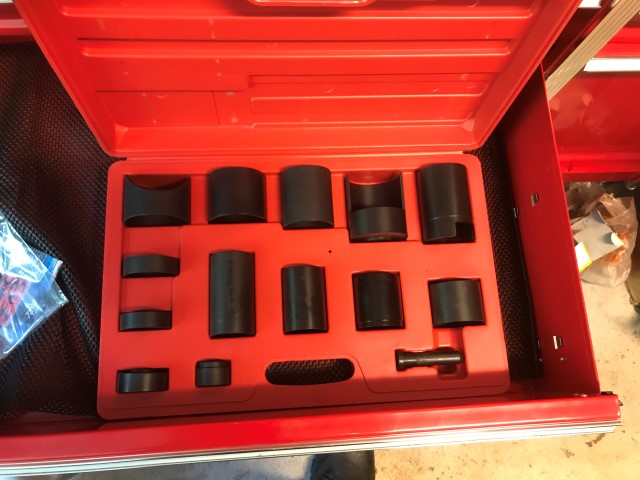
Worth the money: a variety of fittings for a ball joint press. This allows a lot of little goofy configurations to make it easier to press on and off the bushings and ball joints. I'm not 100% certain that the ball joints and bushings on this car could have been done with the single kit contents...
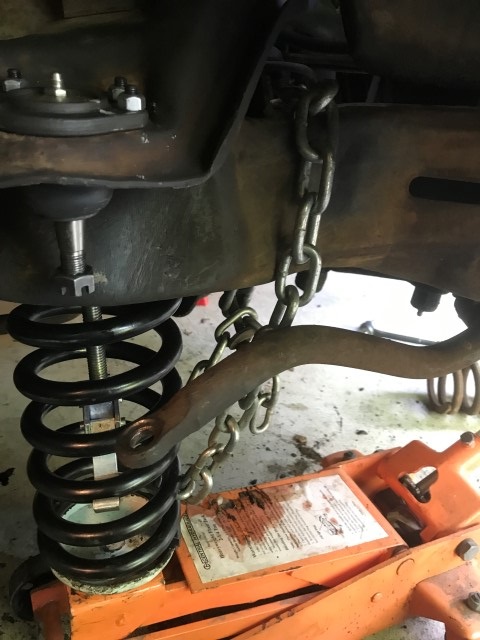
No chances are taken with coil springs by the way, jack and chain are used to ensure it doesn't go anywhere.
Well that was a LONG day of grinding, cleaning, painting, and fighting of presses. Live to fight another day so they say...
Return to 1973 Grand Safari
Last updated May 13th, 2017