Front Suspension Rebuild - Part 6 - 07/15/2017
And the big day has arrived! All of the job is finally going to be finished, right?
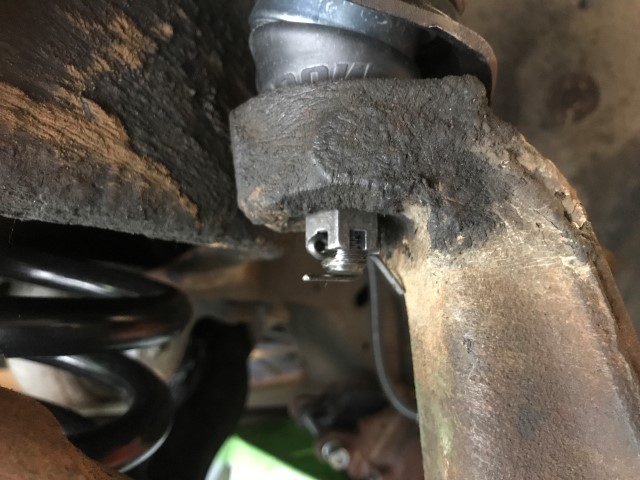
Upper ball joint torqued down and cotter pin installed.
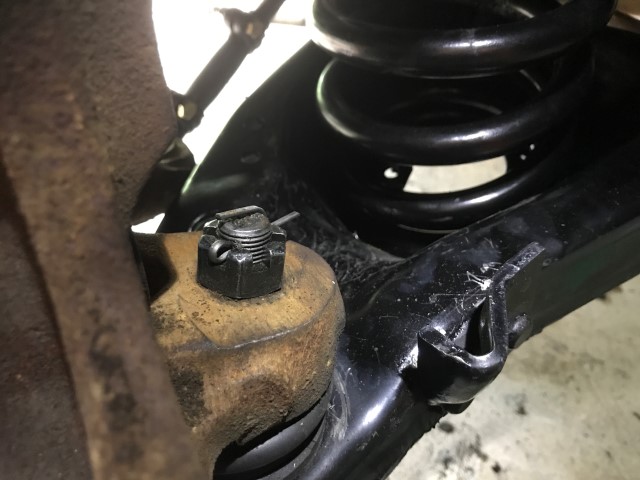
Lower ball joint torqued down and cotter pin installed.
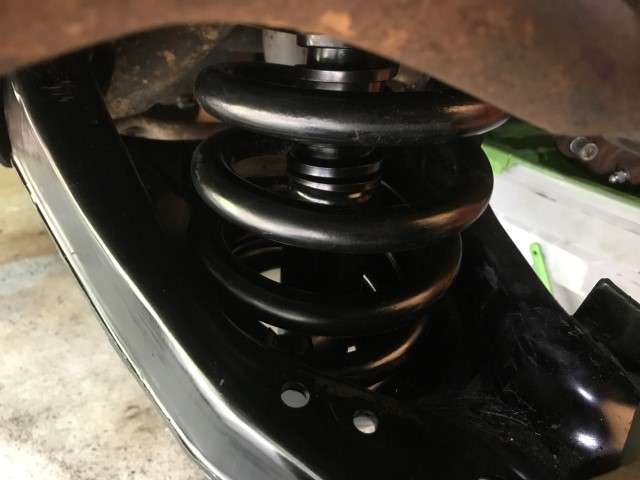
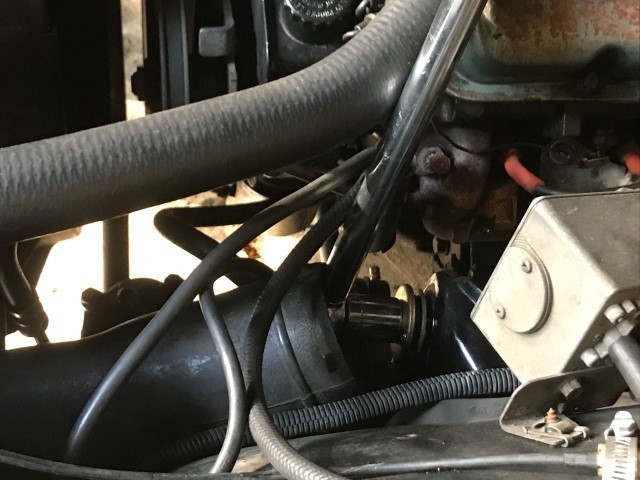
Shock absorber goes in and is mounted.
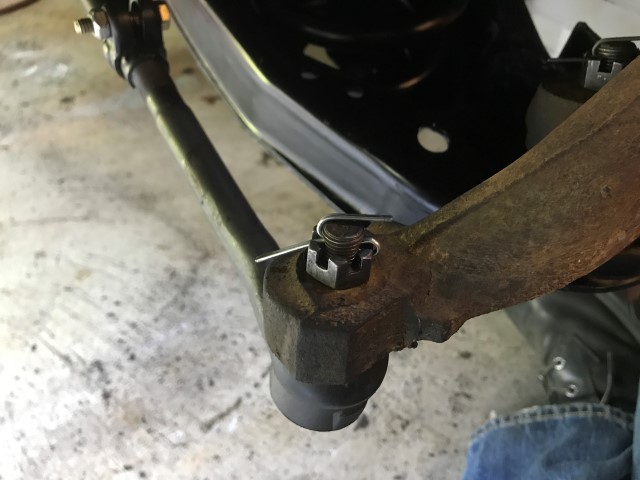
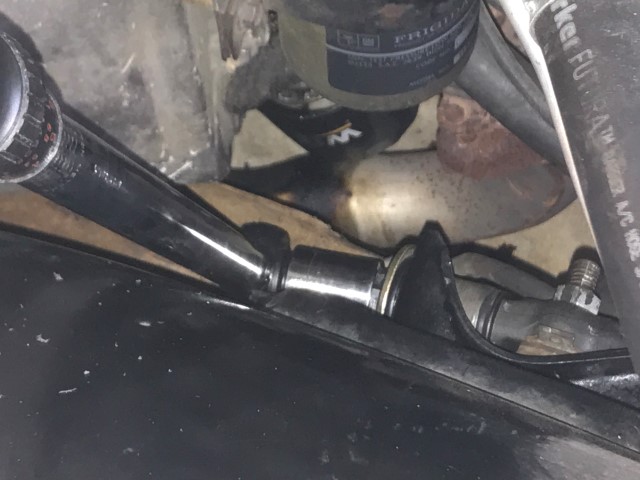
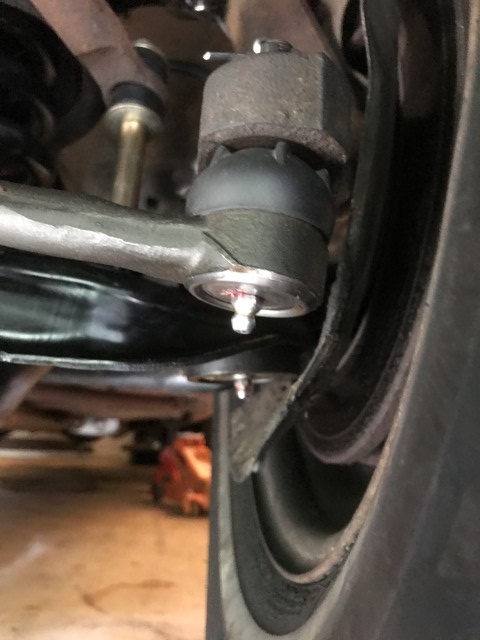
Outer tie rod torqued down and cotter pin installed.
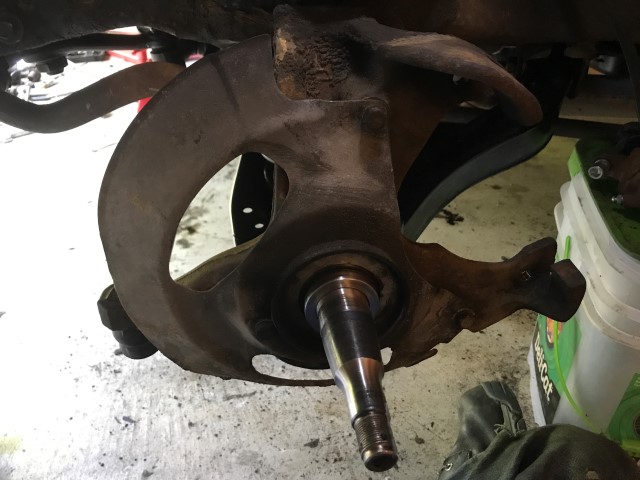
Dust shield is installed on steering knuckle to begin brake install.
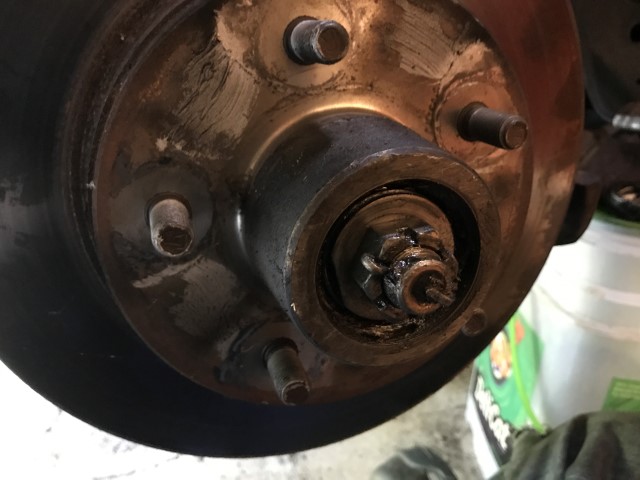
Rotor is installed and tightened down with cotter pin installed.

Driver's brake assembly finished.
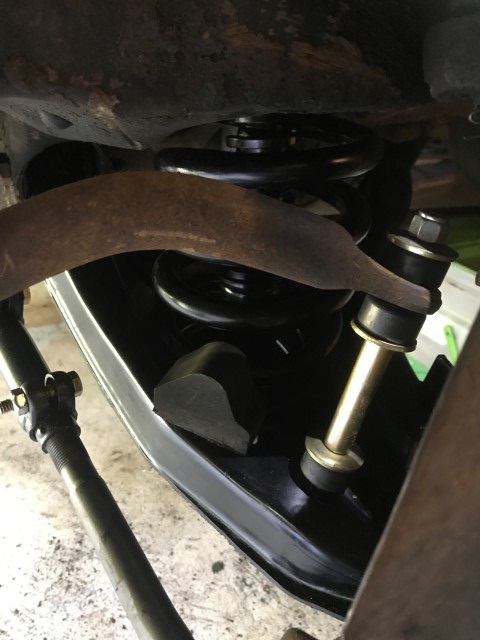
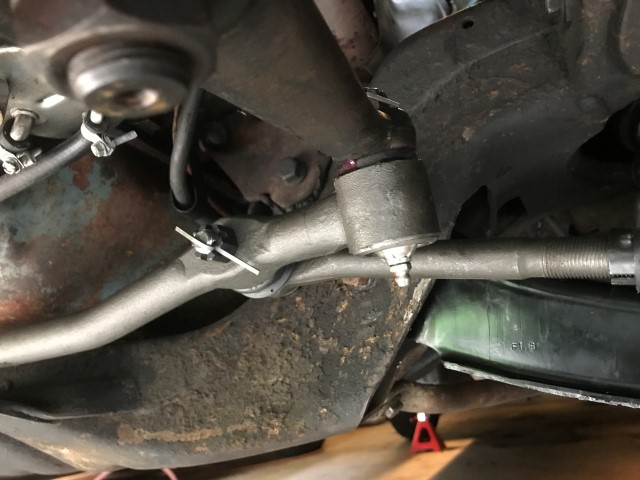
Center link is installed but not tightened down yet as the car is still in the air.
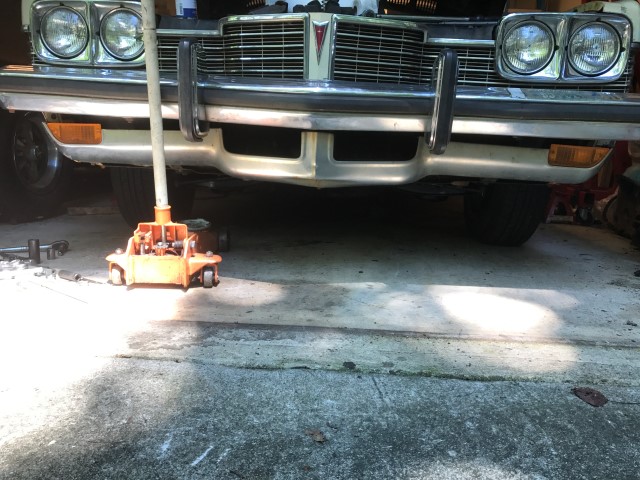
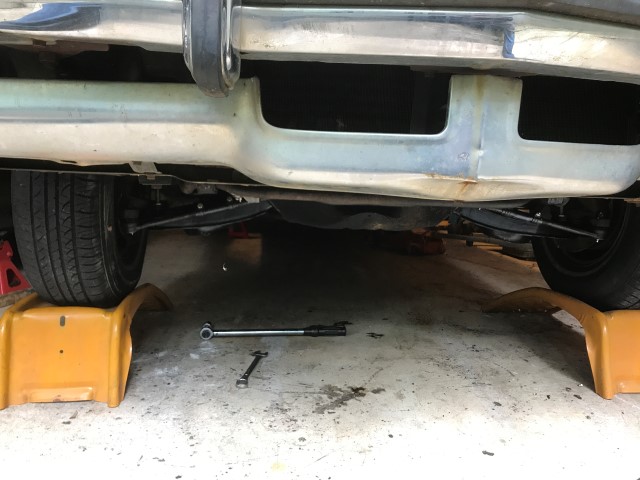
Wheels installed and lug nuts torqued, car lowered onto wheels for the first time in 3 months!
Upper bushings are torqued on the passenger side. This job kind of sucks. Car has to be fully level at curb height, which leaves very little room to reach the rear nuts...
Driver's side bushings are much easier to torque down.
Since I can't reach the lower bushings with the car on the ground due to the station wagon specific frame braces in the way, I had to put the car on ramps and level out the suspension at the rear too.
Now that the lowers are torqued, time to grease this suspension up! One of the zerk fittings broke off and I had to replace it, fortunately I saved all of the old zerk fittings and castle nuts and cotter pins... just in case!
More greasing. All 11 fittings took the grease without too much issue.

Whew. Done. Car on ground ready for a test drive.
Wow. Talk about a LOT of work. Would have gone faster if I hadn't stopped to take pictures or paint all of the suspension parts, but since I was going this far into it, might as well do it all right, right??? Right!! Shakedown test... then next stop, alignment shop!
Return to 1973 Grand Safari
Last updated July 15th, 2017