Weatherstripping Replacement - 08/22/2015
Weatherstripping. An important part of the car that tends to get neglected. You want it because it keeps noise, moisture, and all around "the elements" out of your car. When it's missing you get all kinds of funky behaviors like water running in, general loudness, etc. I decided to replace the weatherstripping on the wagon because it was missing chunks and was blowing in my ears when I drove down the road.
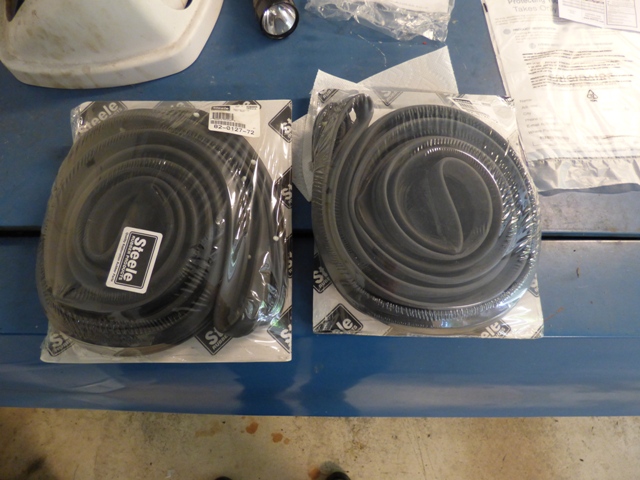
Steele Rubber supplied the molded rubber pieces.
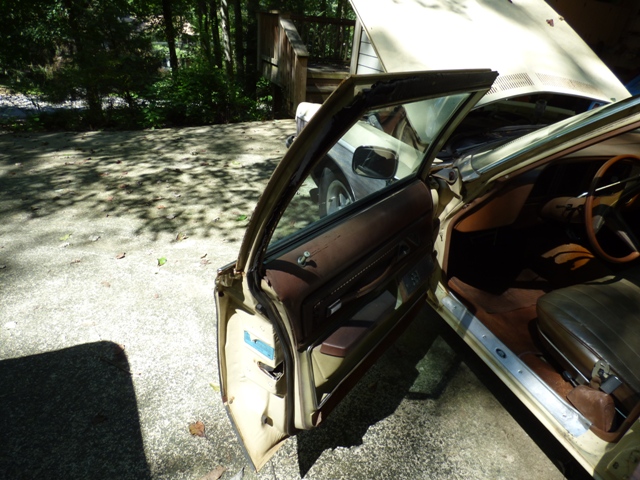
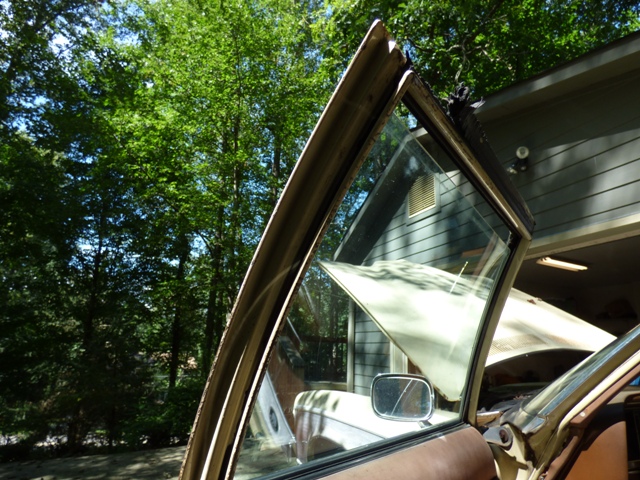
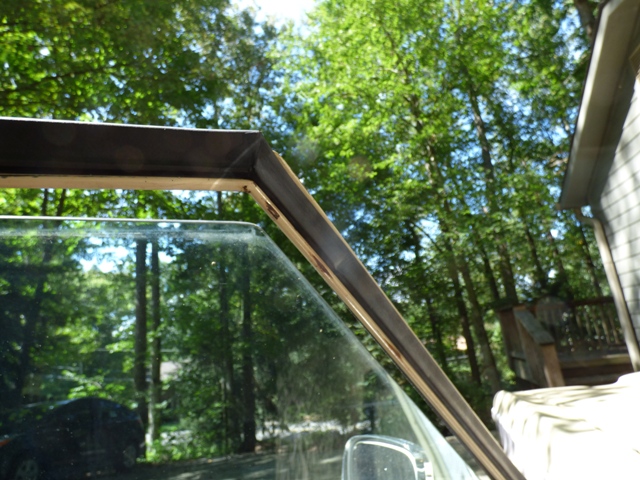
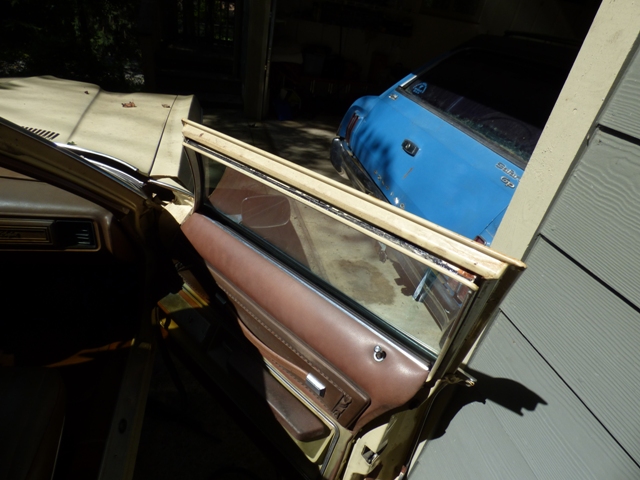
The driver's side front was the worst, a long chunk across the window channel was missing.
Checking out the fit to ensure it's the right one.
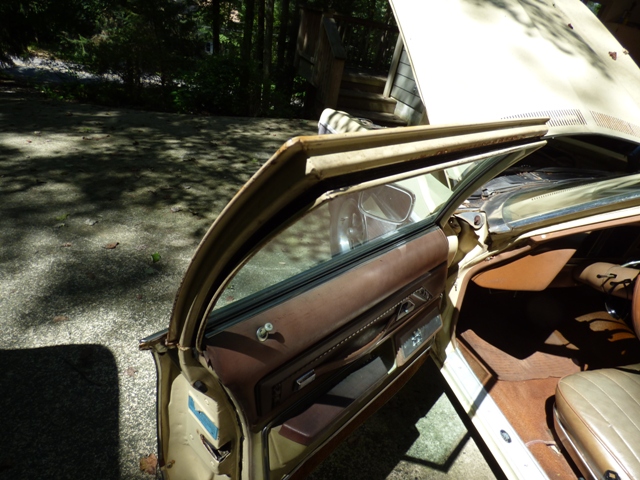
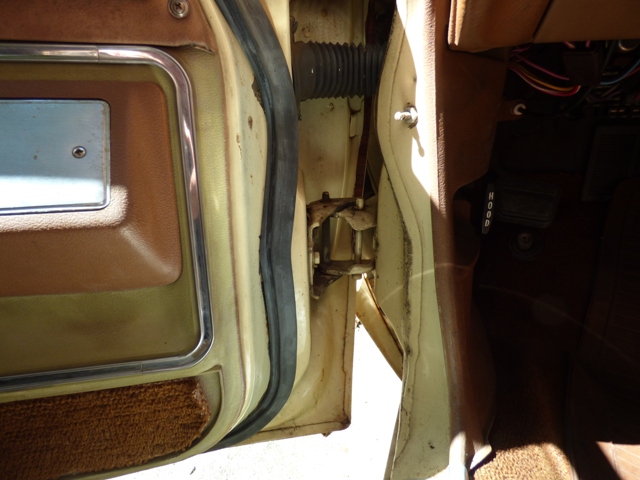
Driver's side gets ripped off. The plastic push tabs all rip out of the rubber and need to be pulled out via pliers. You can see where the old glue was put on.
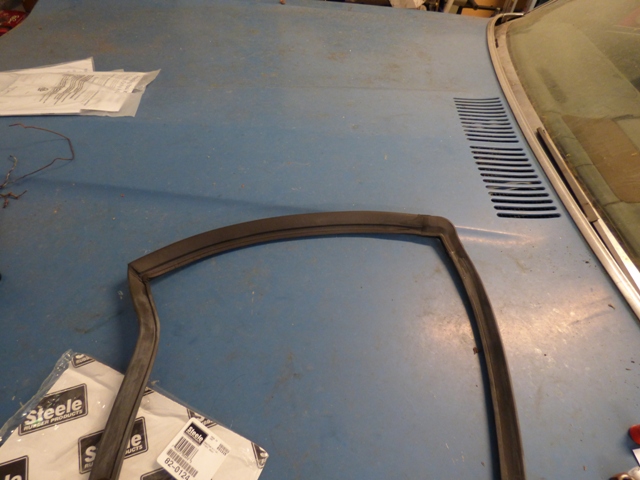
Fortunately the window channels were in decent shape, although some of them had less paint than others... Glue was applied all up and down this channel.
Top channel traps dirt so it was a little dirty.
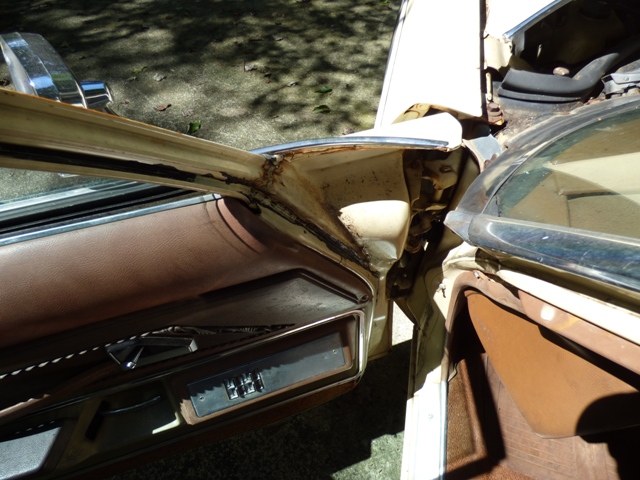
More indications of where glue was applied vs. not. It wasn't applied along the bottom...
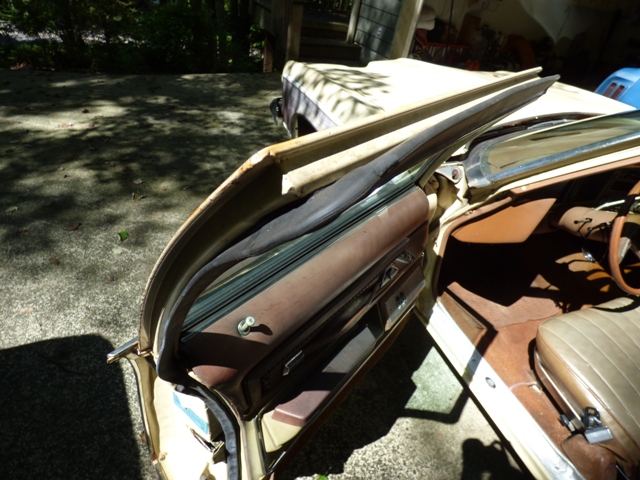
Driver's side gets installed from the top down.
A small screwdriver or plastic popsicle stick will allow you to push the weatherstripping into the channel. I used 3M formula 08008 weatherstripping adhesive. It tacks up quickly and you don't need a lot. After cleaning the channel out naturally!
A few spots along the door needed some adhesive like right here. I suspect that how much adhesive and where it was applied varied from factory to factory and line worker to line worker...
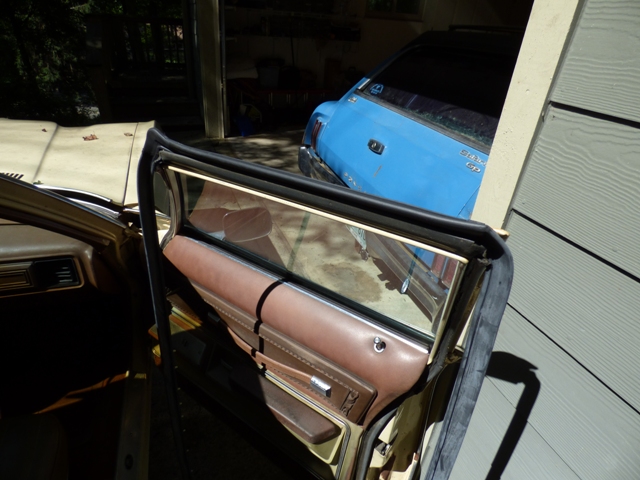
Driver's side is done!
Compare the passenger side new to old to verify we have the right one.
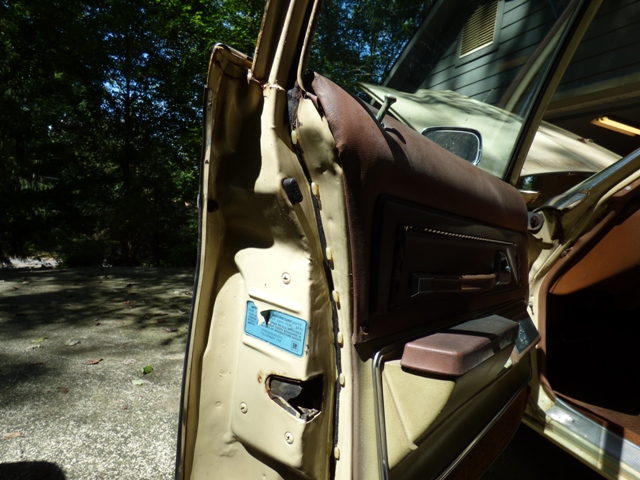
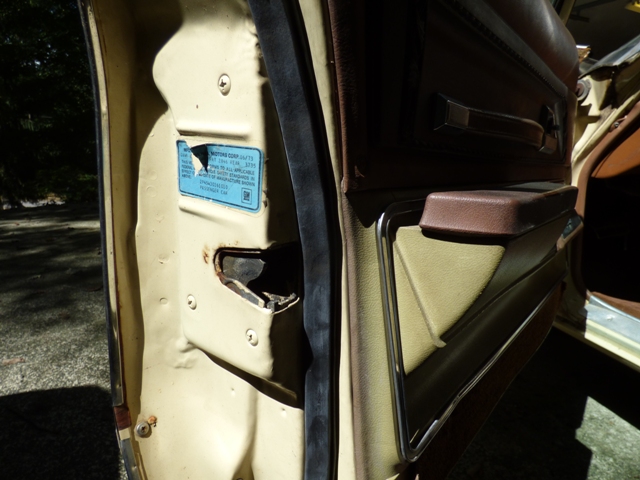
Removed, adhesive can be seen and channels are in good shape.
Weatherstripping gets installed and fit into place.

Keep up the install work. This is also a good chance to clean out the door drains at the bottom of the doors to ensure water won't get trapped inside the doors.
Driver's back side goes in too.
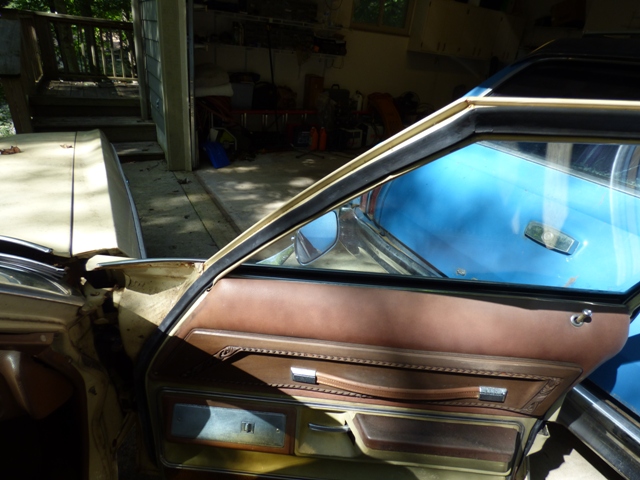
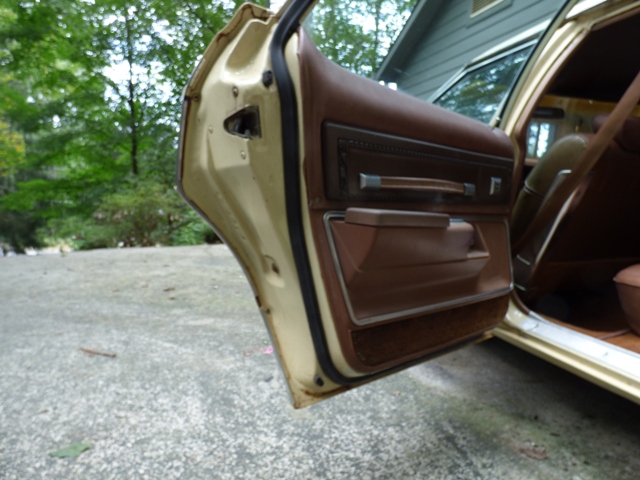
The front and rear doors are different.
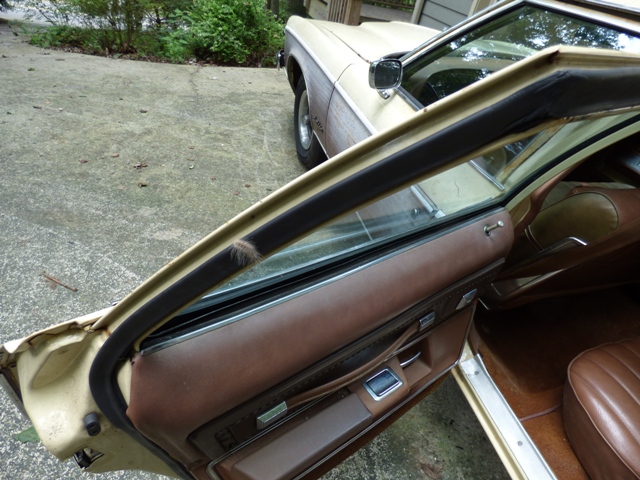
I have a critter trying to get in!
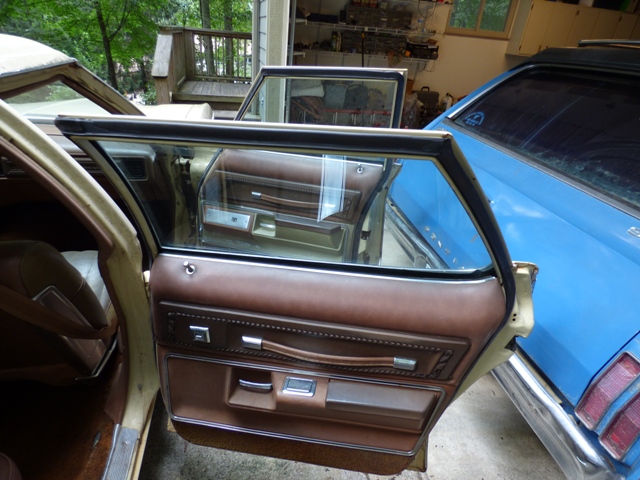
And the passenger side back is done! The bottoms of the doors were skimped on paint...

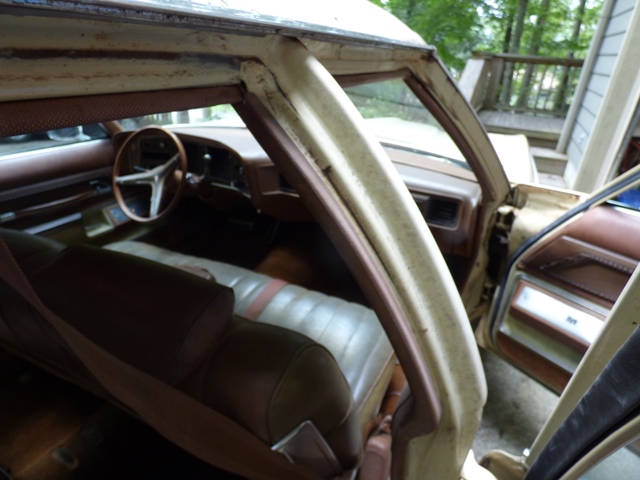
You can see the grime and dirt from the years as it has worn spots and accumulated up along the body where it is supposed to be sealed.
I scrubbed all of the channels and metal with a sponge to get any grime and gunk off of them, should help keep the seal better!
Not too bad at all for a few hours work. Definitely something everyone should do on a vintage vehicle, it isn't expensive or tough to do at all!
Return to 1973 Grand Safari
Last updated August 22nd, 2015