The New Engine - Part 2 - 03/29/2009
Another 8 months almost goes by, money won, money lost, finances ruined, jobs lost, jobs hunted, potential moves. All great drama. I need to get this car functional so that it will at least drive on to a trailer if need be. That involves an engine that runs. So I need to assemble it. Beans Crankshaft turned the crank 0.010" for good measure and Ed Hale's machine shop prep'd the block by boring it 0.030" over, pressing the rods onto the pistons (Badgers, but hey), and installing plugs and cam bearings. Unfortunately they closed the doors a week after I picked up the block, so this may well have been their very last engine.
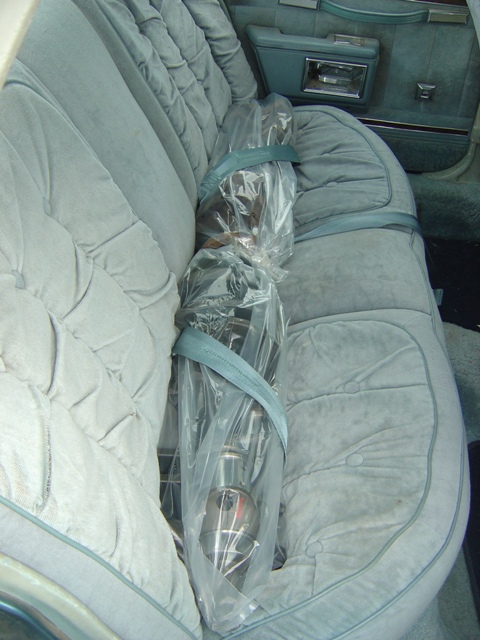
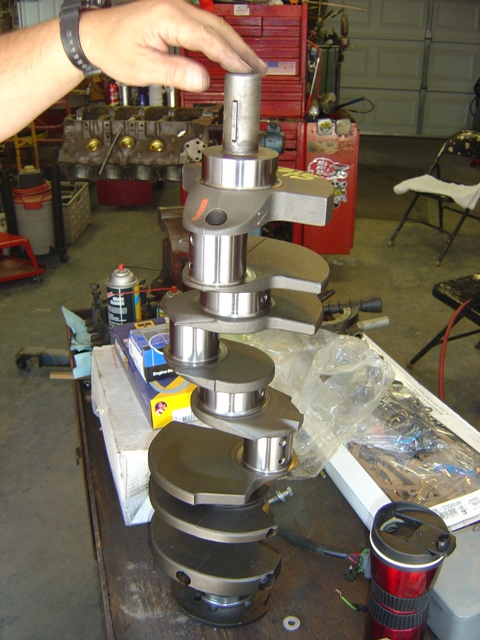
The crank from Jesse at Beans Crankshaft (excellent work by the way) gets to ride in style.
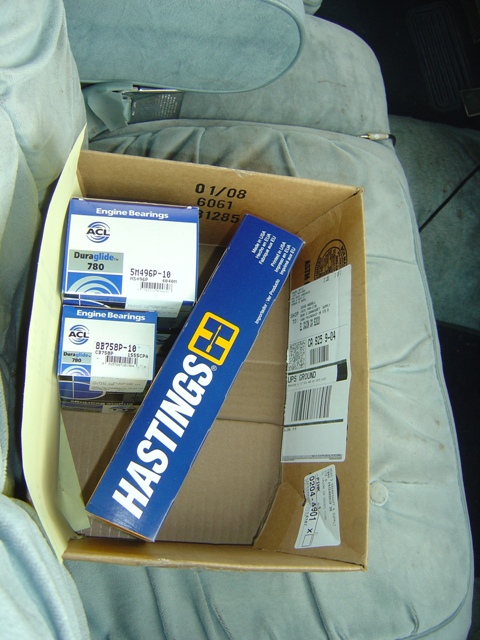
Bearings and rings from the same shop.
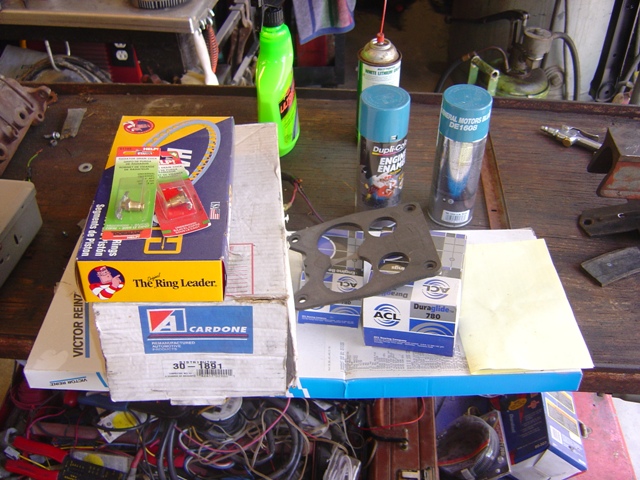
A multitude of boxes to put the engine together have been gathered between now and 7 months ago.
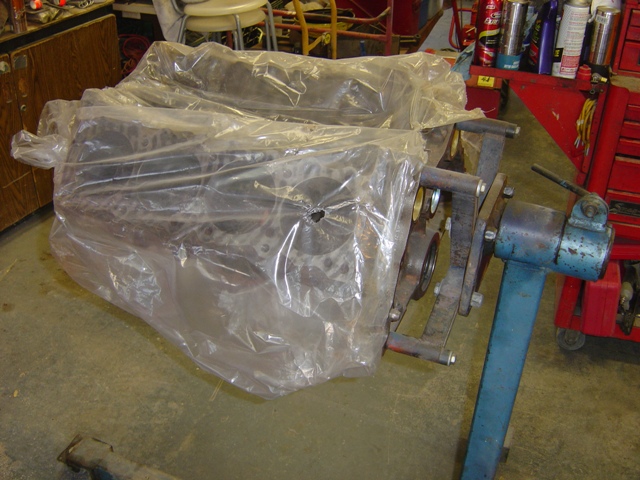
Engine is all wrapped up in plastic to keep dirt and grime out.
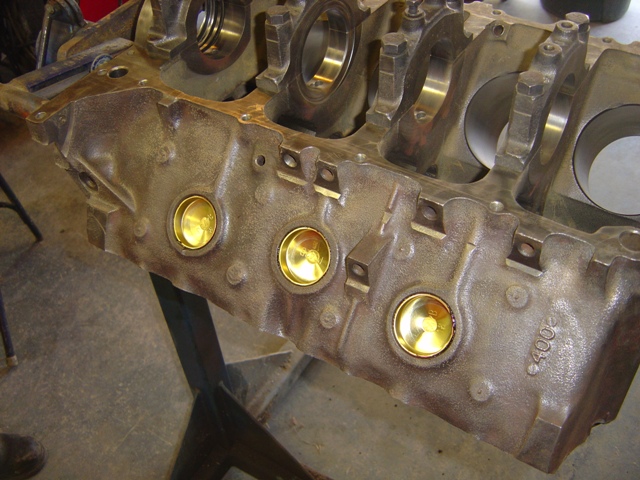
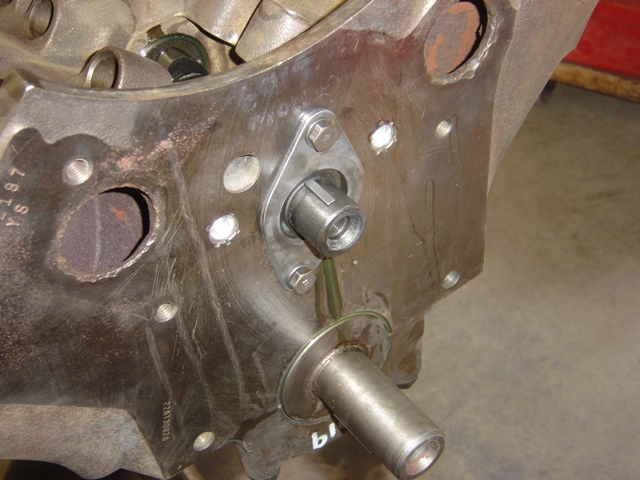
New freeze plugs are installed. We did this ourselves to be able to clean out the cooling passages to our satisfaction.
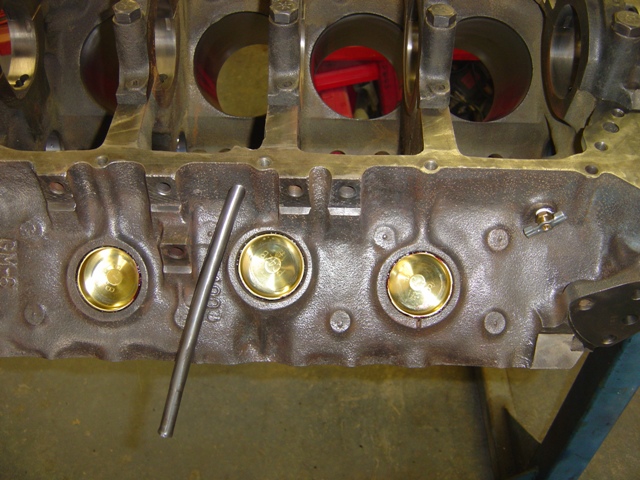
The other side's new freeze plugs and block drains are installed.
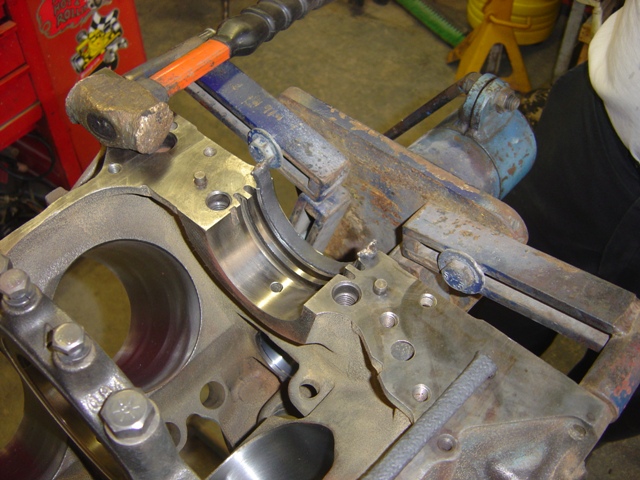
The dreaded rear main seal install.
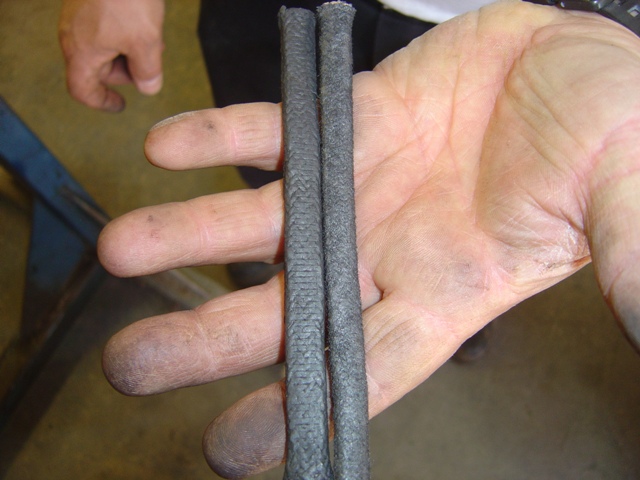
An original asbestos rope seal on the left, the fiberglass replacement in the kit (NOT used).
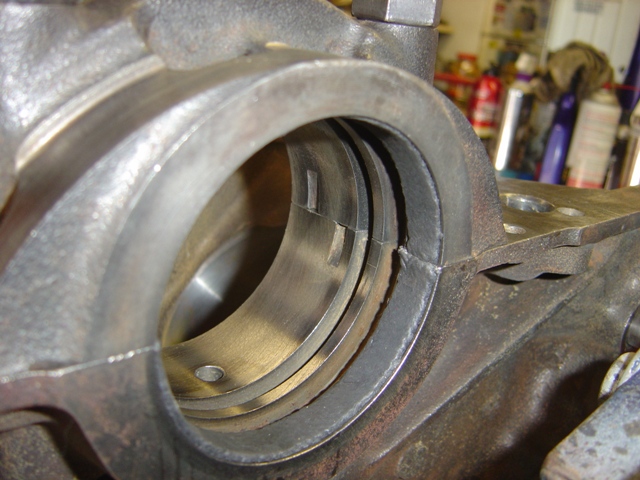
Perfectly sized and ready for install.
Main bearings are installed and set up.
The crank cleaned up very nicely. The work is fantastic.
After Steve curls the 80lb crank in...
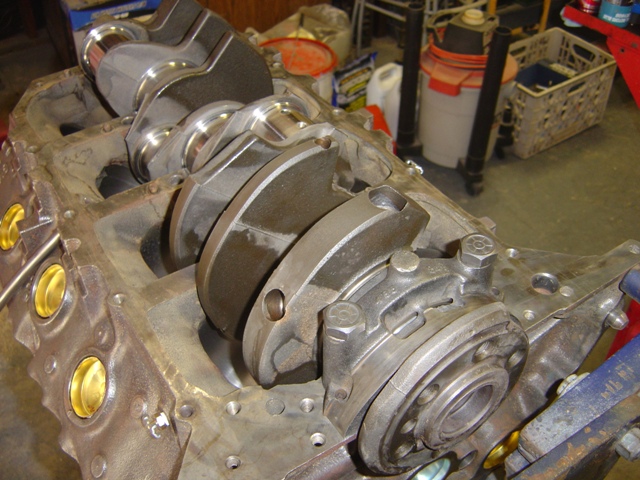
End cap is installed (will be torqued to 120ft-lbs).
Caps are all installed. The crank should (and does) rotate extremely well at this point. No grinding or extreme effort required.
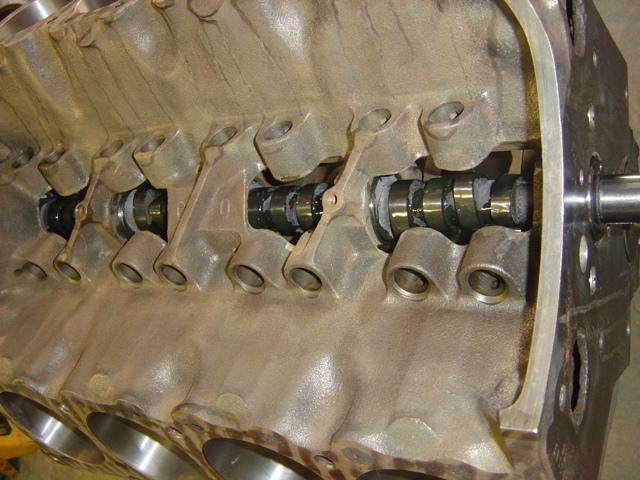
Cam is installed. Melling SPC-7 -> Link to specifications.
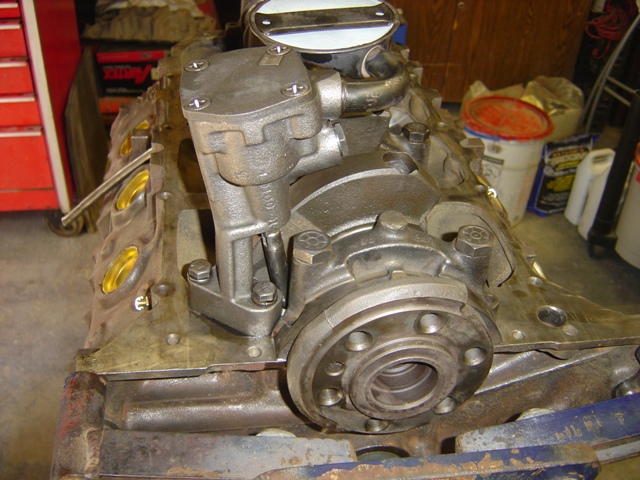
Oil pump is installed and ready to go.
Cam plate and Woodruff key installed.
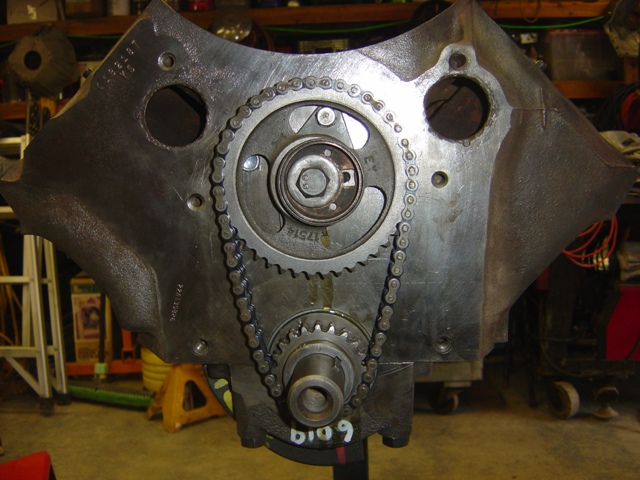
Timing chain - Cloyes Double Roller for maximum performance. I thought I had installed that in the 455, but it still had a stock GM one in it. I went through my receipts and couldn't find one for a timing chain, so I guess I didn't do it on that engine!
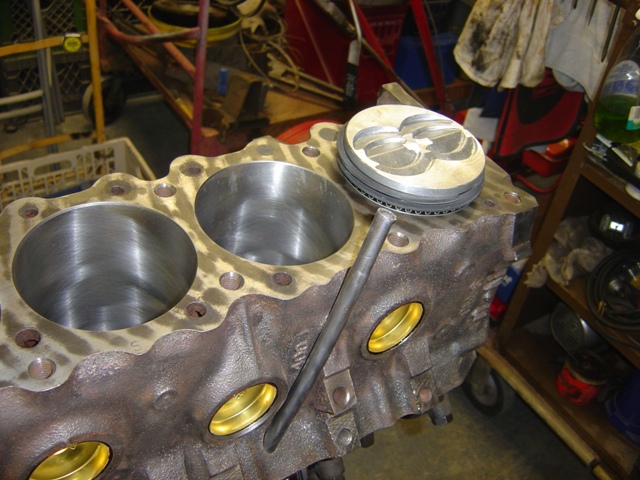
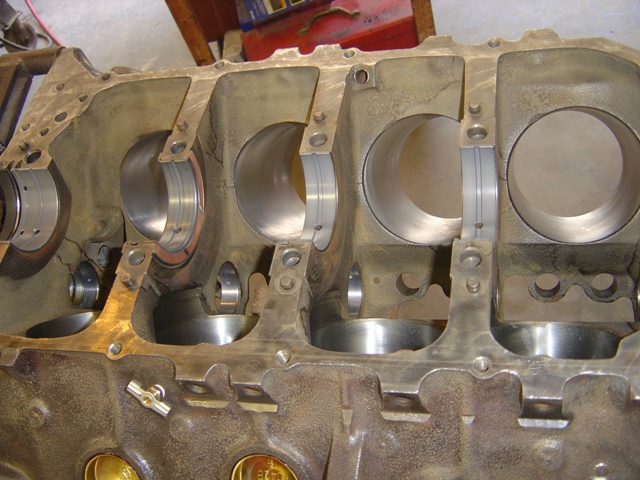
Piston install time! The bores were so clean you could practically eat off of them, even after sitting in a bag for 7 months. No grime and gunk from any of the passages either.
The first piston is installed on the crank! Technically it is piston #2.
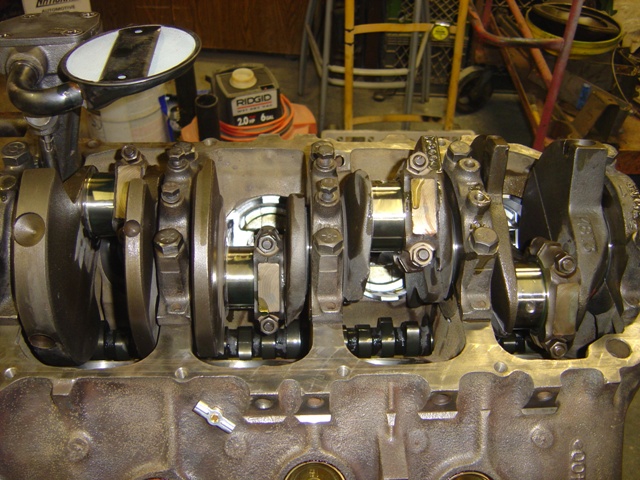
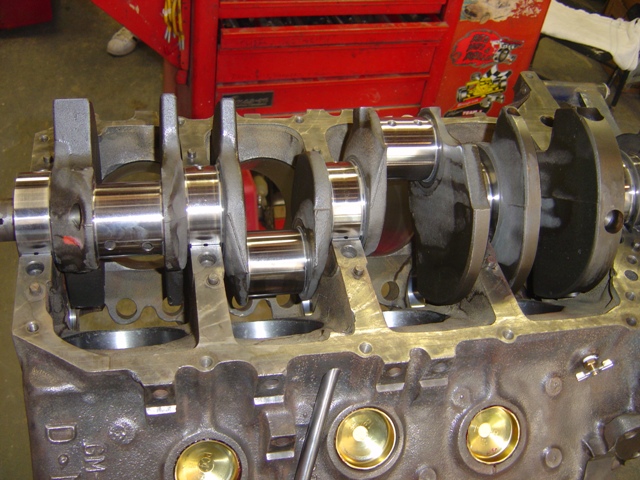
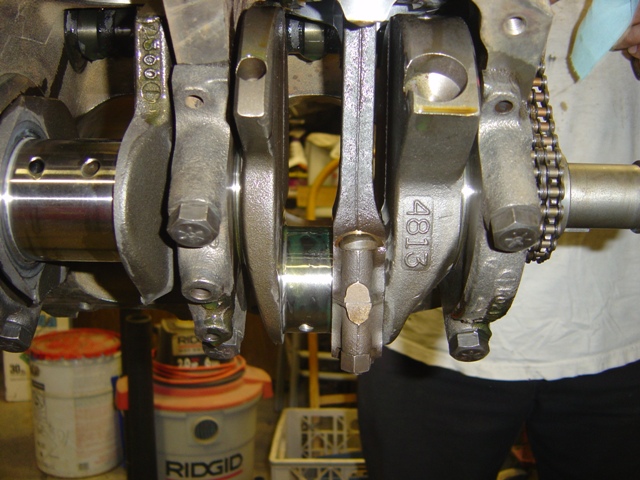
2-4-6-8 bank is installed without an issue.

All pistons are in! Engine rotates quite easily by hand, but you can hear the pistons displacing air as they move.
Steve wanted a picture of everything fully torqued down and done with his name on it. Since he did 85% of the work, I obliged without any complaints.
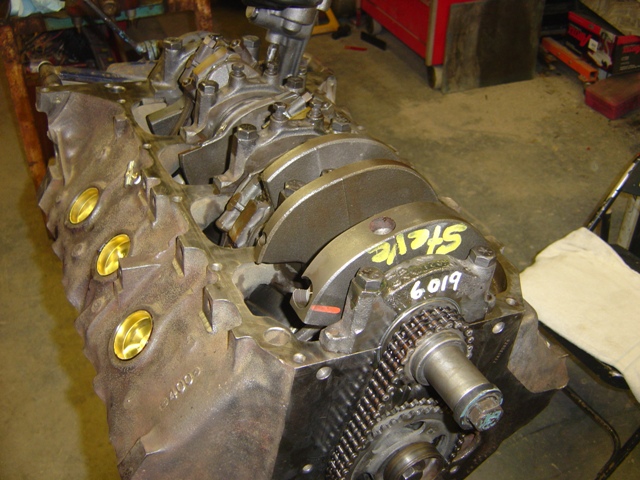
Yay. Bottom end fully done, engine essentially short-blocked. 6X-4 heads on shelf ready to go, intake, oil pan, and valley pan need to be cleaned, and some minor cleaning on he timing cover, and the engine will be ready to fire. This job took almost 11 hours to complete, which is why a bottom end is so expensive. Clearances and cleanliness are critical too, it really is almost a 2-person job. Steve rules for letting me watch and go'fer tools and parts. I'm sure he'll be happy when it's out of his garage and off of his slab too - but not as happy as me!
Return to '75 Trans Am Page
Last updated March 30th, 2009