Brakes and Power Steering Happyfuntimes - 10/22/2011
I got new tires put on the car! That required breaking 4 wheel lug locks off. The mechanic who told me he had the wheels off said they were unlocked (here's my face of surprise). At least he was honest about not having the key. With my lack of strength, I couldn't manage it, so off to Redwood General Tire for new tires and letting THEM deal with it. They managed to get them off and had to replace 2 bad wheel studs (of which they only charged me $30 for the lock breaking and $65 for both studs!) so I'm very happy that a shop out there is honest and manages to do good work at the same time. They also aligned the wheels, which were pretty far off.
It drives great now, but it squeals when moving and has a tendency to mark its territory with tranny fluid from the power steering pump leaking like crazy. The guys I bought it from indicated that they had done the brakes and that the squealing was purely belts. Well I called shenanigans on that as it only whined when moving, indicating pads on the screech arm. The tire shop confirmed it for me too by saying it needed new brakes. Being the frugal fogey I am, I decided to do it all myself even though it was AT the shop and they could have done it at the same time (I'm a glutton for punishment, what can I say?).
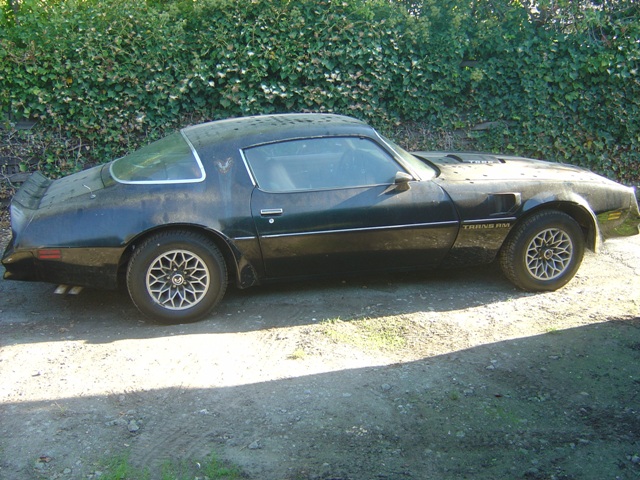
I had to move it here in the sun. Because I park in dirt, the car wears grooves in the dirt, making the car sit lower than my jack! That was fun to figure out. Amusingly enough the asphalt suffers the same fate, but not enough to be a problem.
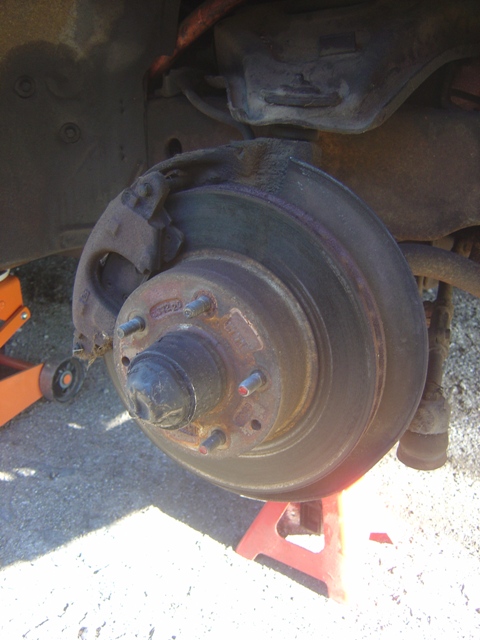
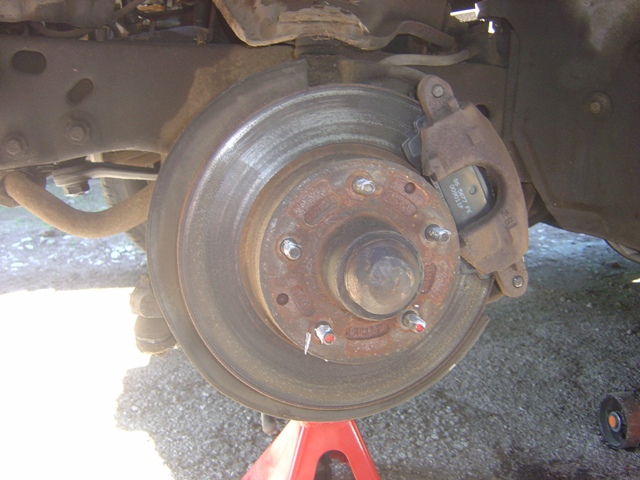
Passenger side brake assembly. Luckily the rotors have quite a bit of meat left in them and no damage or grooves worn in them, which means I get out of rotor replacement on this side.
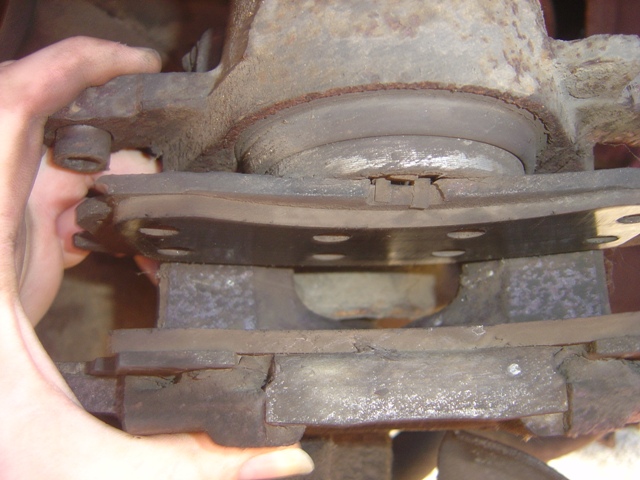
It's pretty thin and that piston is pushed out pretty far...
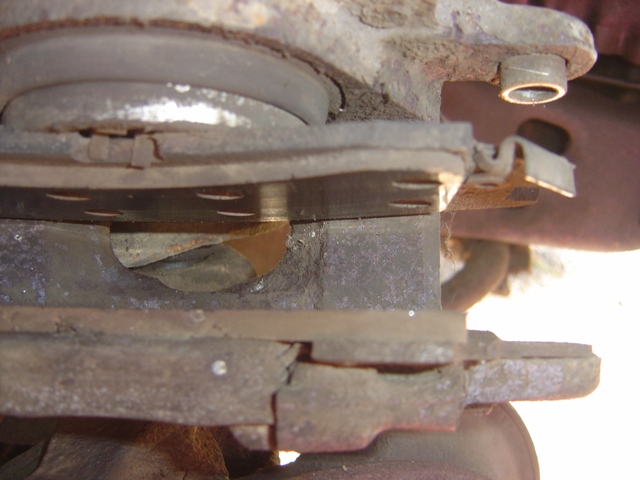
Maybe 1/8" before the screech arm contacted the rotor. Got lucky here.
Passenger side done. The bleeder cracked after some very nervous love tapping and I cleaned it out pretty good. Brake fluid everywhere naturally. Brake cleaner is my friend.
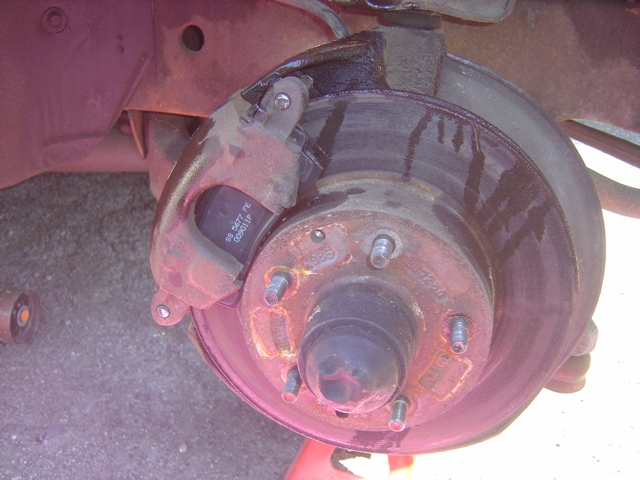
Driver side brake assembly. No nail drags on either side with a very thick rotor, meaning the pads weren't to the rivets yet and I'm saved from rotor replacement on this side too!
The flash washed it out, but the arm is very shiny. Maybe 1/8" of an inch of pad before the rivets were on the rotor. Got lucky again. As dirty and nasty as these pistons and assemblies are, the brakes on this car haven't been touched in ages. Luckily the bleeder was in much nicer shape here and cracked easily.
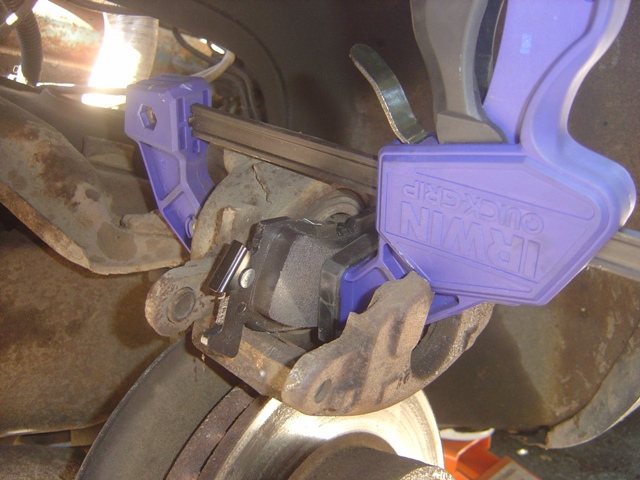
This sucks. No c-clamp in my toolset, so I use one of these Quickgrips and crank down on the handle. It worked though! Took a while and my hands are going to hate me tomorrow over it. I did this on the passenger side too and it took MUCH longer to move back.
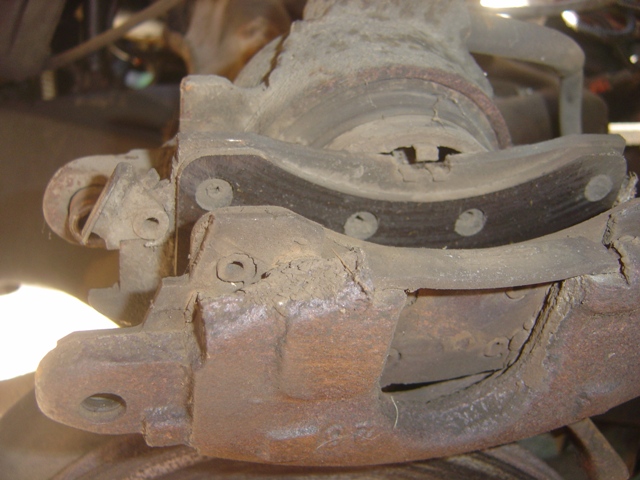
Driver side is done. Anti-seize used liberally everywhere and lots of wire-brushing to eliminate years of gunk and garbage to allow the caliper to slide properly and allow for even wear (this caliper wasn't, one side was worn much thinner than the other). Naturally no one used any Anti-seize on the caliper bolts so when I removed them and cleaned them, I applied liberal amounts to them. Redwood General Tire used anti-seize on the wheel nut threads, which impressed me and ensures they are going to get more business in the future.
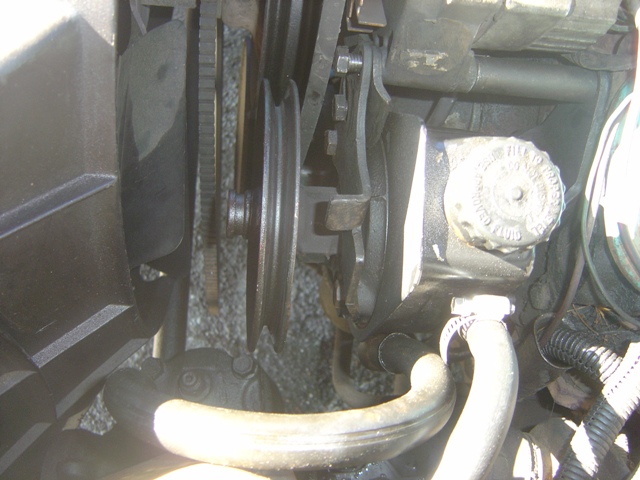
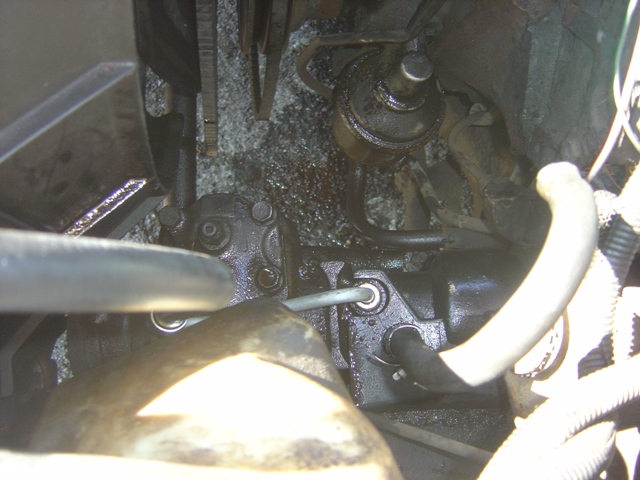
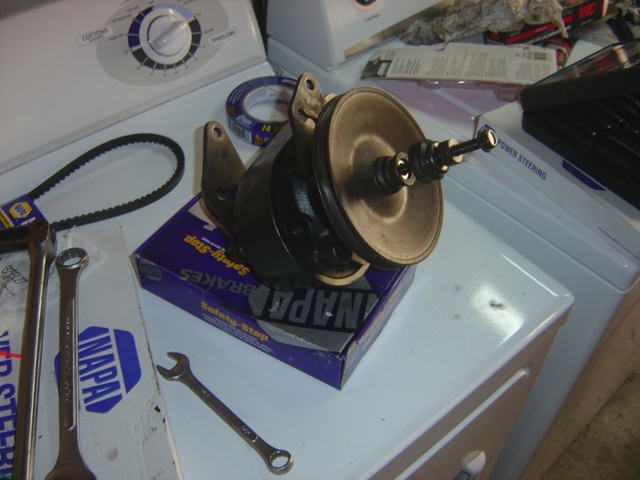
The old leaky pump and hoses. When I first checked this thing out several weeks ago, it had a horrid offset. I found out that someone had put the 3/8" spacer that goes on the backside fitting on the alternator and not the power steering pump. Fixing that solved the slight belt whine.
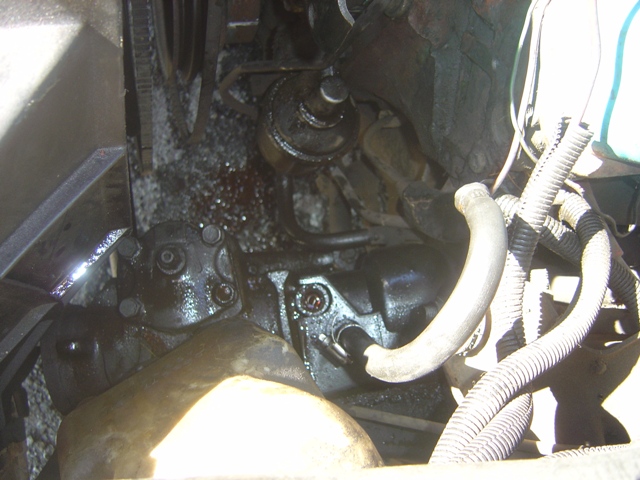
All out! This was a complete BEAR. The old pressure hose was stuck. No amount of banging or leaning on the flare nut would budge it. I was angry and thought about putting it back together to take to a shop. Then I got smart with an idea. I double checked the new hose vs. the old to ensure they were 100% identical (they were) and then got my tubing cutter out. Cut the old hose almost flush against the nut then got my 11/16" socket with an extension and breaker bar and out it came like it was nothing (go figure). Since the old fitting was out it was time to install all the new shiny parts!
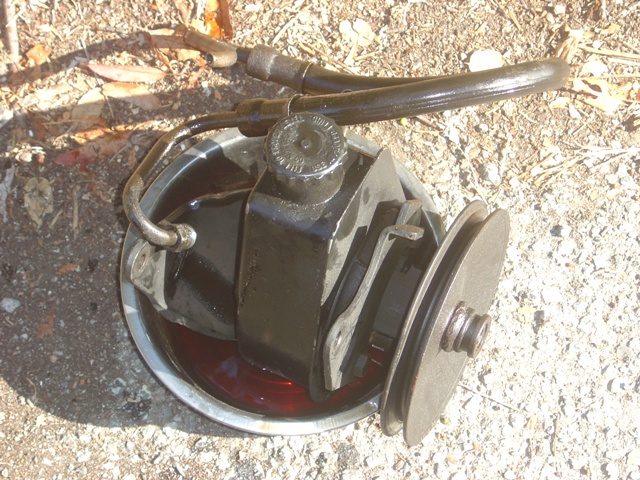
I care about the environment. All fluids retained as much as possible.
New hoses are in. Look very nice.
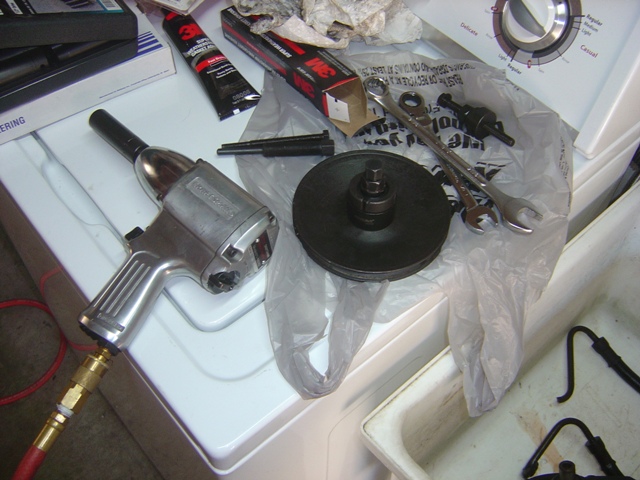
Pulley finally off. I was cranking with ALL my strength on the remover nut and it was NOT budging. I was afraid that once again I'd have to take it to a machine shop, but then I decided to try my impact gun. With 90psi AND on the highest setting it finally managed to come off after almost 2 minutes. That pulley was NOT coming off by accident.
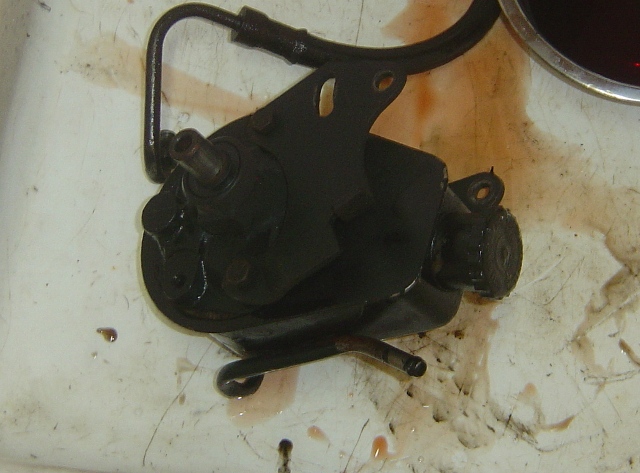
Old leaky pump with pulley removed.
Pulley installed and all fittings and brackets transferred to new one. This took almost 30 minutes of cranking to get it back on. I could only get 1/4 of a turn on the nut at a time, and since it had to travel more than an inch to get back on, it was very slow going.
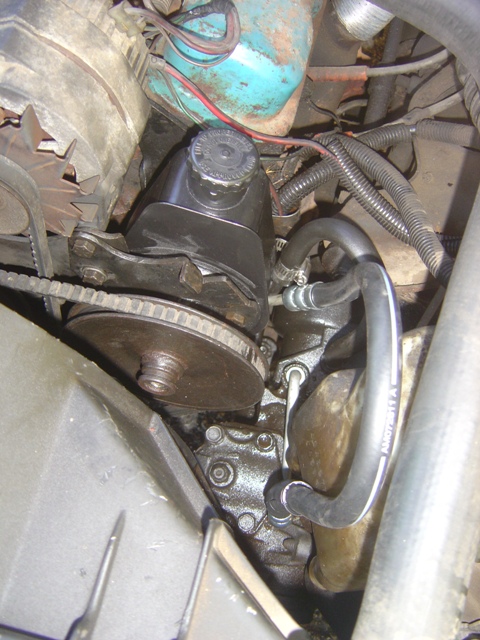
Everything all installed and pretty. It actually doesn't leak either, which was the point of the exercise and made me super happy. All of that thick gear oil that somebody put in the reservoir in a misguided attempt to stop the leaking just made it worse and killed the pump. I got as much of it out as possible and used nice clean tranny fluid, took almost an entire quart to fill it up. Bled it out and all was well in the world.
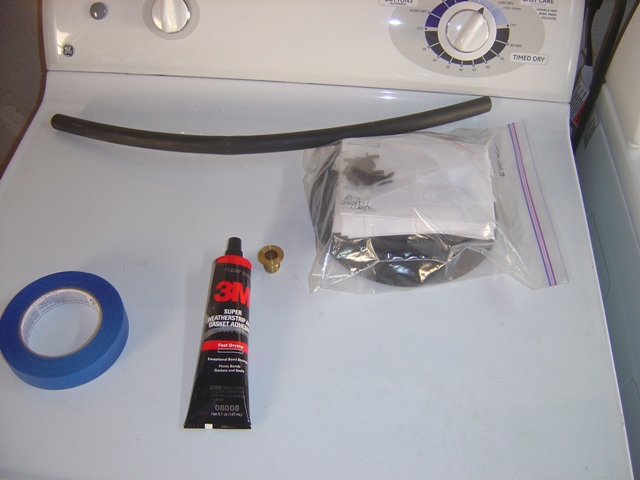
Nothing annoys me more than seeing high dollar restorations of Trans Ams missing shaker seals and drain fittings. Come on people, spend the $60 that the parts cost from Ames or Performance Years and finish off that $30k resto so you can drive it in inclement weather! Your intake paint job and carburetor fittings will thank you. Recommended adhesive is 3M 8008 Super Weatherstrip Adhesive. It's supposed to set and start hardening within 5 minutes and they aren't kidding.
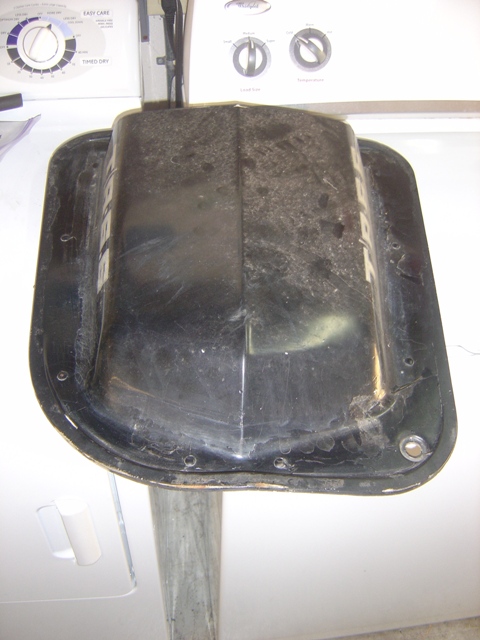
Shaker before cleaning. As much goo and gunk was removed as possible from the shaker. It's an uncut original '77 low rise shaker, so I'm treating it with respect. The original plastic drain fitting was keyed on 2 sides apparently to keep it from moving. The brass replacement fitting is fully rounded, so a little opening on the sides was necessary. A little love taps with the mallet put it right in and since it is barbed, the hose installed doesn't come off so it's in place for good.
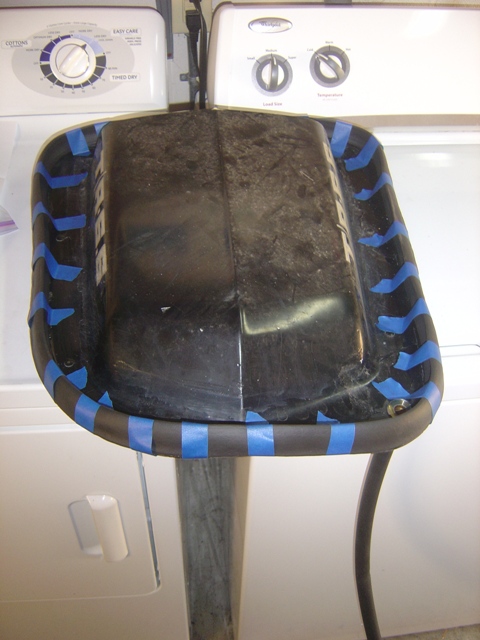
Lots of adhesive in the correct place and recommended masking tape to hold in place until it cures (I'm giving it 24 hours because I'm paranoid). There was a little bit of time to massage it into place if it slipped, but not much. I taped it in every place I found that it didn't necessarily want to stay fully down plus some extras as guides as I went along. I believe the back where the 2 sides join isn't going to be perfect, but I'll live with it.
Well I'm very satisfied. Car stops with no squeals or whines (needs to be bled a bit for optimum stopping power, but living alone prevents that from happening today) and the power steering doesn't leak or whine anymore either. Drove it for an hour in all sorts of traffic and no problems whatsoever occurred. Finally the car can stop marking its territory when it goes places! Once the shaker is done I'll put it on and the car will be ready to go when it rains or has to be stored outside. It's the little things that make a car that much more fun to drive since I don't have to worry about them anymore. Still have to do the heater core, but that can wait a while. I found out the washer pump works for the windshield and works GREAT. All it needed was some windshield washer fluid in the empty reservoir (you don't say!). Wiper rubber is wasted and tend to just smear whatever is on the windshield around (that counts as an A+ for effort but an F for cleaning the windshield), refills shall be obtained!
Return to '77 Trans Am Page
Last updated October 22nd, 2011