November 4th\5th, 2001 - Carburetor Rebuild Kits and You
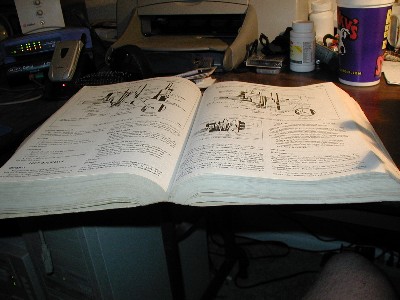
Carburetor rebuilding is an experience. The kit itself costs $9.99. Professionals charge up to $200 to do this. Gotta be difficult then, no? Of course but I want it done now and I want to learn so guess what I am going to do? Yeah that's right. First off, grab the Pontiac Bible, the service manual for your year.
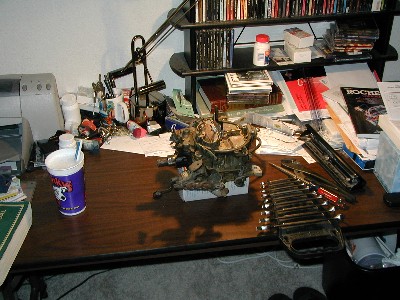
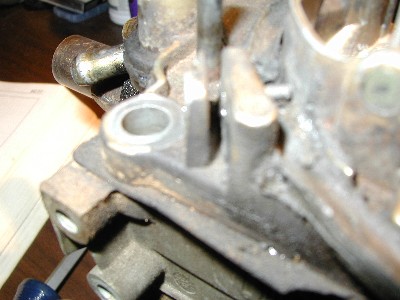
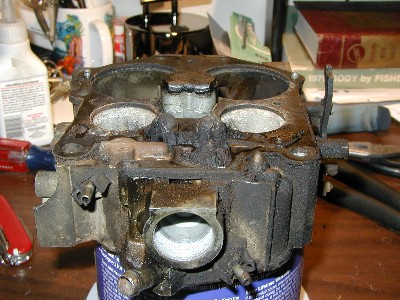
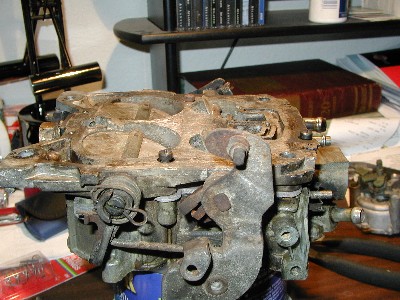
Second, you need a carburetor and a nice place to spread out and work on it. I chose my desk because studying is overrated and this is more important.
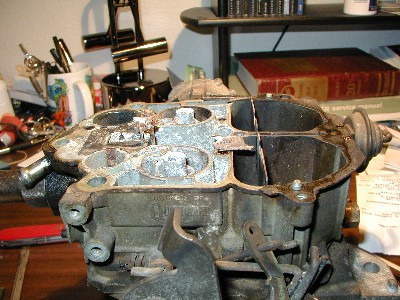
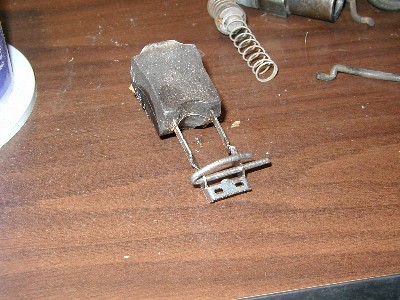
First off: Air Horn removal. This is the top piece. Remove the idle solenoid and springs associated with it.
Next use a small tool to remove the pump lever pin.
Next remove the choke rod. Then remove the secondary metering rods by removing the screw that holds them in.
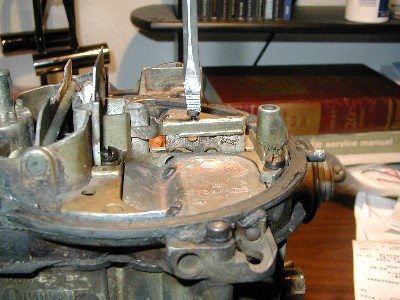
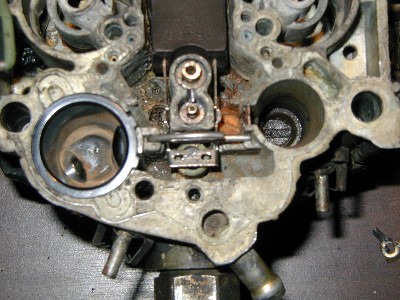
Now remove 9 total screws from the air horn.
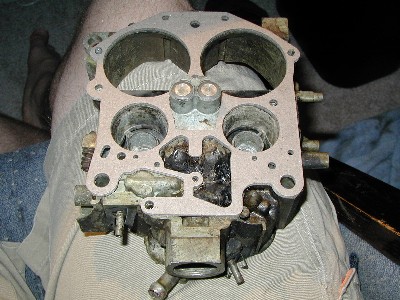
Life up on air horn and BAM you pull it off.
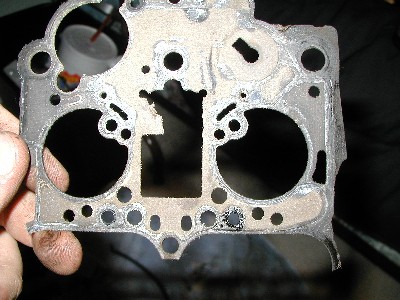
Wondering about all those gaskets you bought in your rebuild kit? You see why you need them.
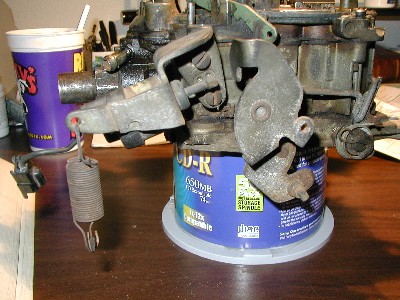
Going to need a good bath. Remove the front vacuum break from the air horn before dumping this in the cleaner.
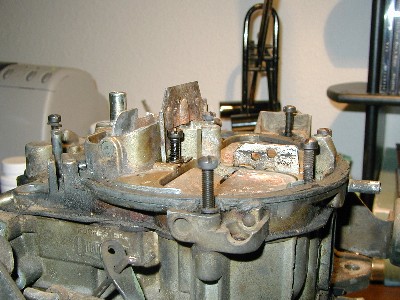
Now pull out the pump plunger from the well. The kit contains a new one of these.
Be sure to get the spring too. Be careful as the kit doesn't contain a new one of these (at least the cheap ones).
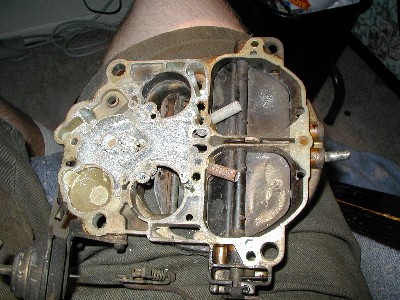
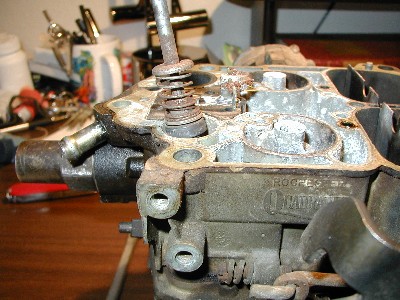
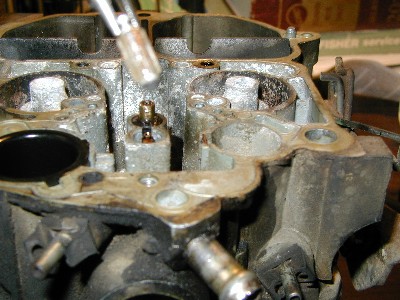
Remove power piston and metering rods.
Mine was so rusted it didn't move. I twisted the rods off while leaving the piston down in it.
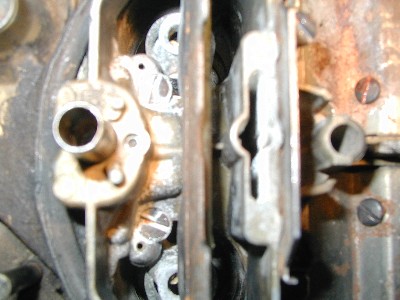
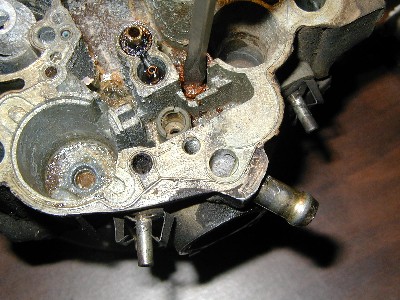
Remove the float once you do this.
Pull float needle out. In my case this was rusted down so badly it was preventing the fuel from entering.
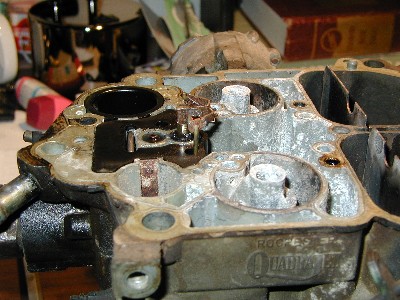
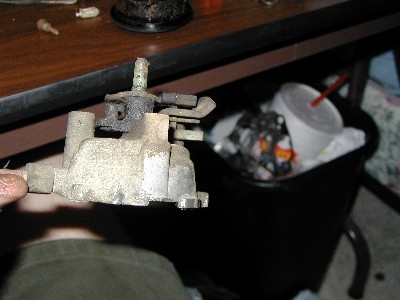
Remove pump discharge check ball retainer.
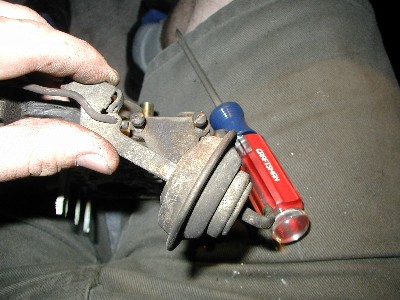
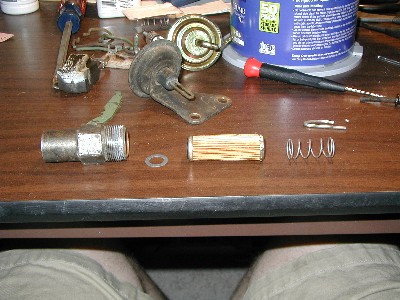
Remove rear vacuum break assembly. Then remove the three screws on the choke housing.
Pull choke cover and gasket off.
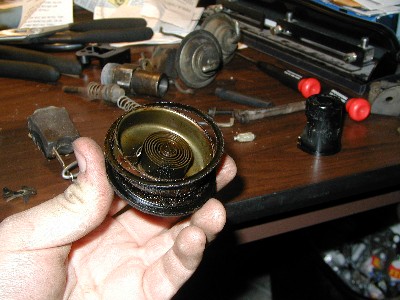
Going to need to replace that gasket too.
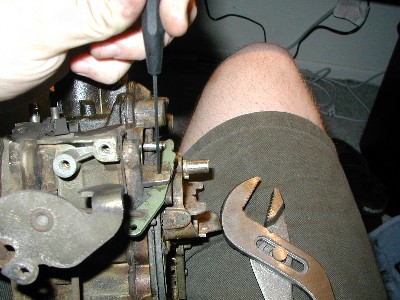
Remove the one retaining screw to pull out the choke housing.
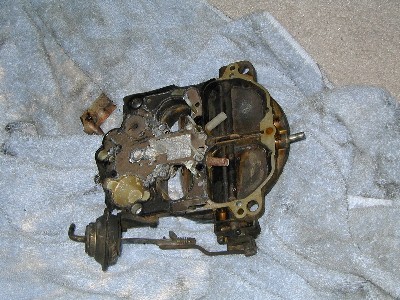
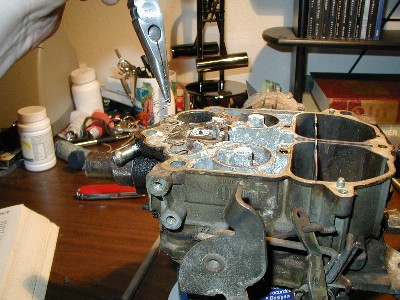
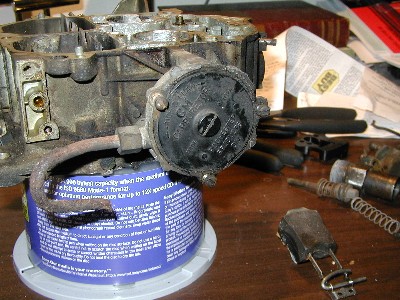
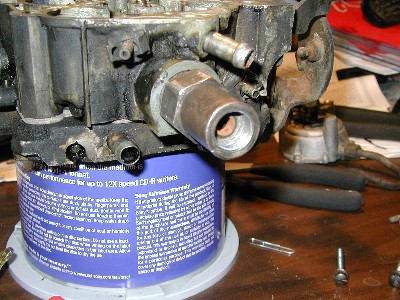
Remove throttle body and float bowl attachment screws.
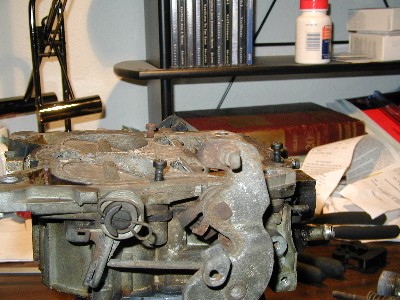
Pull throttle body and float bowl away from each other.
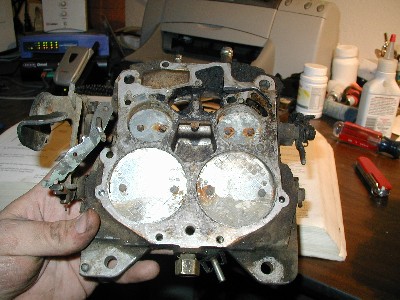
Congratulations! You have successfully disassembled your carburetor. That was easy. Now you get to clean the pieces off.
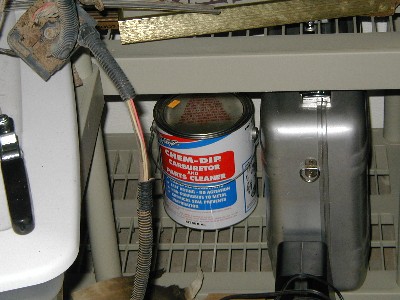
Nasty stuff. Make sure the area is well ventilated. Make sure you don't get it on you or on plastic. Use a metal bowl to soak the parts (I used a 10 qt dog dish from Pets Mart).
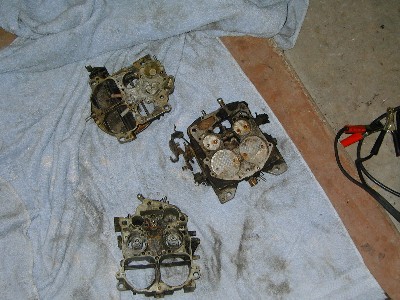
Not exactly the cleanest look in the world, but hey at least it is relatively clean.
Reassembly pretty much follows the same order as disassembly (except in reverse, duh). Make sure you apply the new gaskets as you go.
Replace the fuel filter too while you are at it.
Exercise care in hooking the float needle and pin assembly to the float lever. Whatever you do, DO NOT hook it in the holes (tempting as it is). It will stay properly just hanging on.
After following all the steps, you now have a carburetor to put on your car.

Oh yeah replace the vacuum breaks while you have everything apart. Mine were shot and they only cost $17.99 each.
Now bolt that bad boy on and your car should fire and run. Mine did. Feel free to hook up the rest of the engine while you are celebrating.

Last updated November 11th, 2001 at 3:40AM