Saginaw Steering Box Rebuild - Disassembly - 10/15/2016
Generic rebuilt steering boxes aren't the best on the market these days. Besides being pricey they tend to not work so hot. You also don't know what you're going to get either, it's usually garbage or a steering box that doesn't really work for your application. A brand new one from a reputable builder (what few still are left) is REALLY not cheap either. The master kit to do this isn't expensive ($42) so why not tackle it ourselves? The service manual for the year has a pretty decent covered, and the Saginaw boxes are mostly the same up through the Jeep Cherokee popular mod swaps.
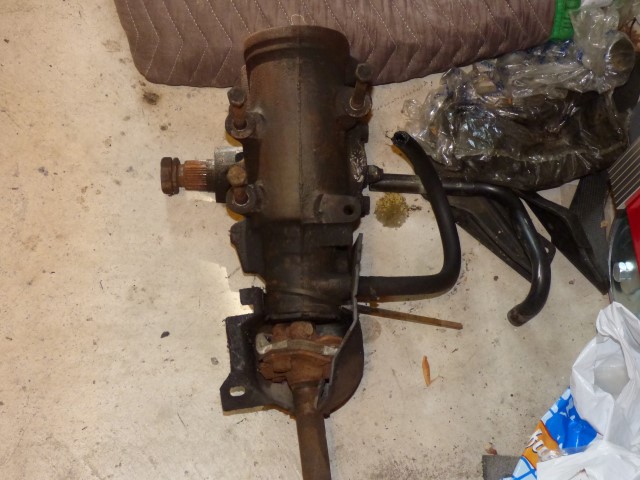
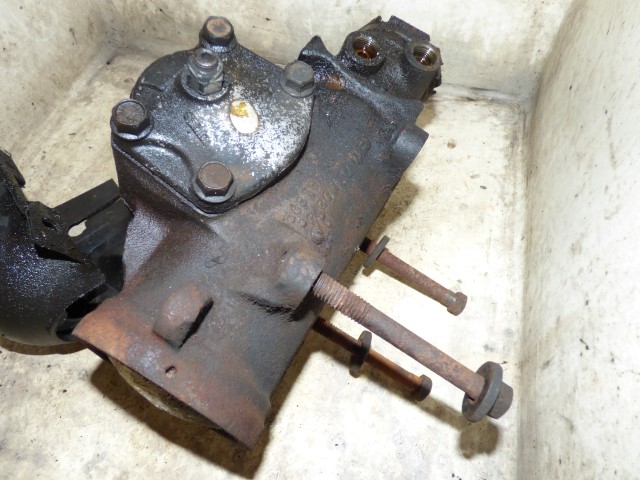
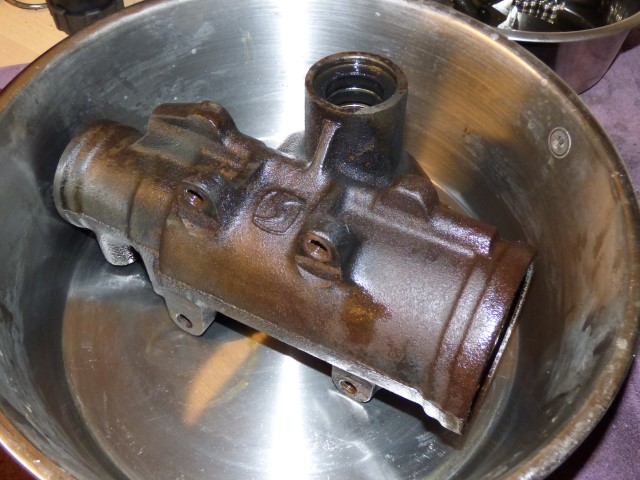
Starting with a 3 turn lock to lock (13:1 ratio) from a '72 Grandville. It was extremely gooey, it's been leaking good.
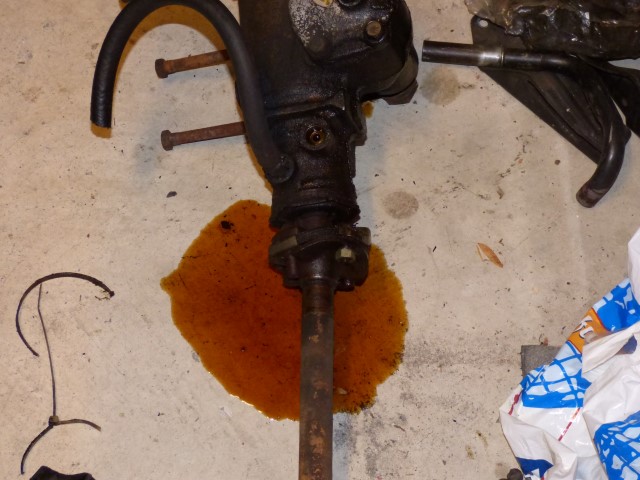
Lay it on its side and fluid leaks out the input shaft pretty quickly.
Rag joint is removed. To be replaced during install.
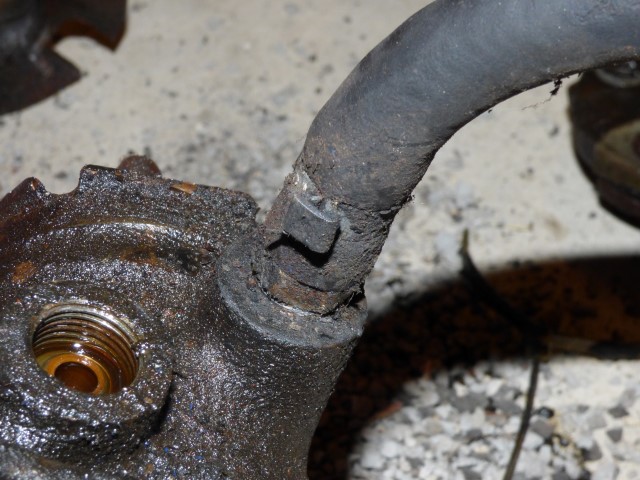
GM crimped the low pressure hose from the factory, which this car still had.
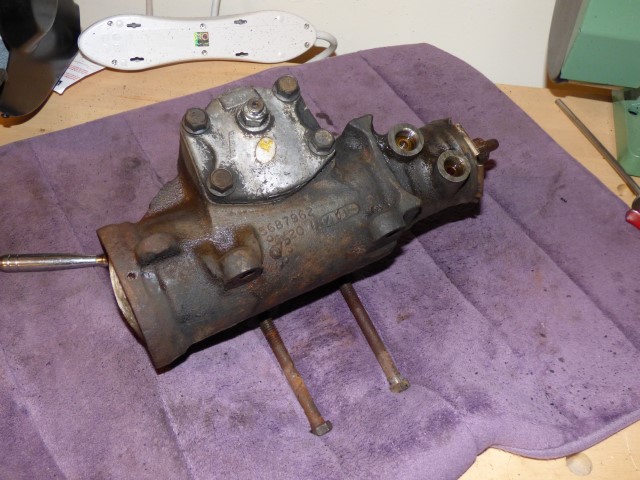
Minor brushing and scrubbing to get the majority of the grime off. Want to minimize the trash that gets in the housing while taking it apart, plus it makes it much easier to clean up afterwards.
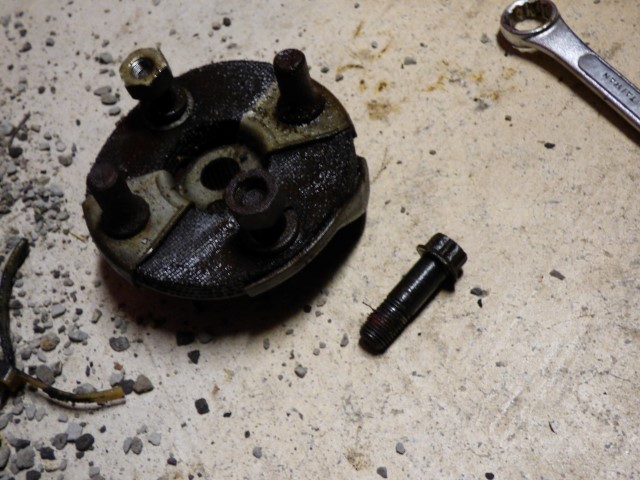
I left the lower 2 long bolts threaded in partially, it keeps the box from rotating around.
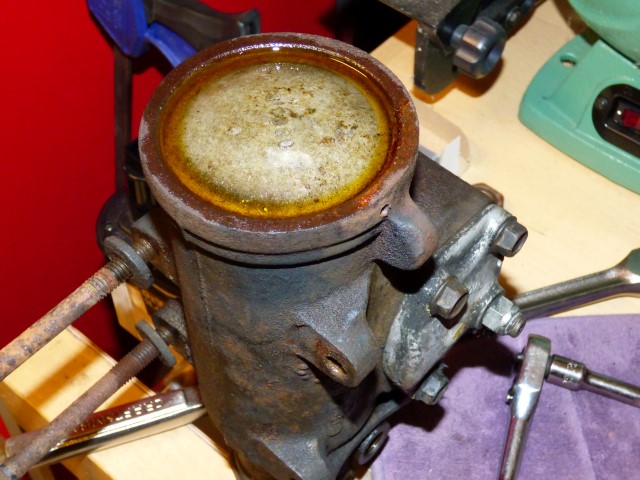
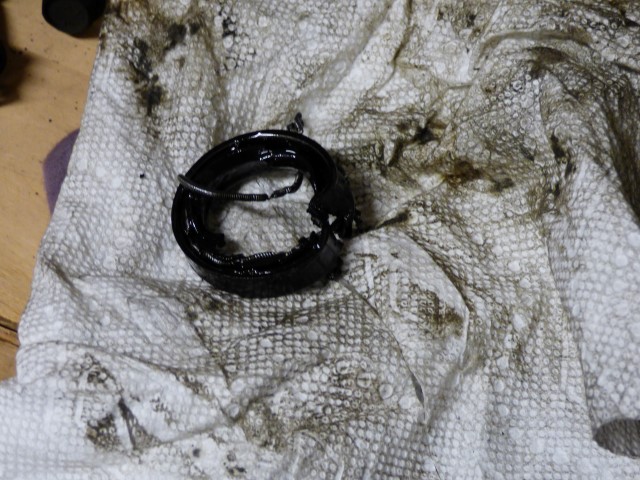
Soaked the front plug ring in PB Blaster to loosen it up, it was in tight.

Using a punch through the hole that is seen, you can force out the plug ring, then use a screwdriver to bend it out of the gaps. On 40+ year old rusty and gooey hardware, this takes a long time. It took almost 1.5 hours to get it out on this particular box.
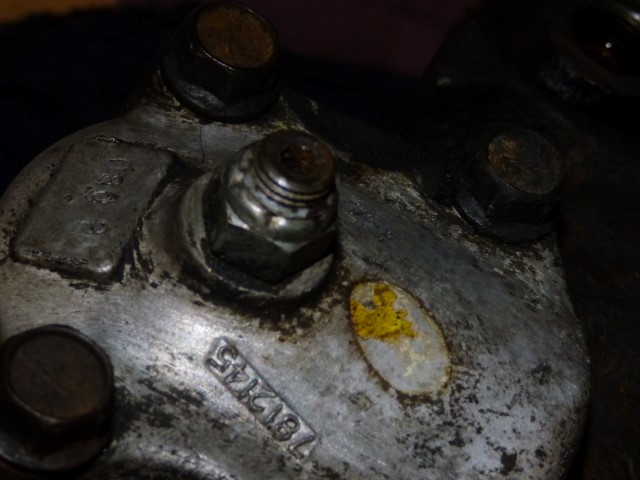
Making note of the adjuster lash set at 3 turns or so. Use an allen wrench to hold the adjuster screw in place while removing the nut. Yellow paint is likely a factory inspection mark.
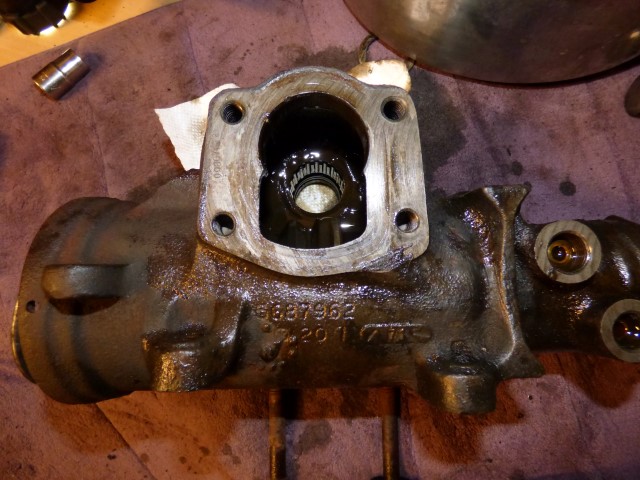
Centering the box (flat portion of adjuster aimed at pressure ports), remove the 4 bolts, and then pull out the sector assembly. On every box I have, the sector seals are what's leaking.
The sector assembly removed.
Sector cap is removed by using same allen wrench to hold adjuster screw and turning the cap so that it threads off of the sector.
The factory service manual says to use the input adjuster to rotate the piston out just far enough to push out the front plug to replace the seal. Keep that catch pan handy!
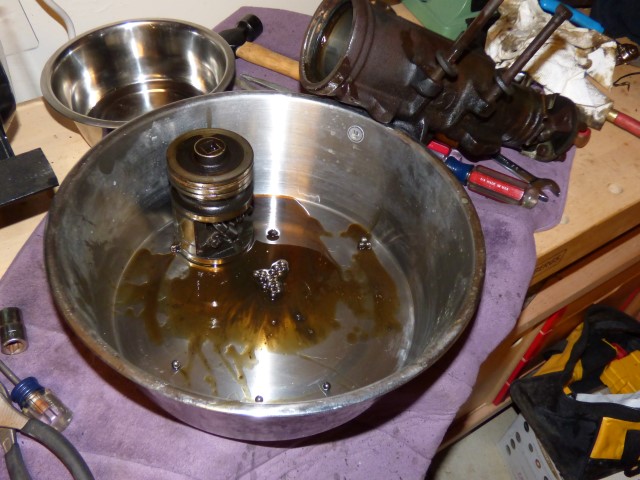
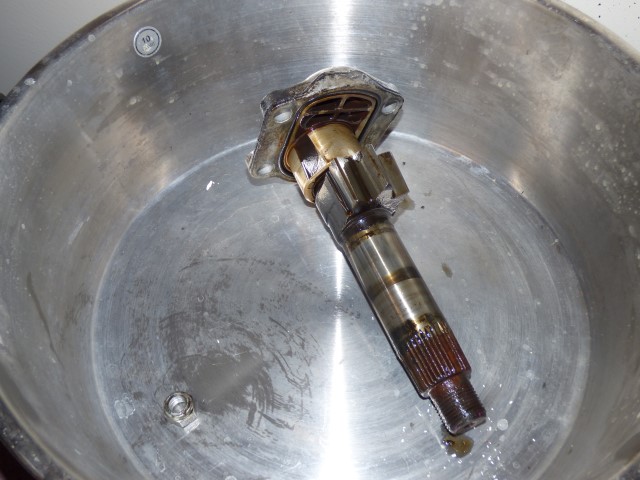
This box is getting the full treatment, and the piston assembly is removed and the ball bearings fall out. There are 24 of them, light and dark. The catch pan is used to assure that no bearings get away. I counted them to make sure I have 24. This is the part of steering box rebuilds people apparently have the most difficulty with, getting the ball bearings back in correctly.
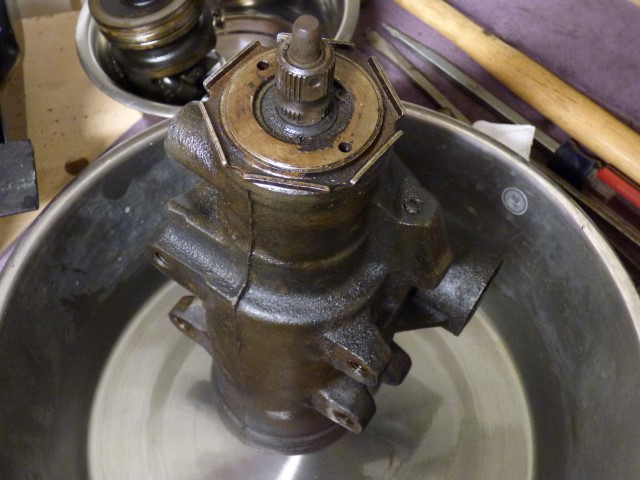
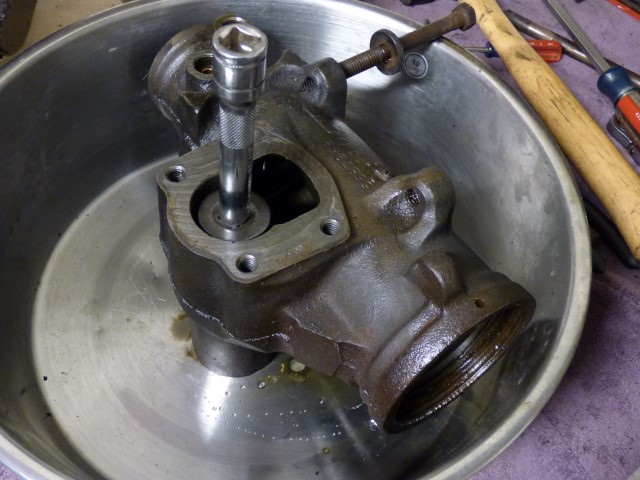
Time to remove the input adjuster setup. I use a punch to loosen the giant lock collar (it's an old distributor shaft, the best tools are the free ones we make ourselves).
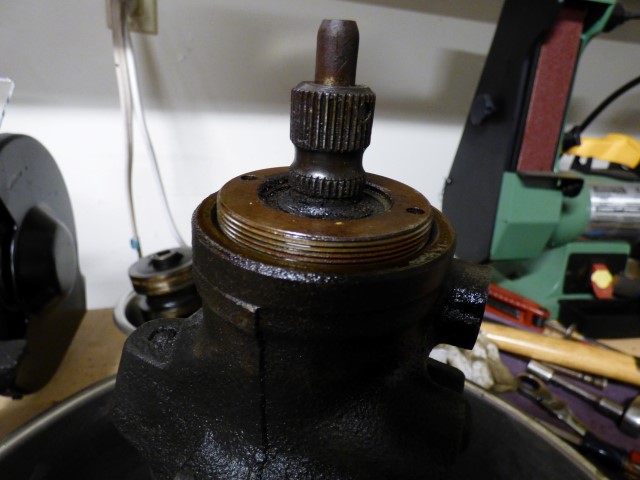
Making note of the thread count for the input lash setting before removing. The factory service manual has a very detailed procedure for setting this, knowing what worked beforehand gets it "close enough." This input cap is removed using a spanner wrench, but a punch can be used as well.
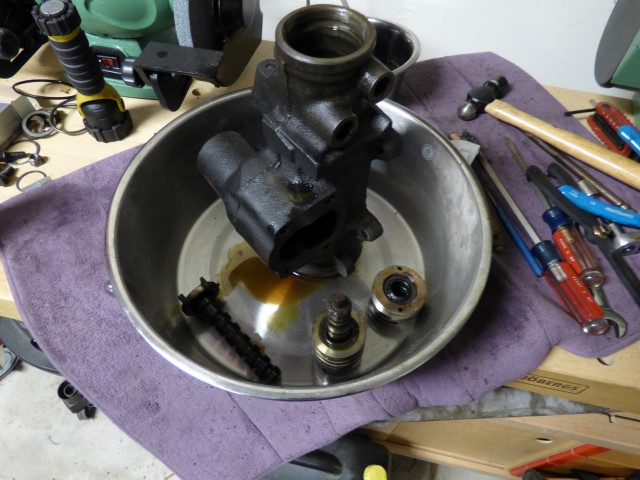
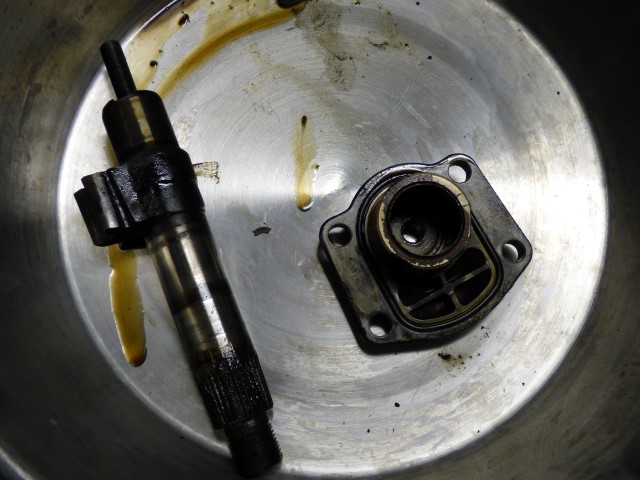
Input pieces come out as 3 separate parts.
Turning it over to get the output sector seals off. C-clip and washer are removed.
The top seal is a bear, it required a cold chisel to break apart then split, but it came out without damaging the housing.
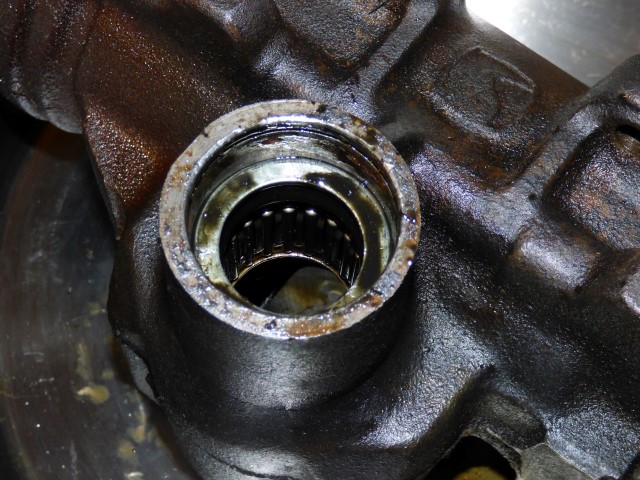
Final seal and bearing are left.
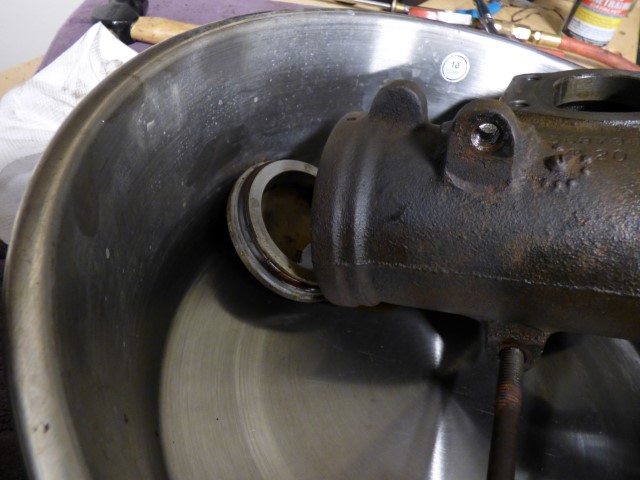
The bearing and seal are pressed out using an 1 1/4" socket. GM had a special tool to do this on the car, but the socket is perfectly fine.
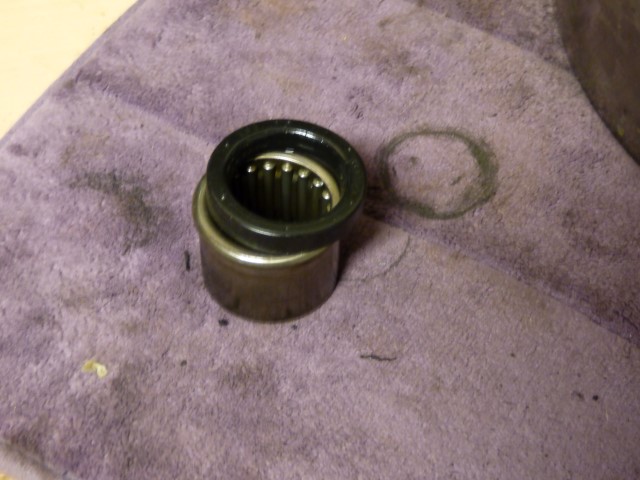
Bearing and seal. The bearing is in great shape.
![]()
The housing is completely empty now, time to degrease and clean off.
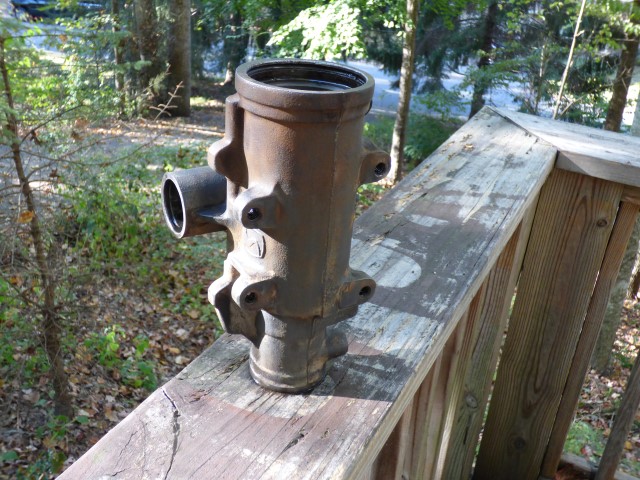
Wire wheeling the housing to get it ready for paint.
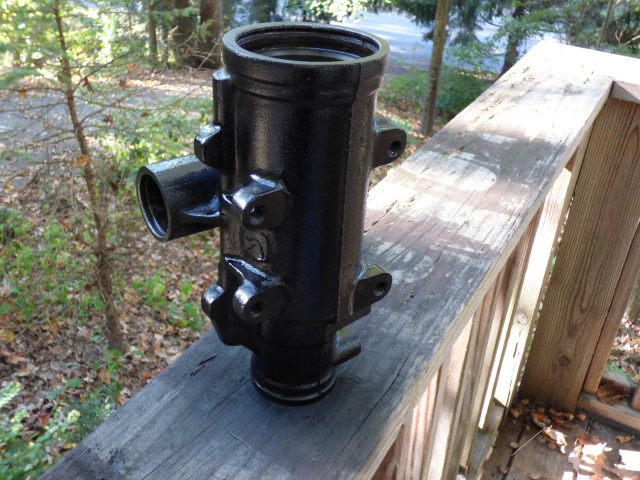
Housing painted and ready to dry.
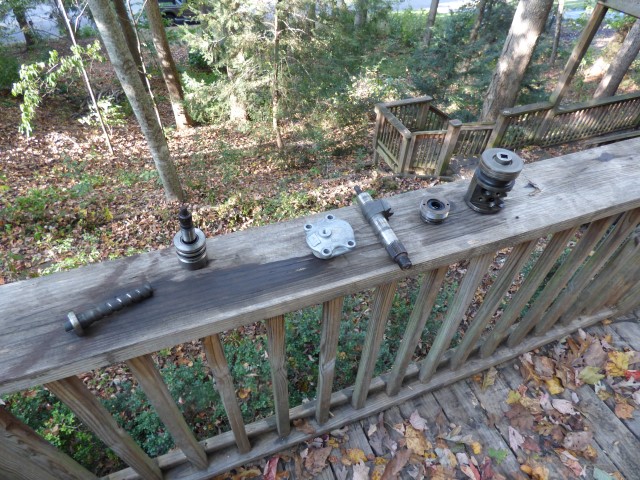
Lots of brake cleaner to clean the assemblies and get the gunk off of them.
That's how the box comes apart! Pretty straightforward.
Return to Tech Pages
Last updated October 15th, 2016