Steering Box Replacement - 10/22/2016
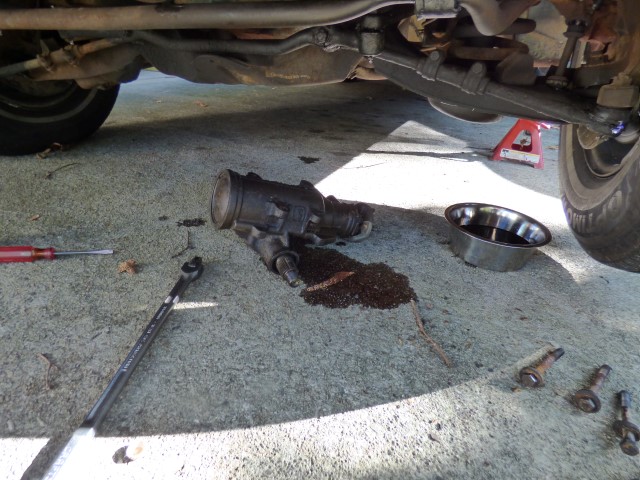
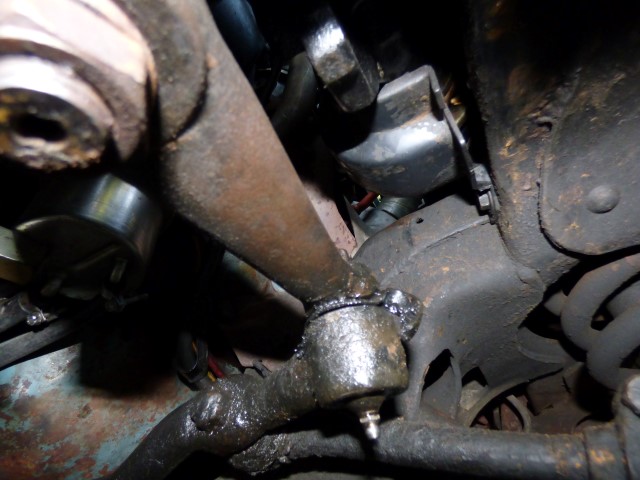
Even after replacing the hoses, the box still leaks pretty good. It drips out the pitman arm seal and onto the center link, spreading power steering fluid all over the suspension components and wearing them out. So I set out to replace the output shaft seal.
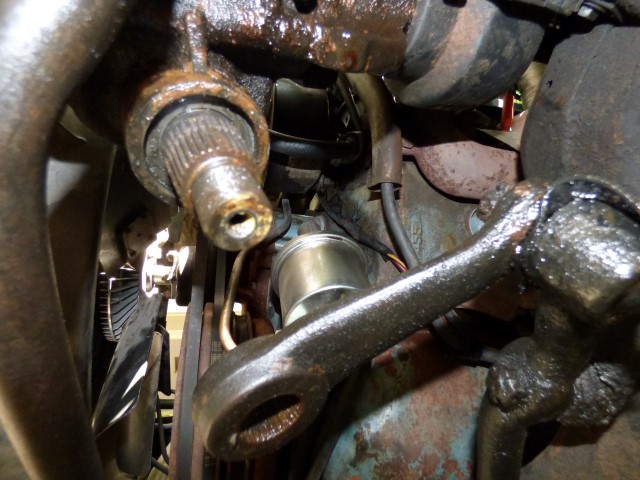
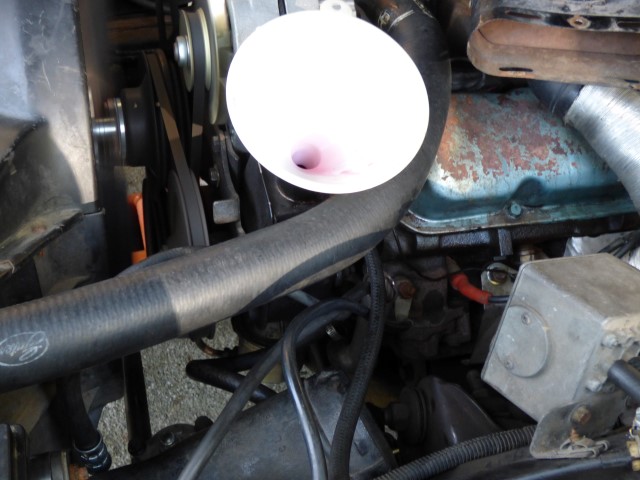
This is it? Easy! Instructions specifically say "remove c-clip and washer, turn wheel completely to left, turn car on and let power steering pump fluid push the seals out." This is going to be simple, right?
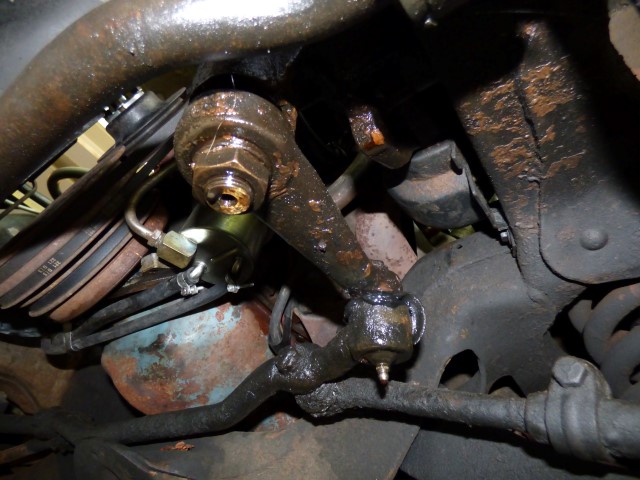
This under box area is a mess, it's been leaking good.
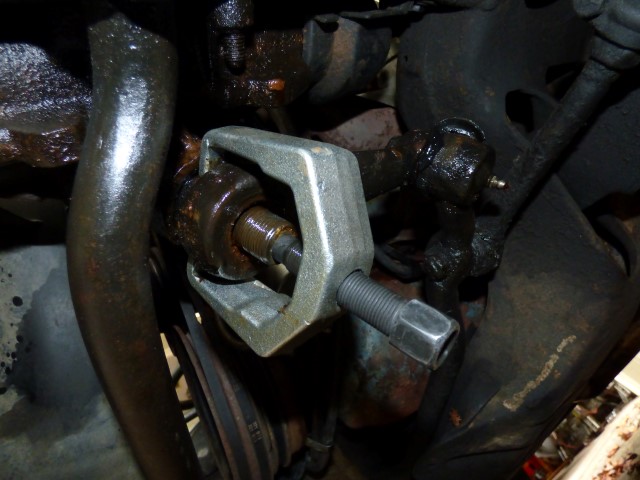
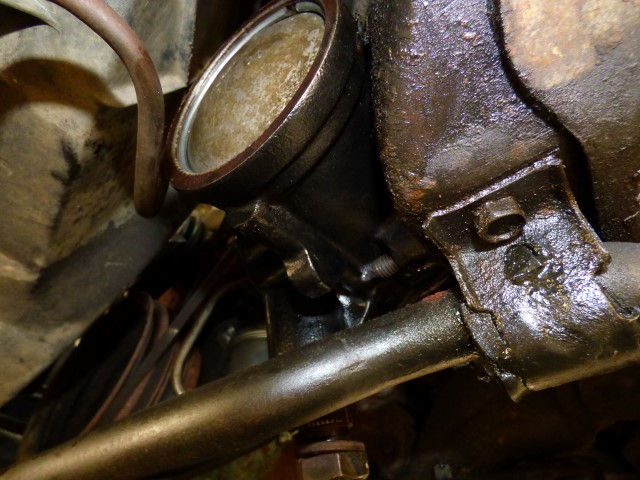
After using a 1 3/16" socket with my 3/4" drive set, pitman arm puller is used to loosen assembly. It sounds like a shotgun going off when it finally pops like most 40+ year old cars do...
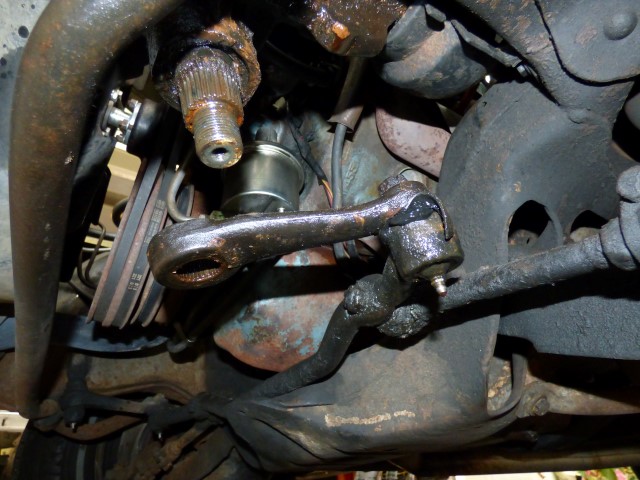
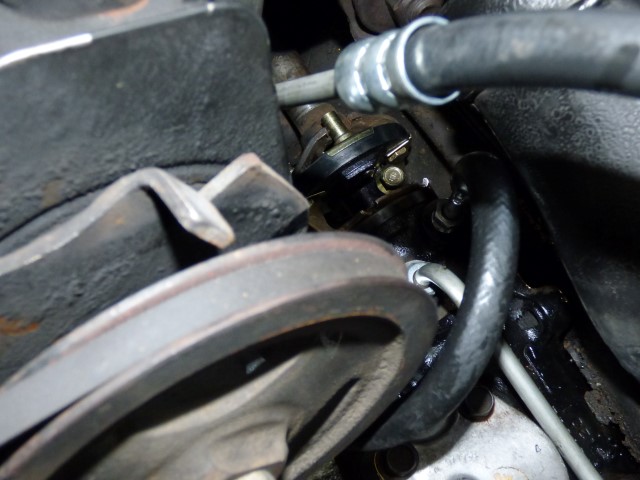
You can see the goo that has to get cleaned up just to get at the seals.
So the c-clip and washer are removed (after I have to run buy new c-clip pliers since my old ones broke during the removal), car is turned on and wheels turned to left. Awaiting the giant splash and seals popping out, yet nothing happens. Read factory service manual, it says "If seal doesn't come out, use 'the usual methods' to remove" to which I say "huh?" Another manual from a different year says "use internal pliers to remove." I use tool after tool, no success. Disappointment is reigning in Mudville today as I continue to strike out .
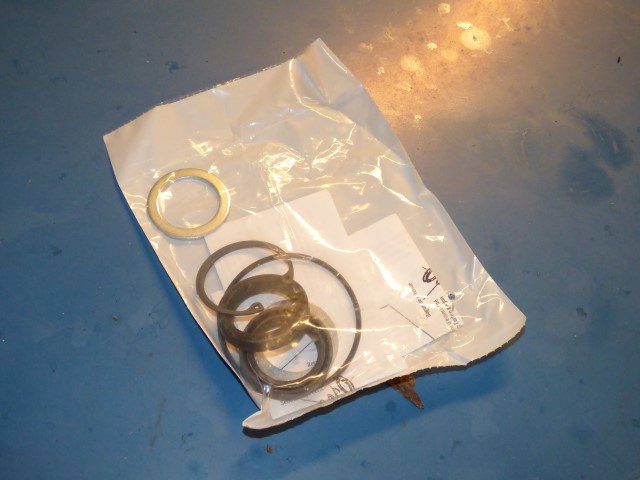
Doing lots of reading, because that's what I do when I get frustrated rather than break something. Turns out I will likely have to remove the steering box from the car to remove the seals. What started as a steering box seal replacement unfortunately has turned into a steering box complete rebuild THEN replacement. I learn how to do it myself because my logic is: Lares box from parts store is likely to end in disappointment and failure and cost me $250. A rebuild Jeep box will require adapters and other things. A new Delphi steering box that's all the rage is $650 out the door but ready to bolt on. Or the complete rebuild kit for an existing box is $40. I'll $40 myself multiple times to save $250-650! And have a new skill in the end. I pulled the steering box from the '72 Grandville I parted out some years back. Turns out it's a 3 turn lock to lock box (1.5 each way) so it's *almost* a Jeep Cherokee quick ratio box anyways, and no special fittings are needed. I can't imagine that extra 1/4 turn matters in the scheme of things...
Slight editorial: even if I had managed to get the old seals out, considering how much effort was required to press them in correctly I can't imagine easily changing this seal in the car. GM has a "J-" tool listed specifically for this task, which looking at the picture is a piece of pipe properly sized in length and thickness to prevent overdriving it in with a soft cap on the inside end and a hammer end on the outer side...
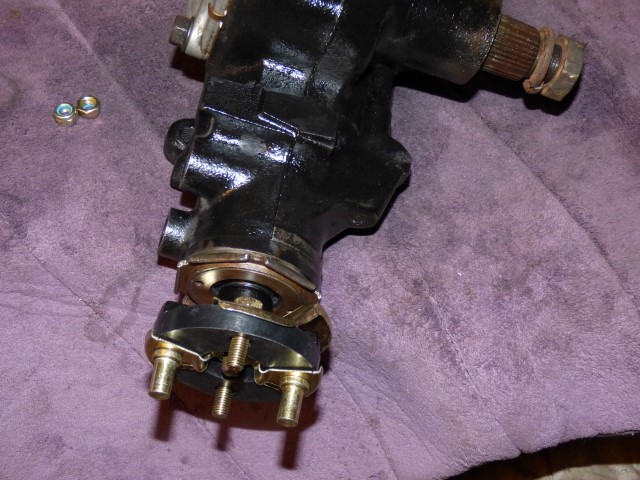
New steering box is ready and assembled with the coupler in the right position (wheels straight ahead).
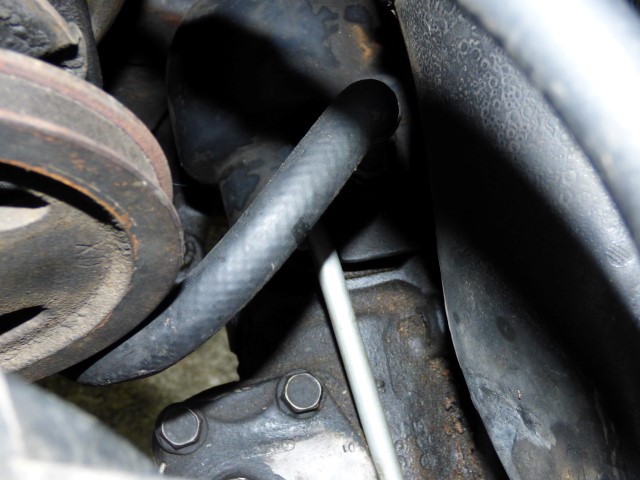
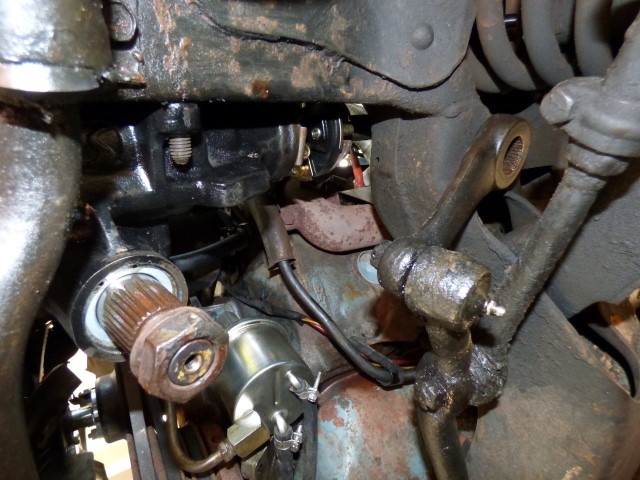
Fittings get loosened to remove them.
All fittings are disconnected, steering box drained, and ready to drop.
Old steering box comes out. It required a little "encouragement
New box is up and roughly where it needs to be with the 3 bolts tightened "mostly" down.
First bolt on the coupler is tightened down, then rotated 180 degrees to tighten the other down. It's easier to do it laying down.
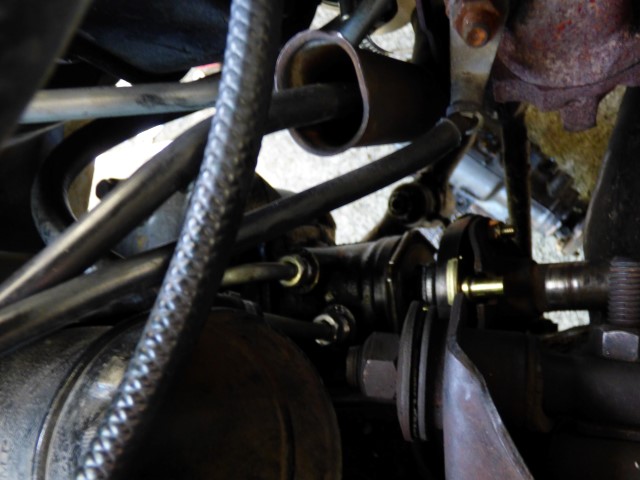
Coupler is all tightened and hoses are tightened down too. Ready to bleed!
Rotated steering back and forth at least 20 times and no dice on bleeding it, all the fluid stayed in the pump. Figured "oh well" and turned engine on, that fixed that quickly! Top pump off after it drains, then start cycling back and forth to work the bubbles and air out.
After 30 minutes of back and forth, back and forth, and getting it hot, fittings are checked and no evidence of leaks (yay).
Protective shield is put back in place and bolted to the frame with the one screw.

Using a 3/4" drive and a 1 3/16" socket, the pitman arm is tightened down. The instructions that came with the rebuild kit say "40 ft-lbs" to which I say "uh, no." The factory service manual says "180 ft-lbs" and I feel kind of silly to think about trying to track down a 250 ft-lb 3/4" drive torque wrench (probably a $400-500 tool) so I just get it close. I have an idea how much torque it took to loosen the nut, so getting it back tight isn't too much of a struggle. It threads on pretty easily in any event, the 3/4" drive provides amazing leverage - I have no idea how people say they do this job with a 1/2" impact gun as I don't think they make sockets big enough for this nut in 1/2" drive. Anyway, enough talk...
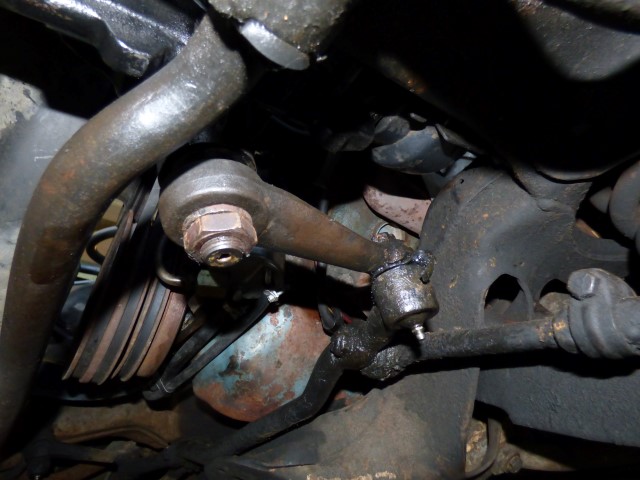
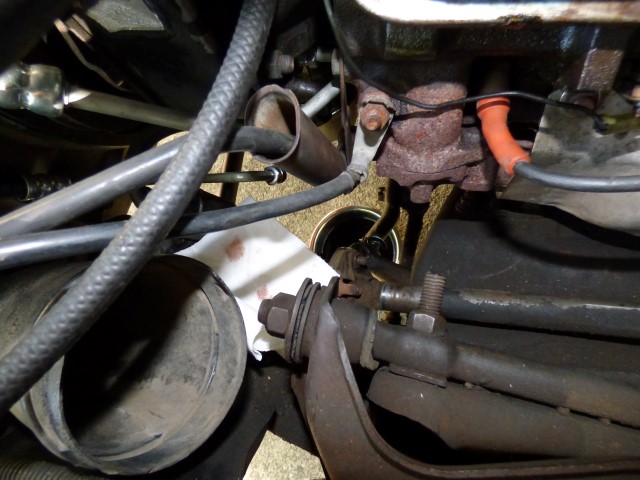
Pitman arm is fully tightened, no evidence of leaks from shaft seal. Yellow paint was likely from factory to indicate that the nut had been properly torque by the guy with the $500 torque wrench who did that every 90 seconds as the cars came down the line. It's all cleaned up down here, so if it starts leaking again I can tell. People who work on only newer cars from the last 5-10 years don't know how good they have it when it comes to dealing with grimy messes down below...
And it's finished! Test drive time!
Test drive was successful. Had to adjust the lash on the output shaft 1/4 turn in to take up some slack as the gears made a clunk noise when it was turned to the right *almost* fully but not quite, indicating the gears were too loose at that point. Funny story: I was pulling it out of the driveway and reached the end of the stop and almost had a meltdown fit over WHY it has to reach the stop NOW?!?! Turns out it had reached 1.5 turns already, since it's a quicker ratio box than before, now my muscle memory of driving this car is all discombobulated. I'll have to remember that... Drove around the block several times, did a few u-turns, and everything seems to be good. The suspension still clunks but it did that before. Some abnormal wear was noted on the driver's front tire outer side: the upper egg shaped control arm bushing is letting it wobble a little too much. So the remaining suspension will have to get rebuilt soon. And there's plenty of other things to investigate and fix too. A few more drives in the daylight around town to verify there's no strange behavior or abnormal situations and the car will be ready for daily driver duty again!
Between waiting for parts, obtaining the right tools, and dealing with weather this job took almost a month.
Return to 1973 Grand Safari
Last updated October 22nd, 2016